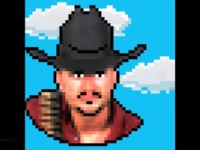
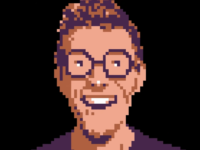
How to transform someone or some thing into the look of a classic eight bit avatar? There are many apps out there that do this automatically, but I thought it would be fun to show you how to do it in Photoshop.
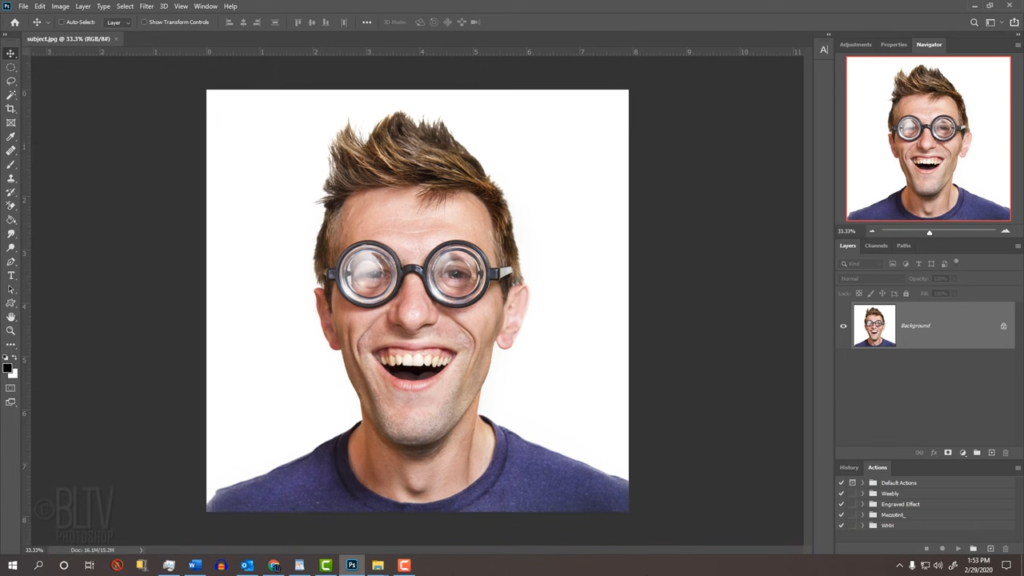
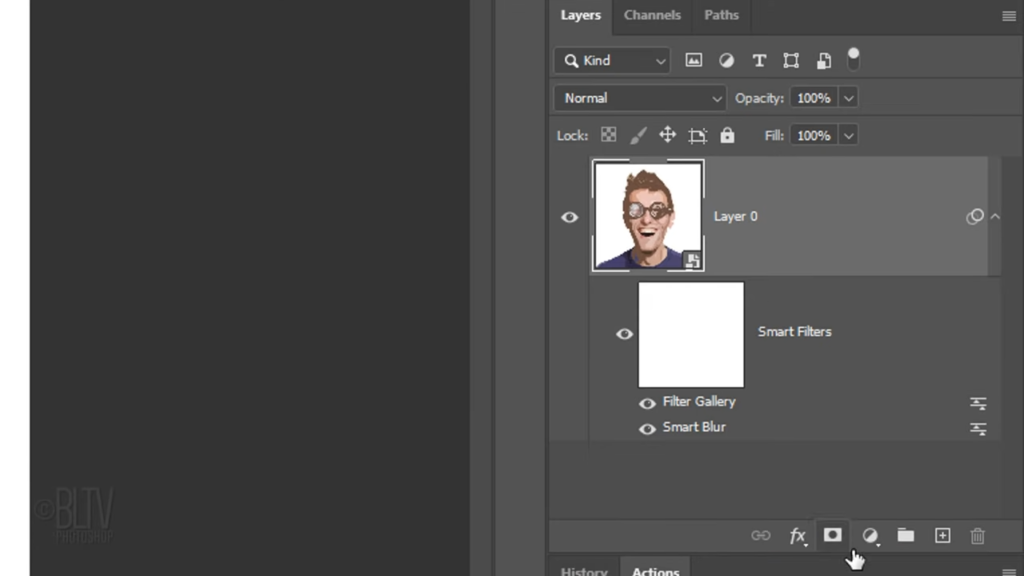
Open a photo you’d like to use for this project, I downloaded this one from dreamstime.com. First, let’s convert it into a Smart Object so we can modify it non destructively. To do this, click the icon at the upper right of the Layers panel and click Convert to Smart Object.
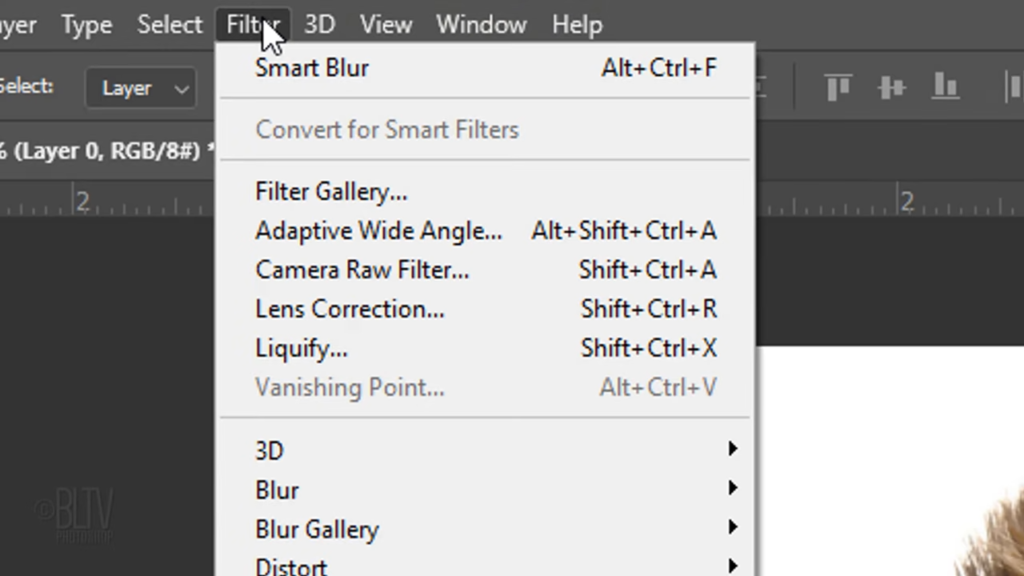
Go to Filter, Blur, and smart blur. This particular photo is 300 pixels per inch, so I’ll use a pretty high radius and threshold and set the quality too high to get the amount of blur I’m looking for Feel free to adjust these amounts to achieve a similar blur as mine. I’ll zoom out of the preview a bit so we can see more of it. As I click and unclick. On the preview, you can see how smart blur affects the image. The radius determines the degree of blurring applied while the threshold determines how unalike the pixels must be before they’re blurred.
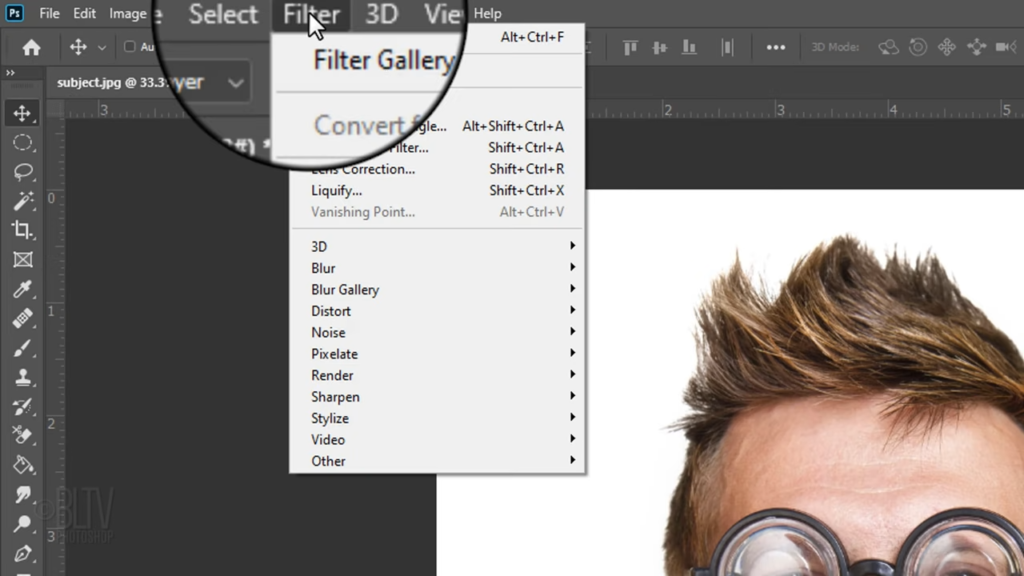
Got a Filter and Filter Gallery.
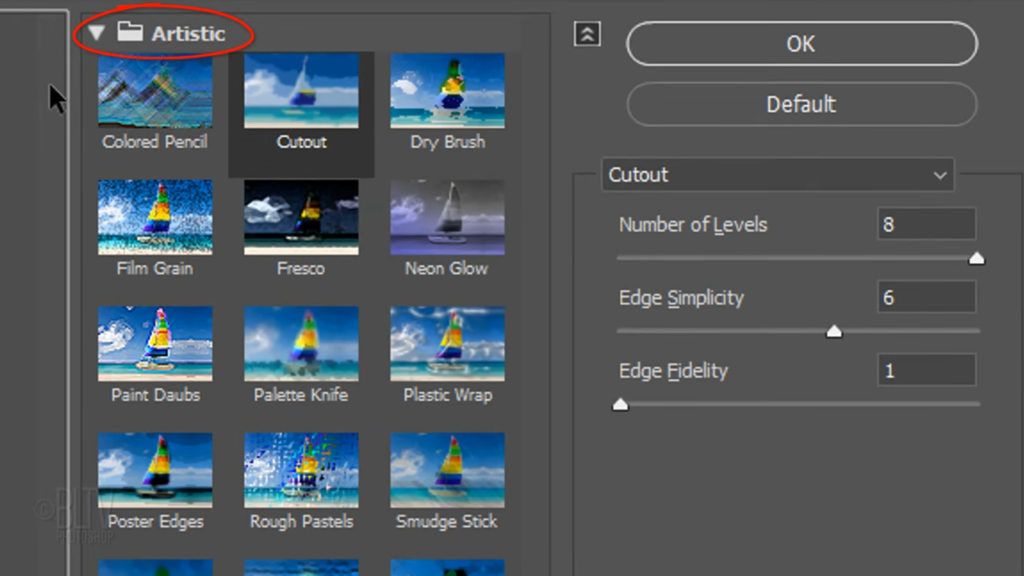
opened the Artistic folder and click cut out. Make the number of levels eight, the edge simplicity six and the edge fidelity one.
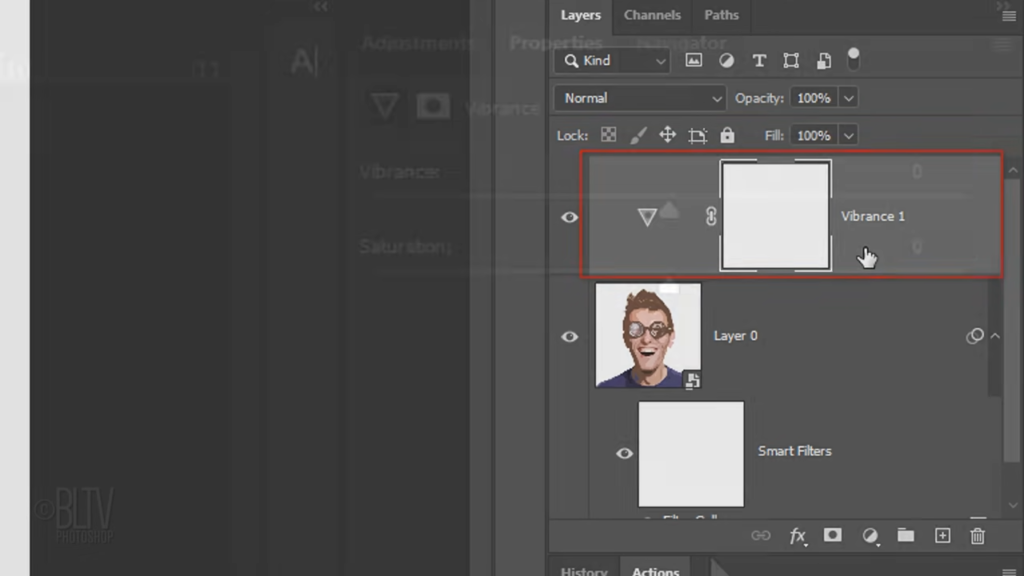
Click the Adjustment layer icon and click vibrance.
Drag the vibrance slider all the way to the right which increases the vibrancy of the more muted colors and leaves the already well saturated colors alone we’ll make a composite snapshot of our visible image by pressing ALT Ctrl Shift E on Windows or option Command Shift E unimac.
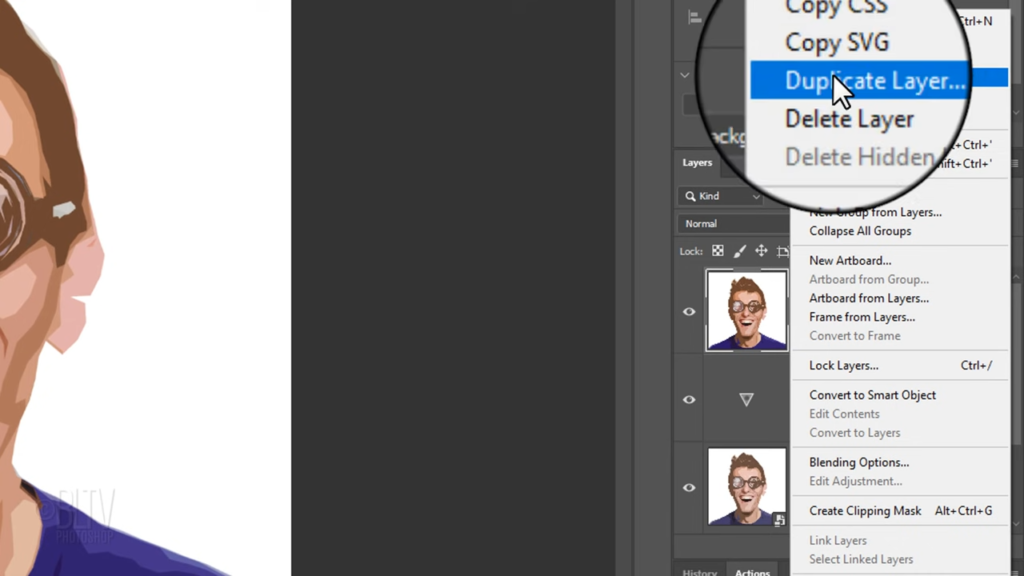
Open a flyer list
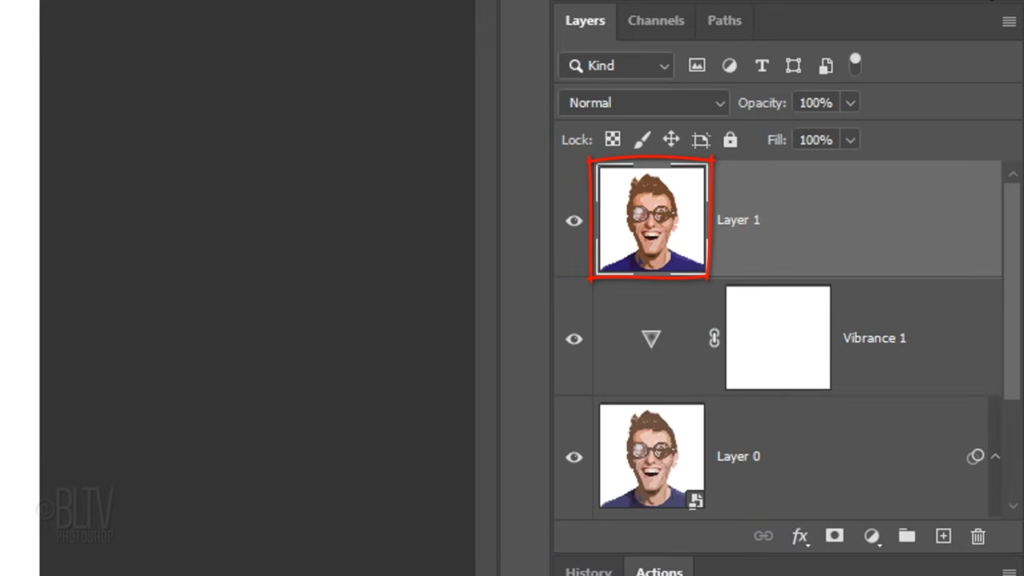
and click Duplicate Layer.
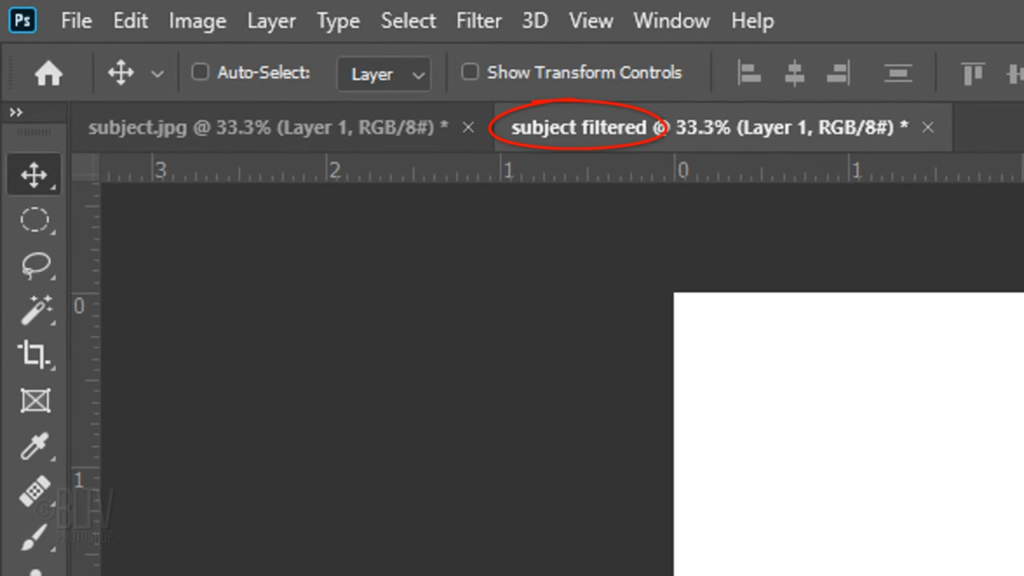
Make a document new and name it subject filtered.
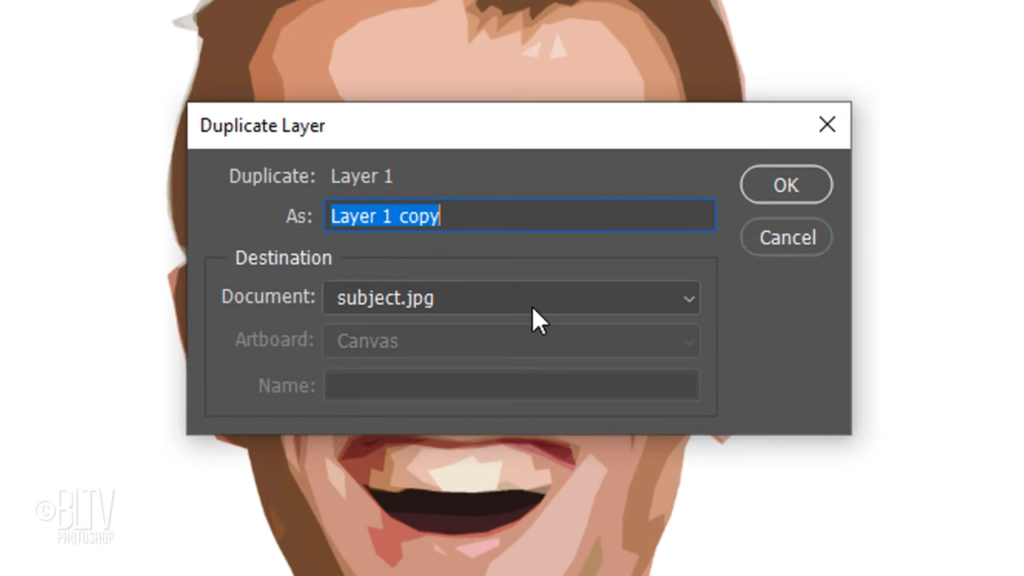
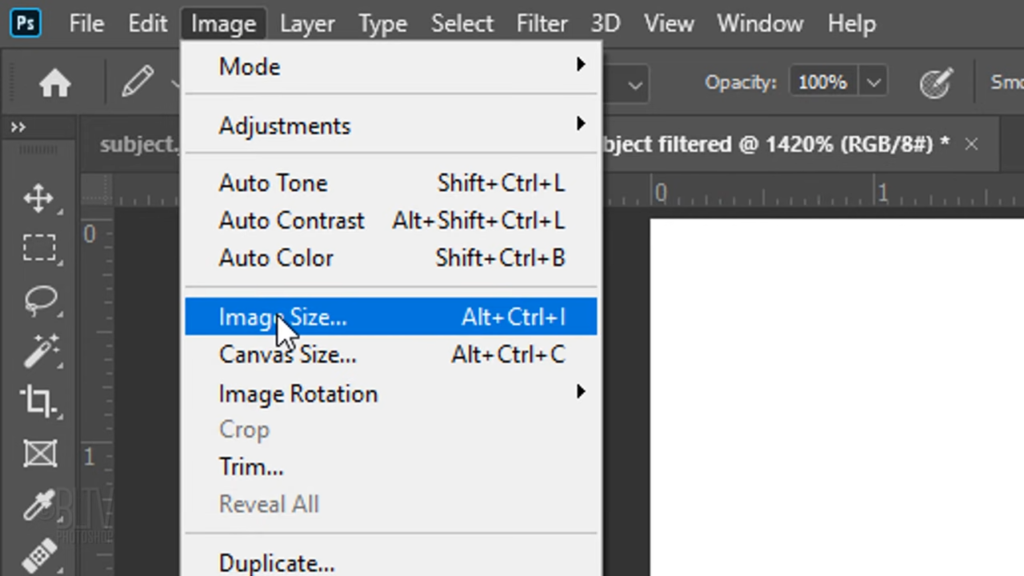
Notice a created a new document of our image have the same name. Go to Image an image size.
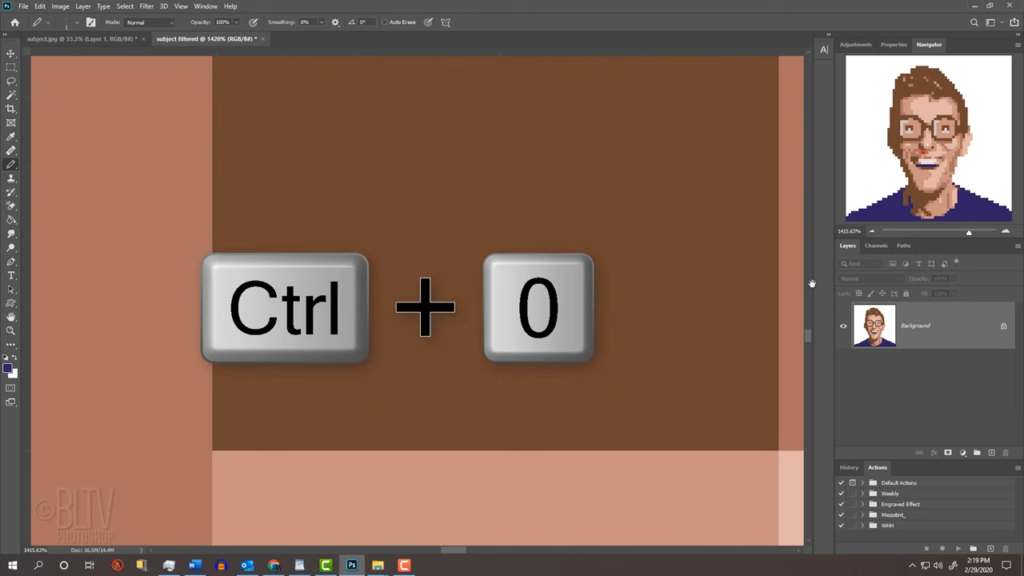
Make its resolution eight pixels per inch, and the width or the height 64 pixels. As long as one of them is 64 pixels the other can be any amount. Make sure resample is checked, and click nearest neighbor hard edges. This will keep our square pixels nice and sharp when its size and resolution are reduced or enlarged. To fit it onto our screen, press Ctrl or Command zero.
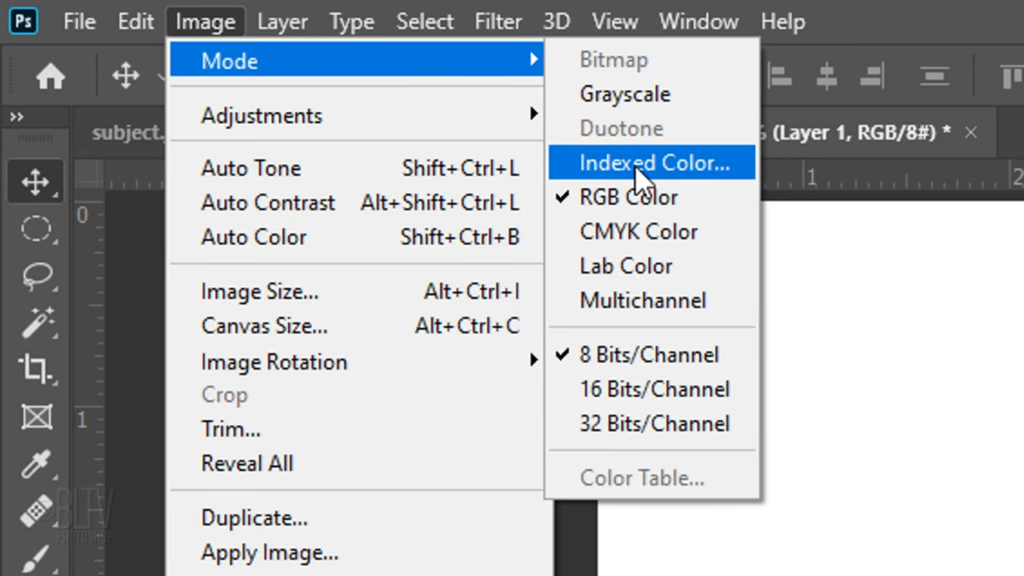
Go to Image mode and Indexed Color. This mode produces eight bit image files with up to 256 colors. Open the palettes list. Let’s click local perceptual since this palette is weighted toward reducing the colors in your photograph to those two which are the most sensitive. The local options are used for a single photograph. Whereas master is used when you’re working on multiple open photographs that have the same color palette adaptive is used to reduce colors based on their frequency. For example, if your image contains mostly skin tones, the adaptive color palette will be mostly skin tones selective reduces colors of your image to web safe colors. We’ll use eight colors, we won’t force the colors to adhere to any color table so we’ll choose none. Since we have no transparent areas of the image, we’ll uncheck transparency. Under options, Matt is what’s going to fill transparent areas but in our case, that’s none. dither essentially blends colors together and says we don’t want that we’ll leave it as none.
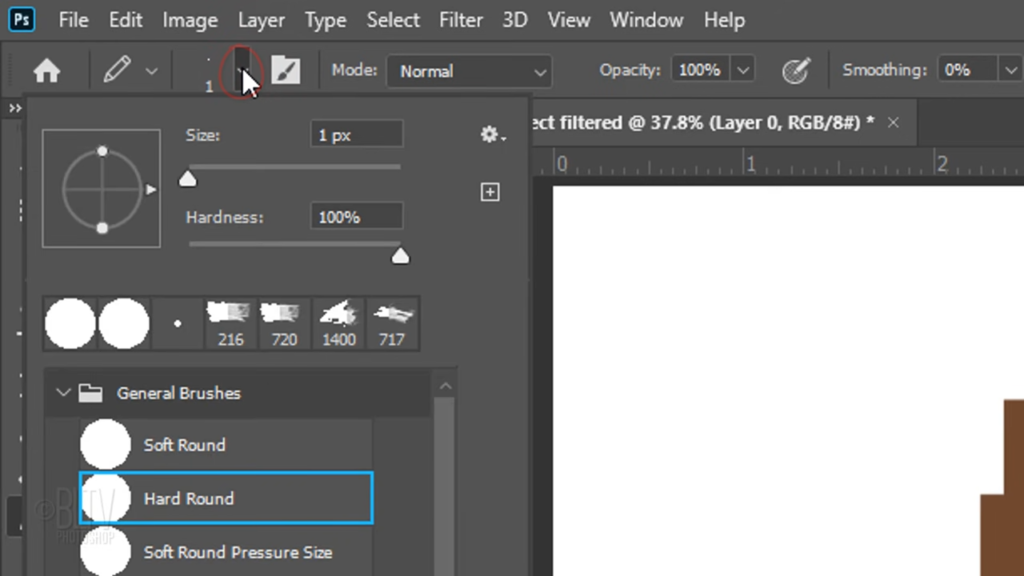
Open your pencil tool
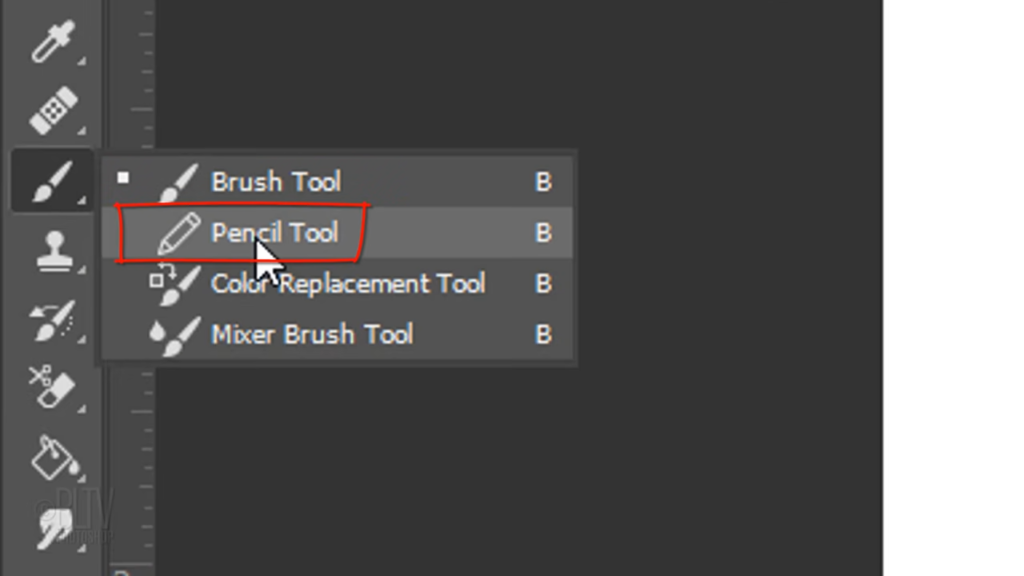
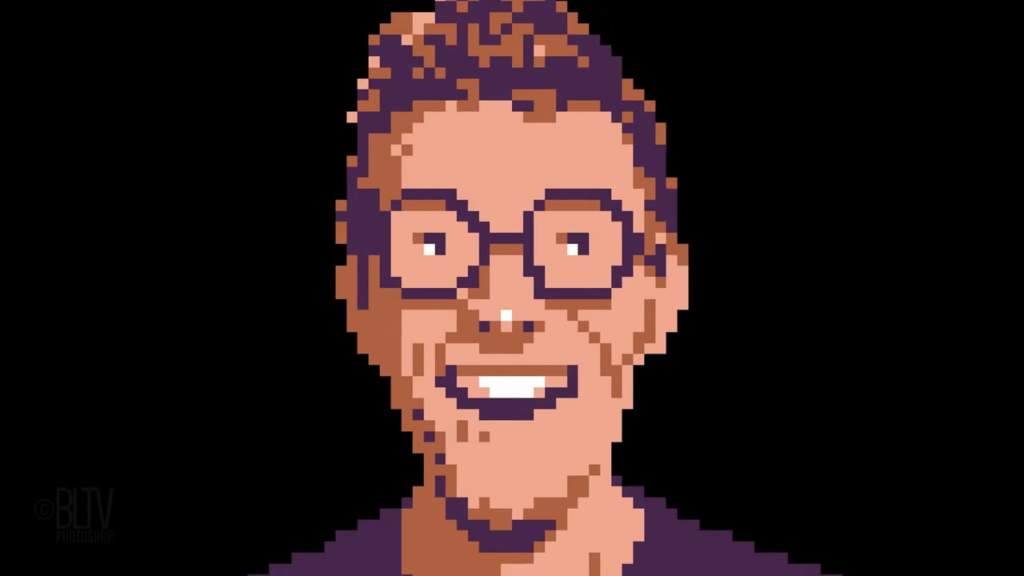
and pencil picker. Pick a hard round brush. The size is one pixel and the hardness is 100%. Next, if your image needs it will clean up some of the pixels. To replace a color with another press and hold Alt or Option as you click on the color you want to use to replace another color, then release. Draw over the areas you want to replace with that color. Continue this method to clean up the pixels in your avatar.
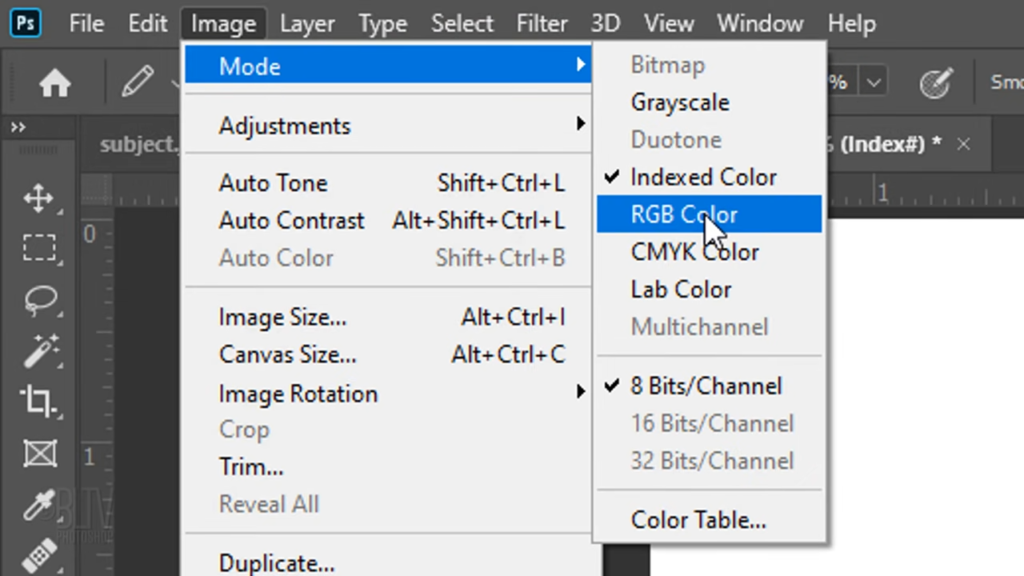
When you’re happy with the result, go to Image mode and RGB color. Then Image and Image Size
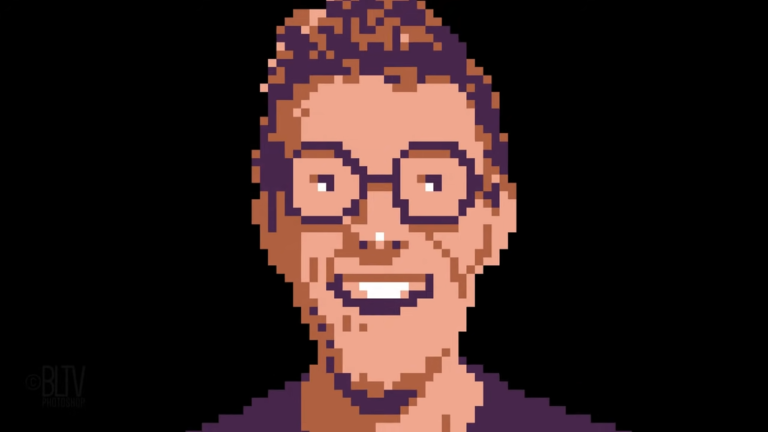
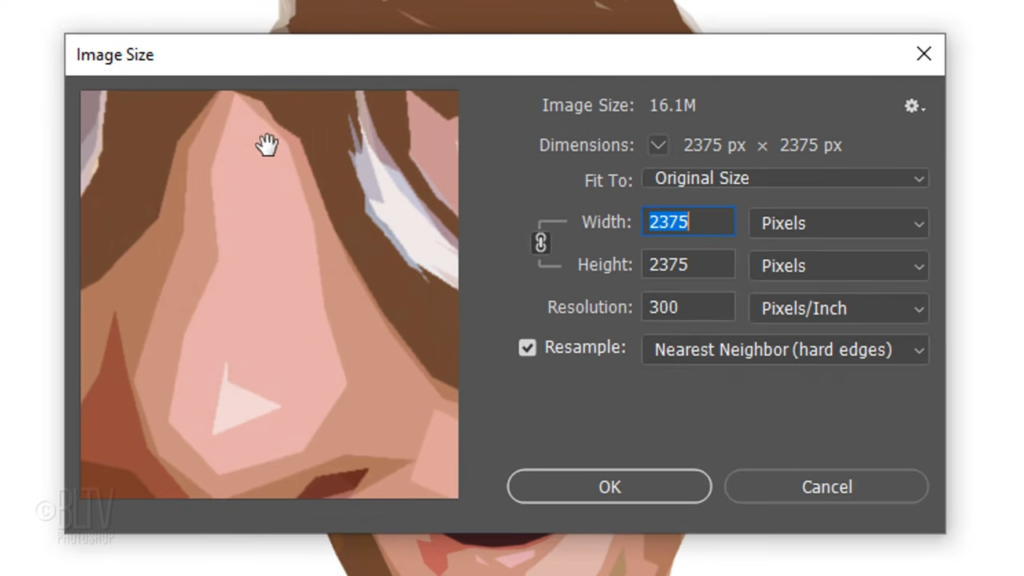
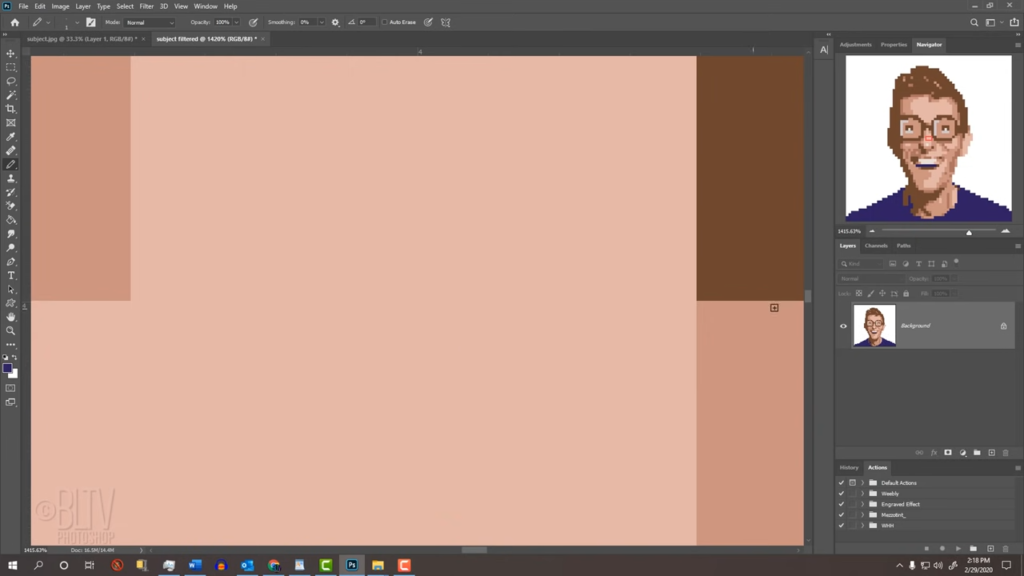
To show you how well it works, I’ll type in 300 pixels per inch for its resolution and accept a much larger width and height.
Notice that our squares are razor sharp.
fit it back onto your screen. If you want to remove the background so you can place it onto another background. Open your magic wand tool. If your avatar has areas inside its outside shape, like the hole in the center of a doughnut, make sure the Add to icon is selected. This will retain all the selections, you click on your subject.
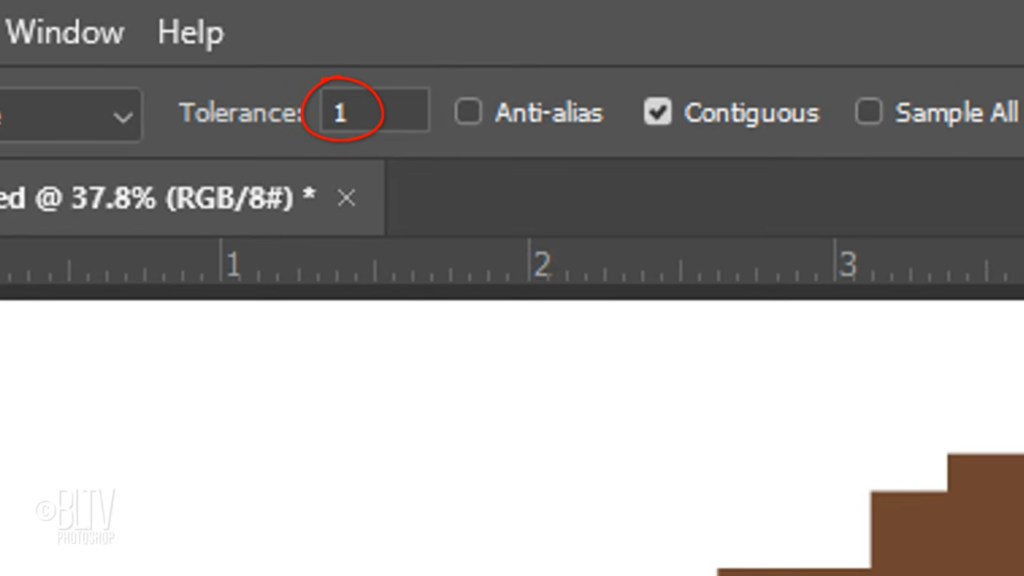
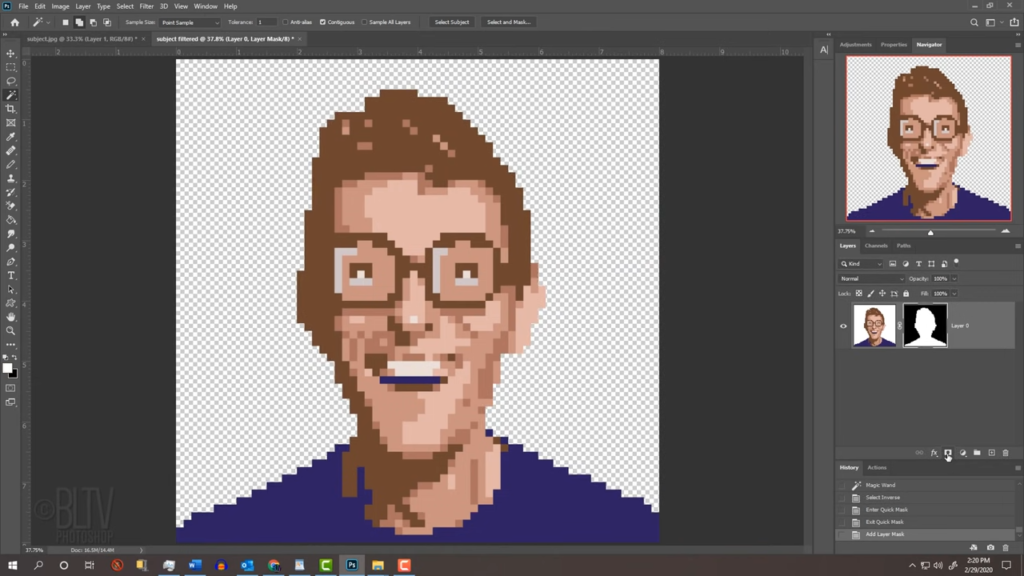
Make its tolerance one pixel and check contiguous which prevents the inside of your image from being selected. Click on the background to select it. Invert the selection by pressing Ctrl or Command Shift I. To check the selection. Press Q on your keyboard to see it as a quick mask reverted back into a selection by pressing q again. Click the Layer Mask icon to make a layer mask of the selection next your avatar.
You can now place a new background below it.
0 Comments