


For this tutorial, you have to use this Sparks PSD file from this link
0:01
We are going to show you how to create an image of highly electrically charged text.
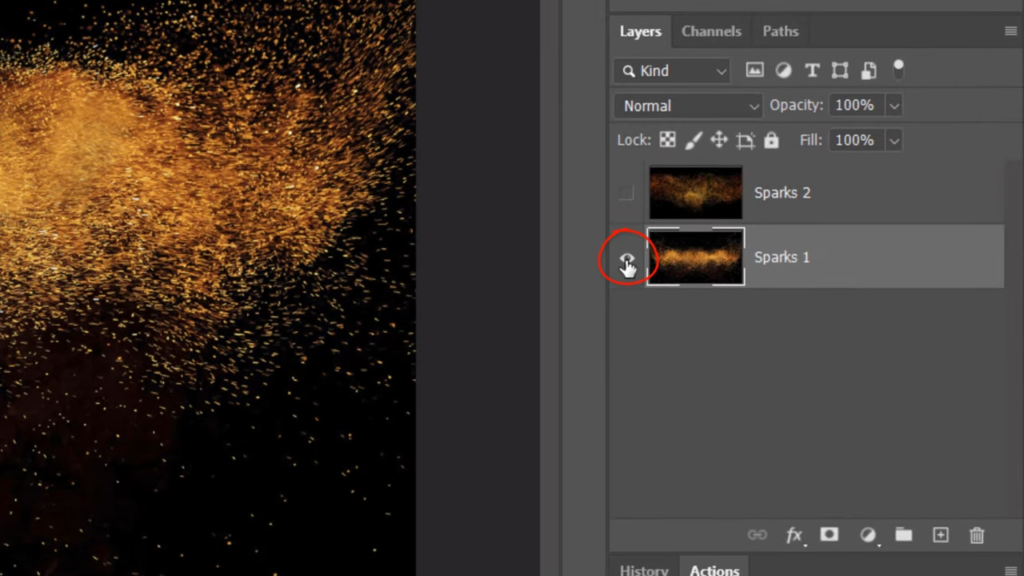
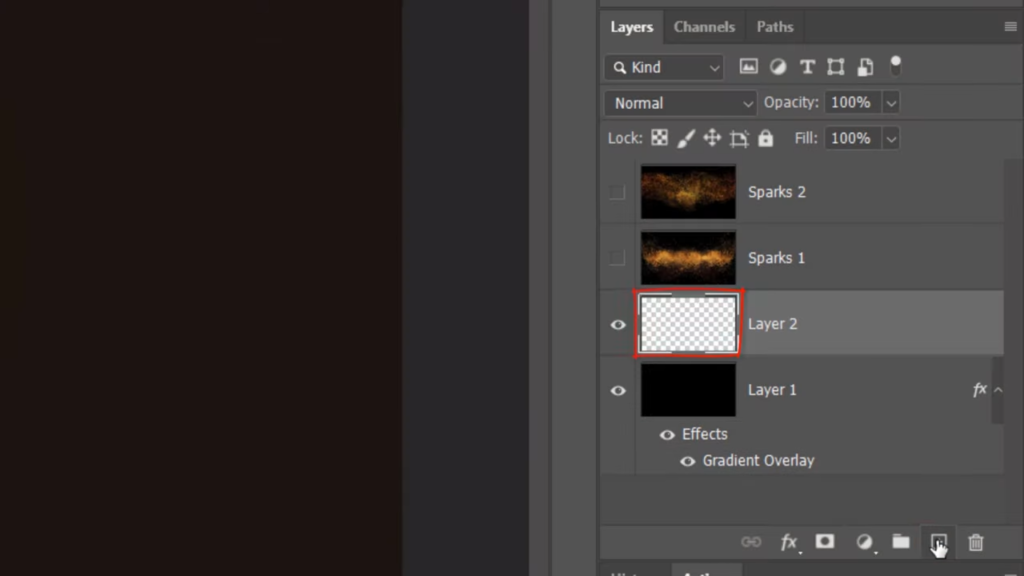
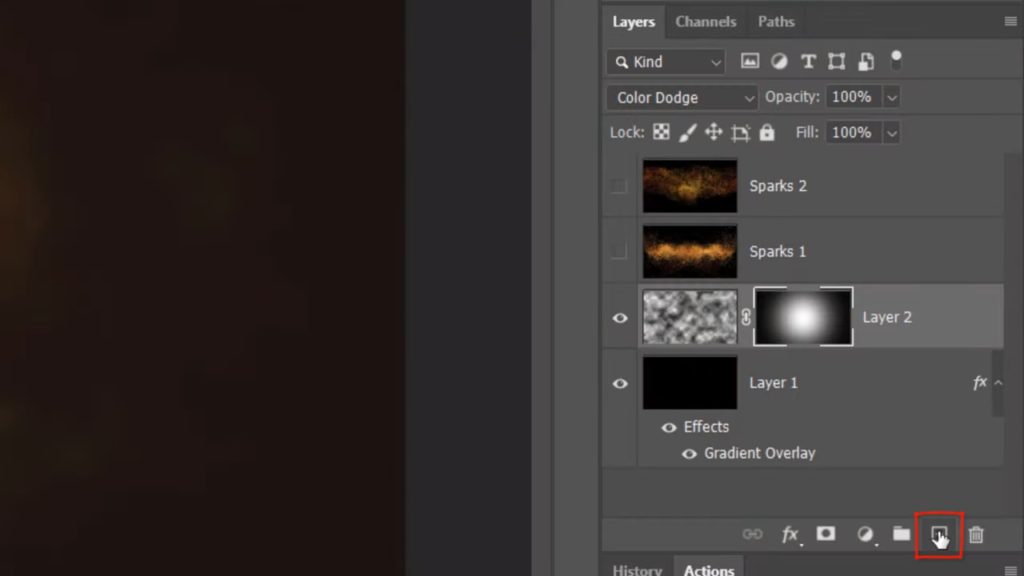
Open the Sparks PSD file and hide both layers will create a new layer below them by Ctrl. Clicking or command clicking the New Layer icon will fill the empty layer with black but before we do, check your foreground and background colors. If they aren’t black and white respectively, press D on your keyboard. Since black is our foreground color, press Alt or Option plus Delete.
1:00
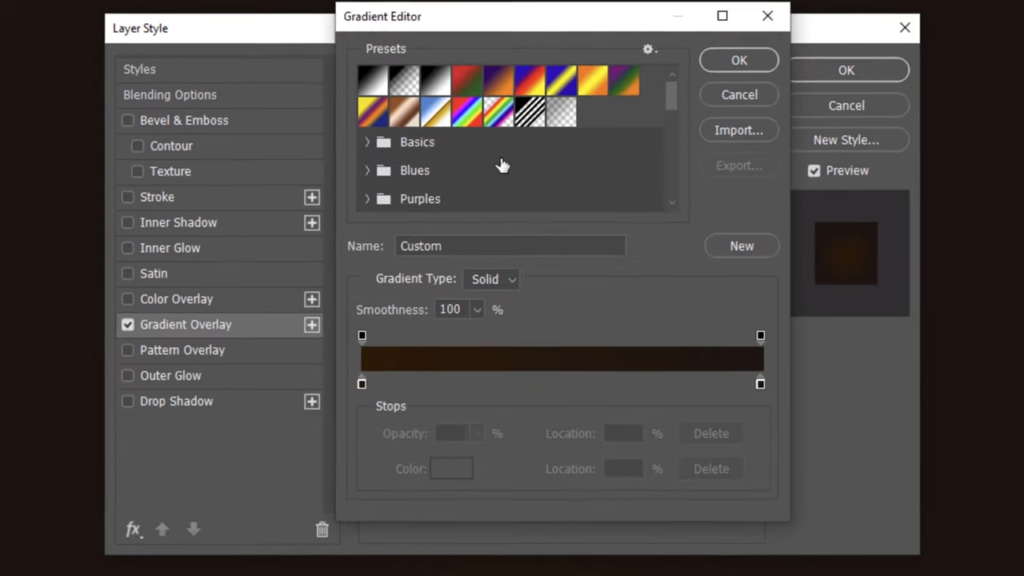
Double click a black layer to open its Layer Style window. Click gradients overlay and the gradient bar.

1:09
Click the lower left Stop and the color box. In the hexadecimal field, type in 290 e 00.
1:23
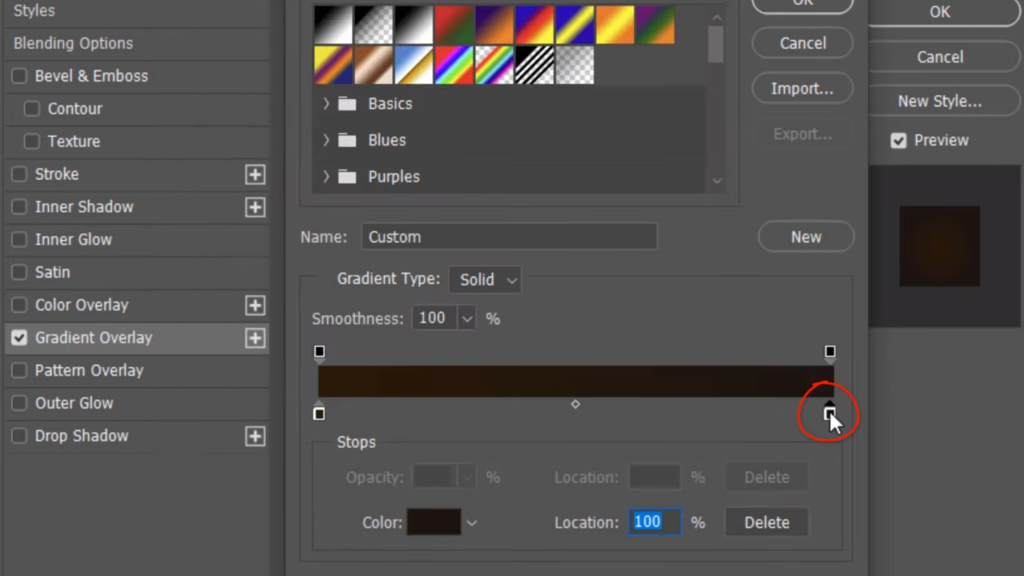
Click the lower right stop the color box and type in 150 B 06. Then click OK on both windows or press Enter or Return twice. The Blend Mode is Normal. The opacity is 100% and the style is radial. The angle is 90 degrees, and the scale is 100%.
1:53
Click the New Layer icon to make a new layer above the background. Go to Filter,
2:00
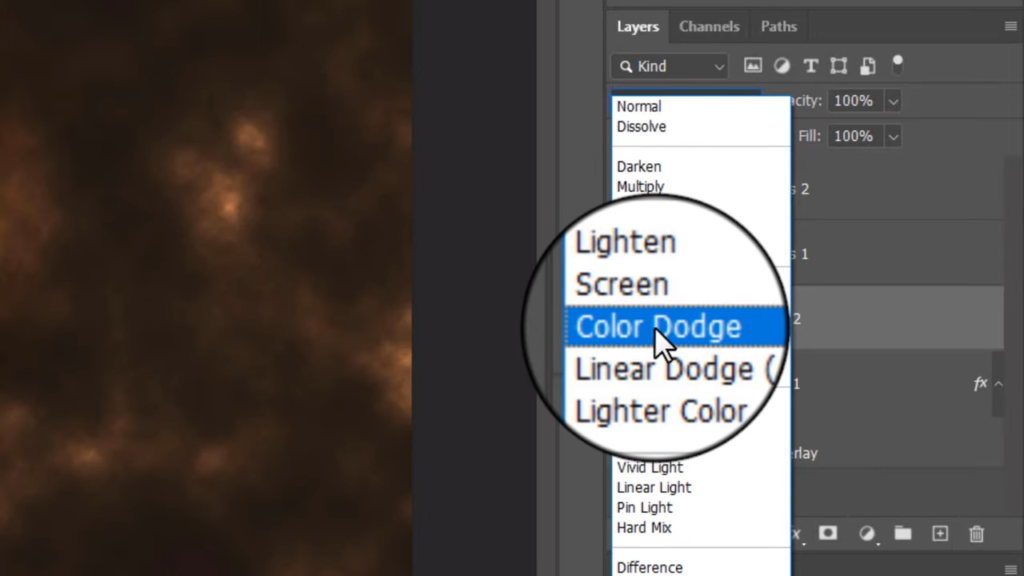
Render and Clouds.

2:05
Change its Blend Mode to Color Dodge will make an inverted layer mask next to the clouds by ctrl or command clicking the Layer Mask icon. This hides or masks out the clouds will be brushing white over the center of the active layer mask to reveal back the center of the clouds.
2:26
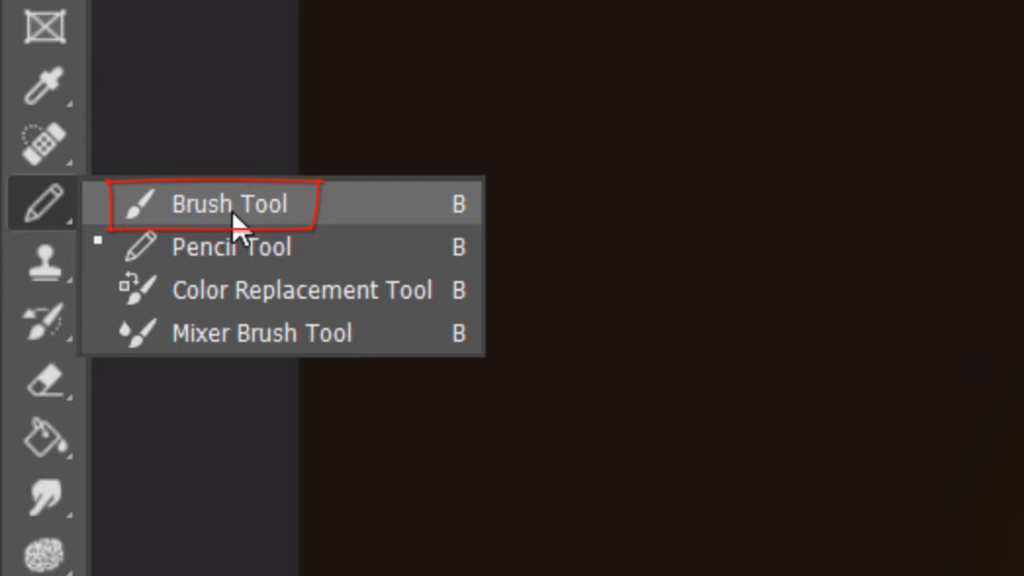
Open your Brush Tool and invert the colors by pressing x on your keyboard or by clicking this icon.
2:34
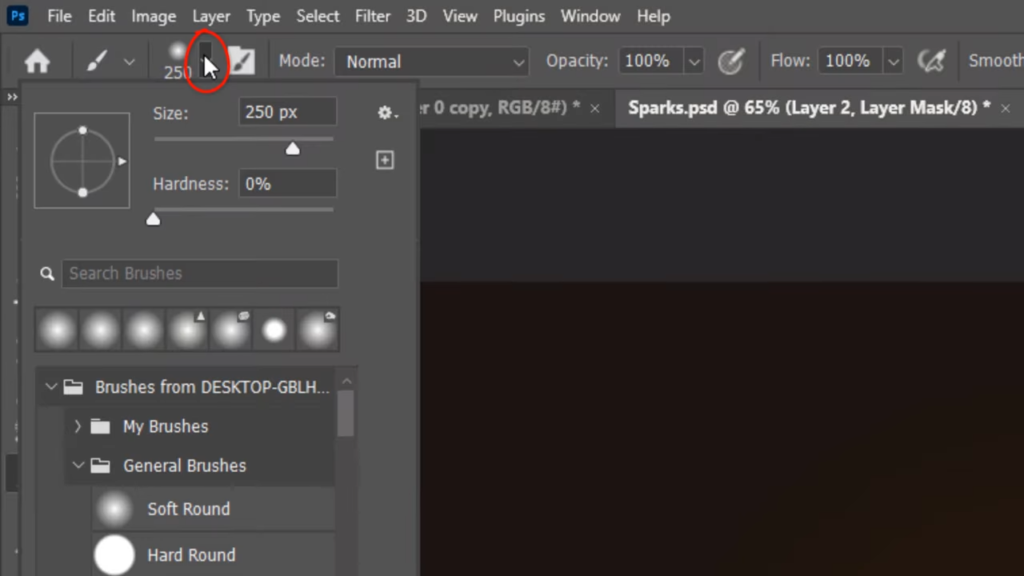
Open your Brush Picker and pick a soft round brush for its size. Type in 1400 pixels. The Opacity and Flow are both 100%. Go to the middle of your document and click once.
2:51
Make a new layer.
2:53
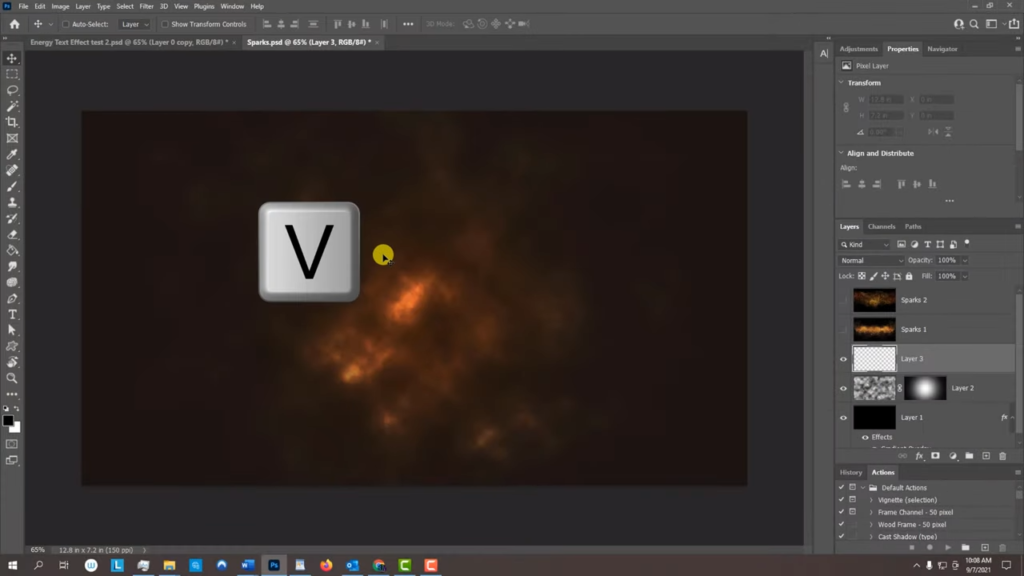
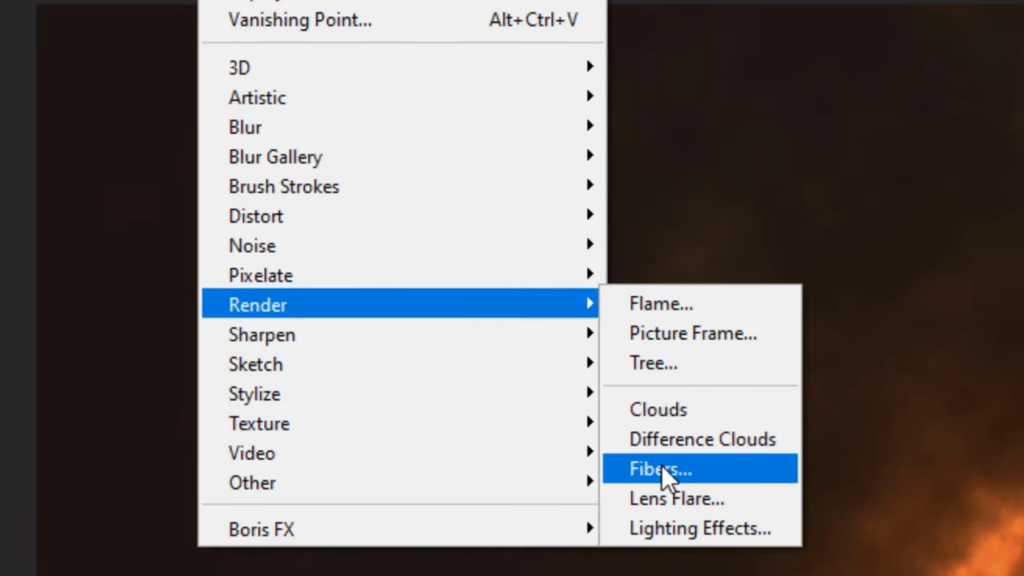
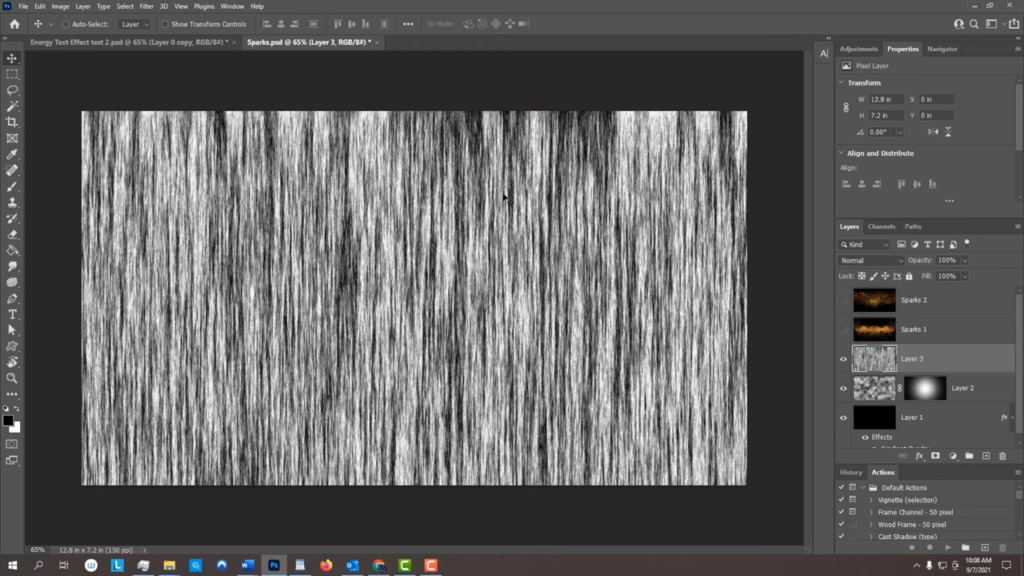
Let’s press v to open our Move tool so it’s easier to navigate our cursor over the screen. Go to Filter,
3:03
Render and fibers
3:07
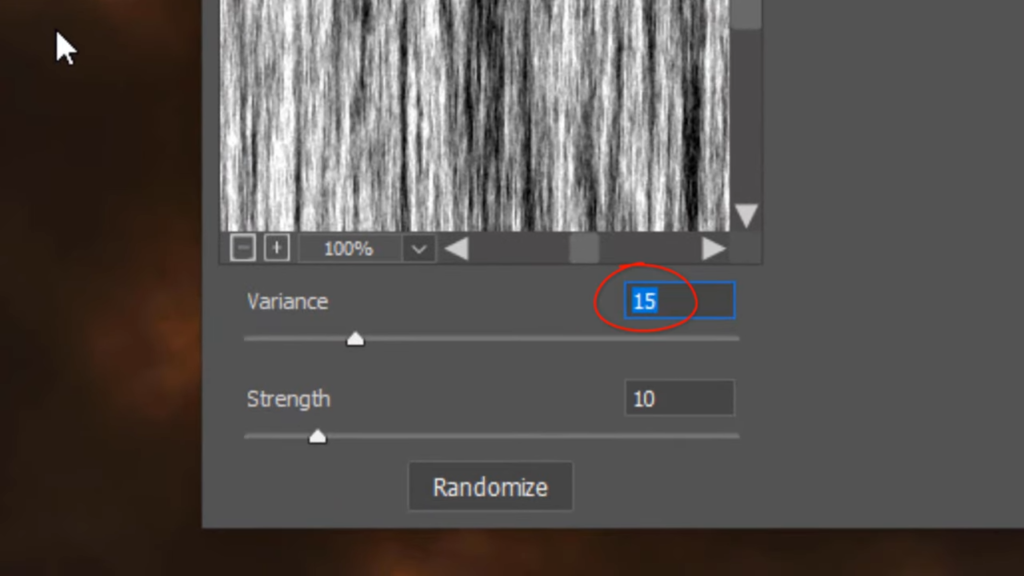
make the variance 15 and the strength 10.
3:13
We want more black than white, so we’ll invert it by pressing Ctrl or Command I
3:20
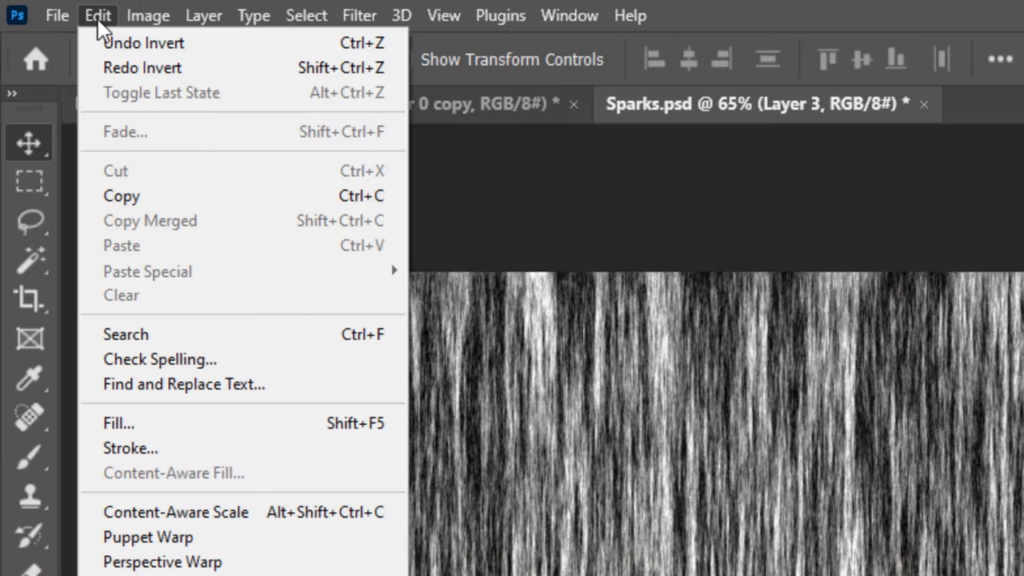
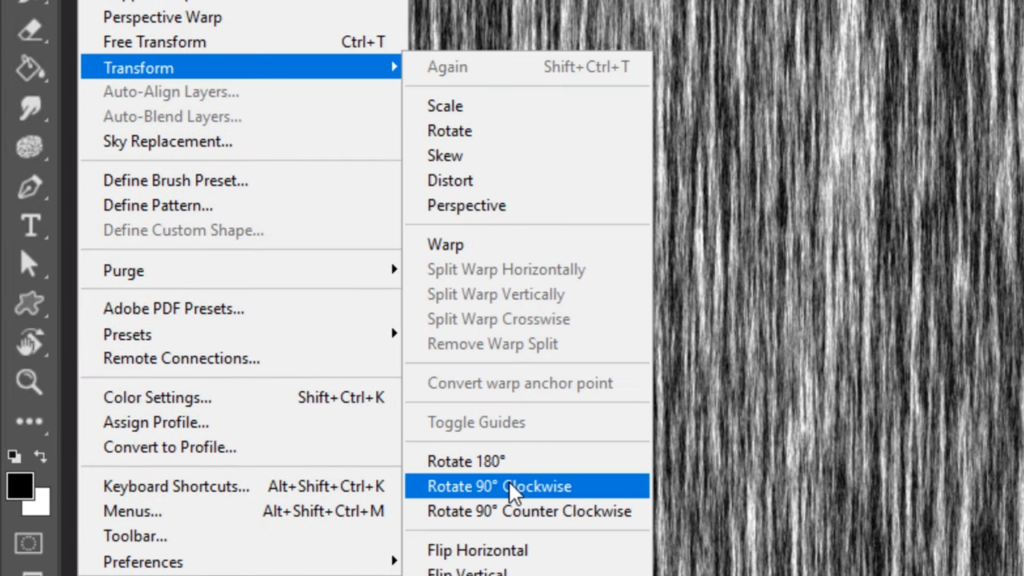
go to Edit,
3:24
Transform and rotate 90 degrees clockwise
3:29
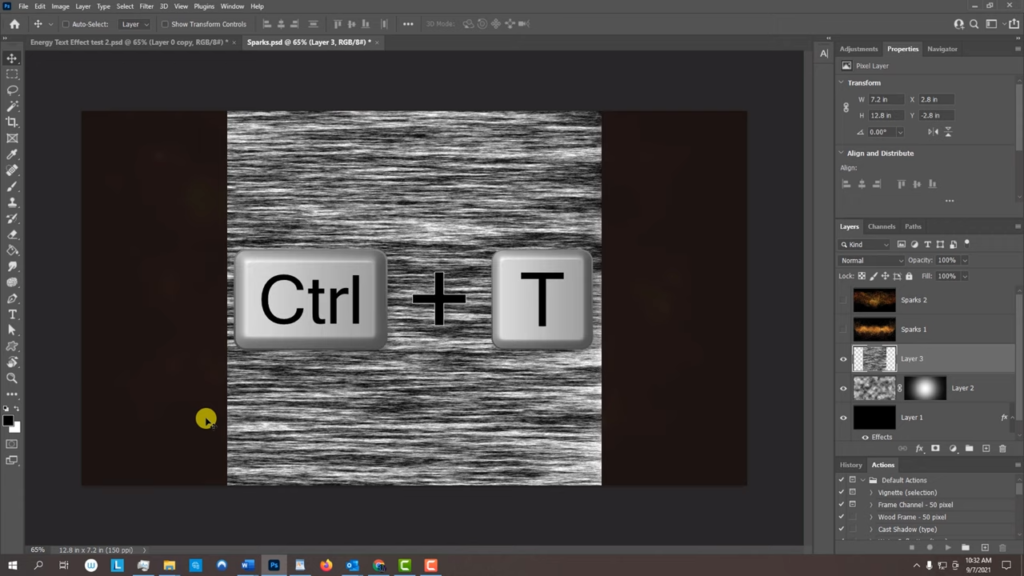
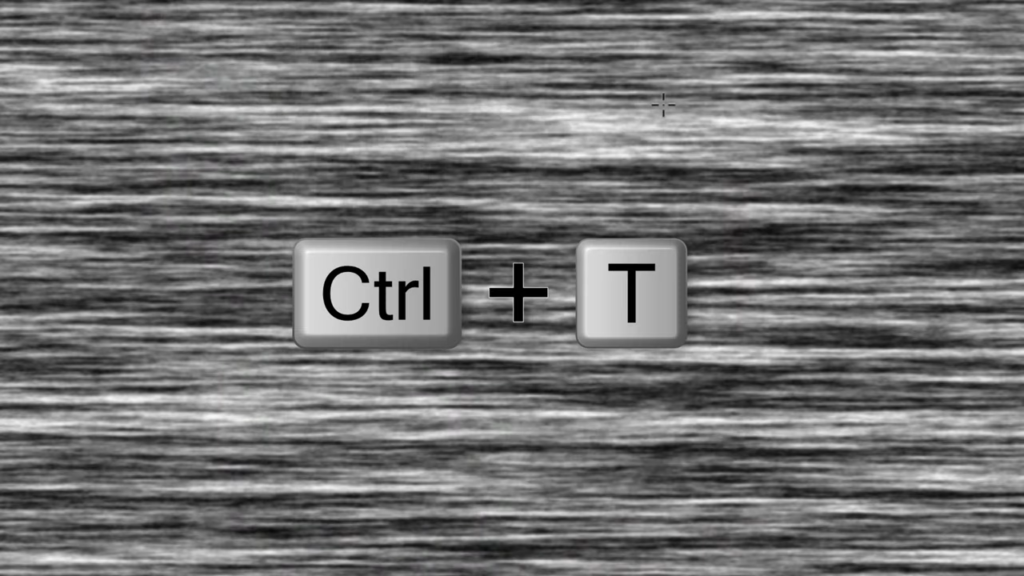
will stretch it out to the sides of our document by pressing Ctrl or Command T to open our Transform Tool. Go to the middle anchor point on one of the sides and press and hold Alt or Option as we drag it out. Then press Enter or Return. We’ll convert it into a Smart Object so we can modify it non destructively. To do this, click the icon at the upper right corner and click Convert to Smart Object.
3:58
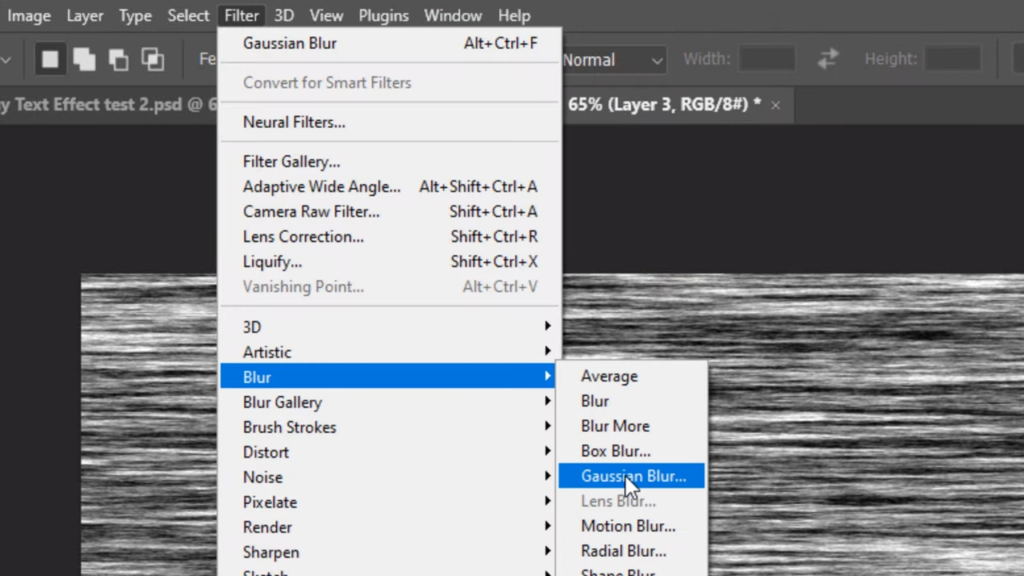
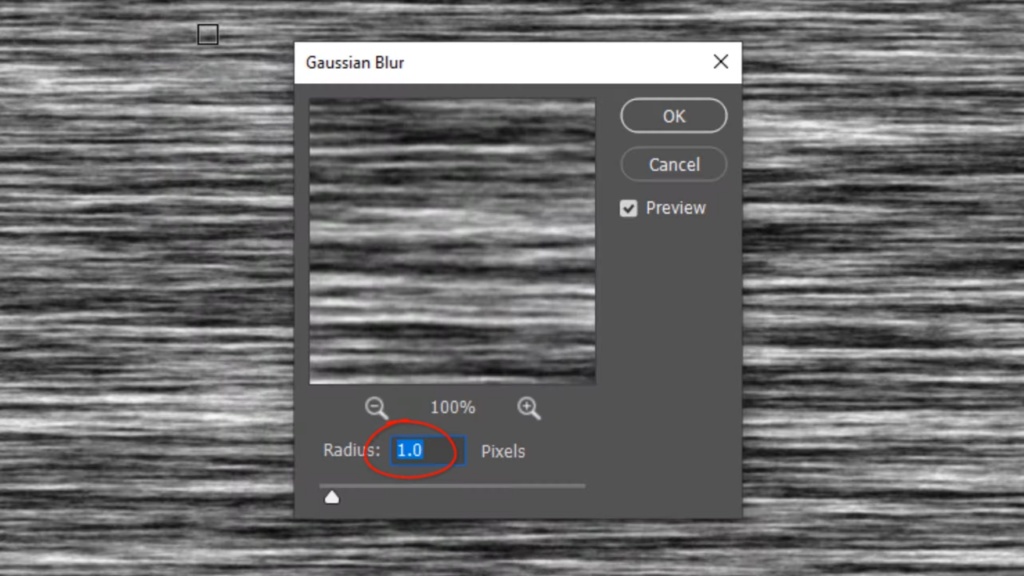
Go to Filter, Blur and Gaussian Blur.
4:03
Blurry one pixel.
4:06
Open your Transform Tool. And if you see this message, it’s just letting us know that the blur filter will be temporarily turned off until we’re done with the Transform Tool.
4:19
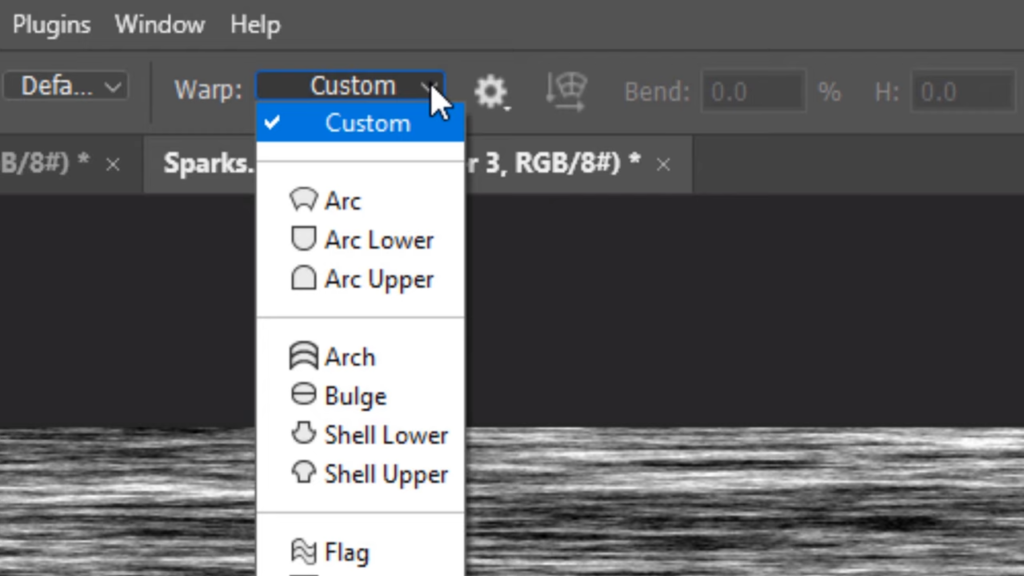
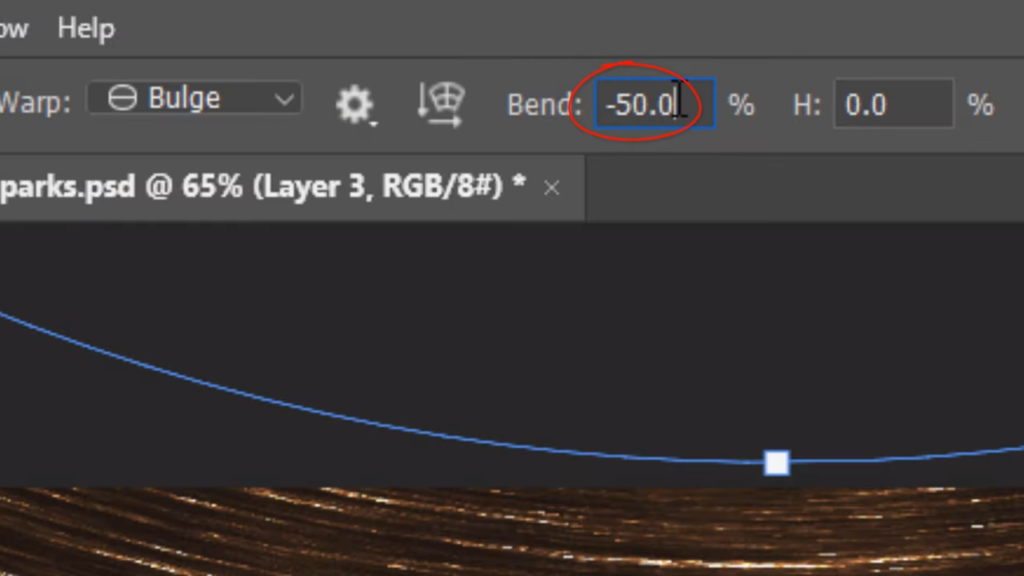
Click the Warp transform icon

4:22
and click the custom tab. Click bulge and bend it minus 50.
4:30
Then, press Enter or Return or click the checkmark.

4:35
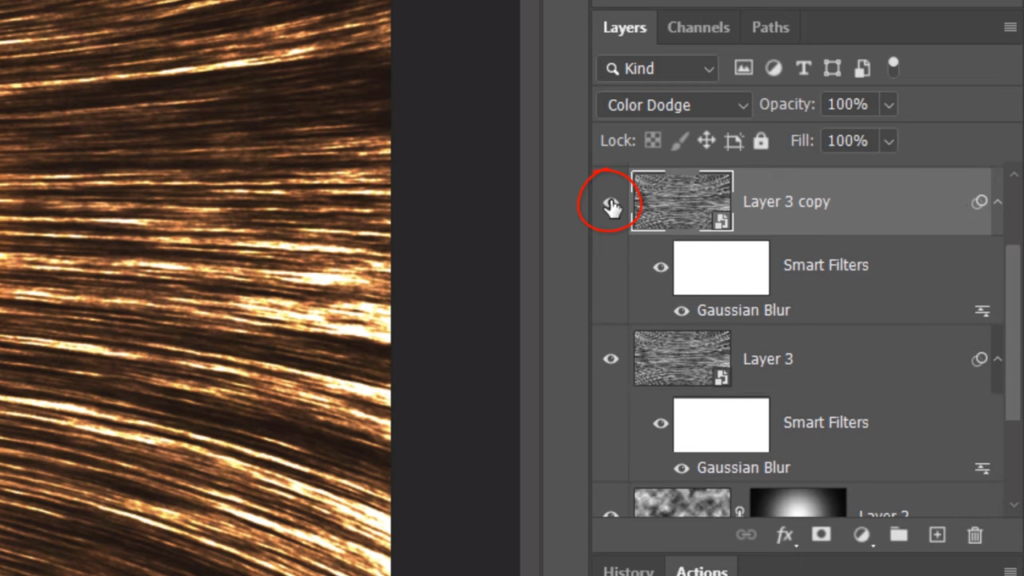
Change the Blend Mode to Color Dodge. Make a copy of it by pressing Ctrl or Command J

4:45
hide the copy and make the original active. Open your Transform Tool and if you see this message again, click OK.
4:55
Click the Warp transform icon

4:58
and bended
5:00
60%
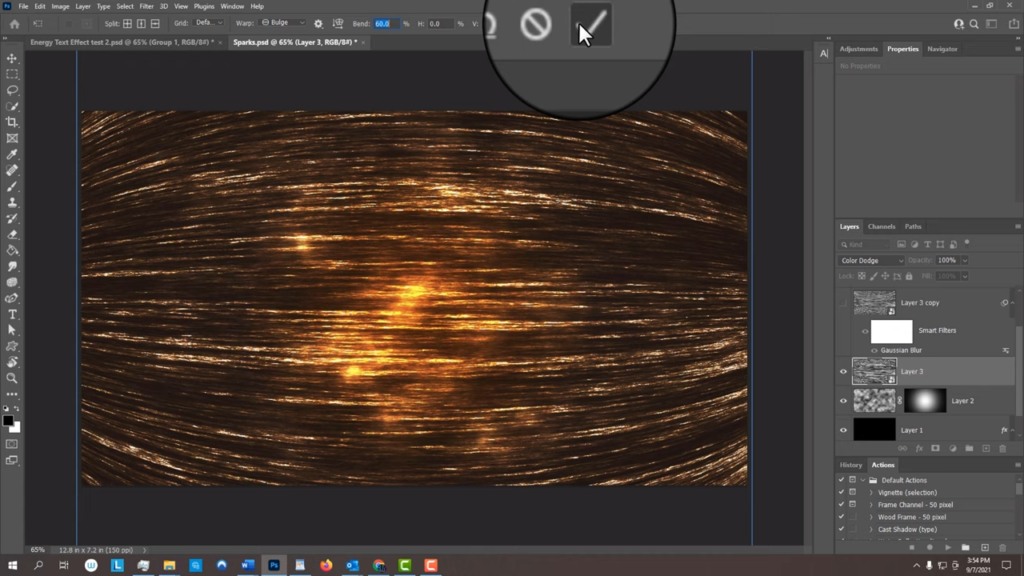
5:05
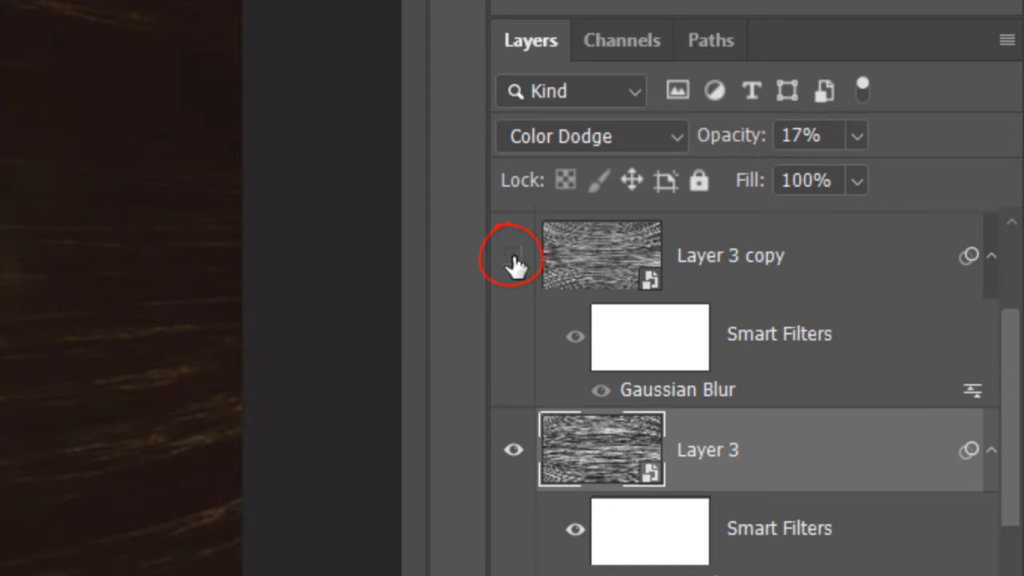
reduces opacity anywhere from 15 to 20%.
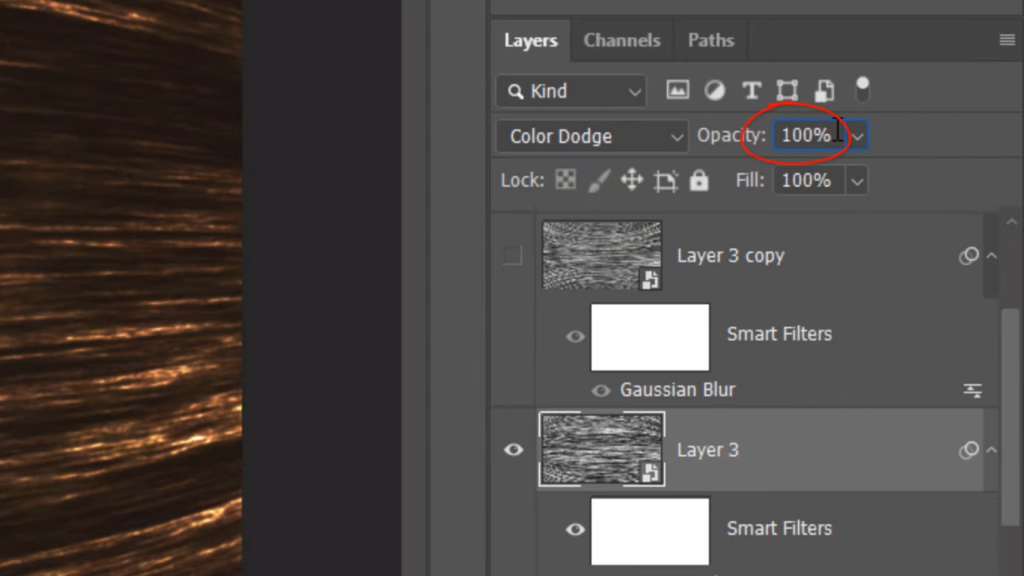
5:10
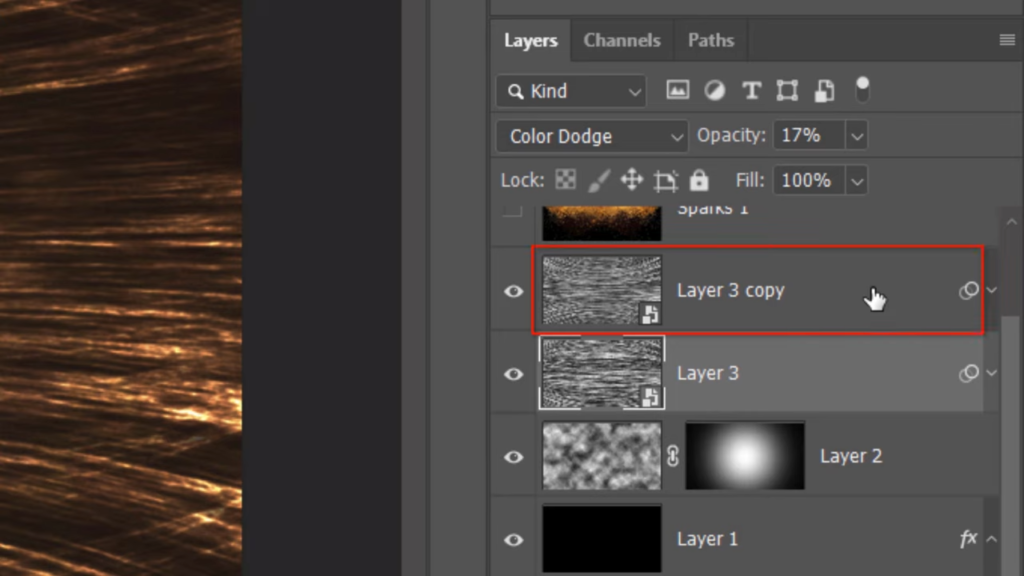
Make the top layer visible. To save some space in the Layers panel. let’s collapse the Smart Filters.
5:18
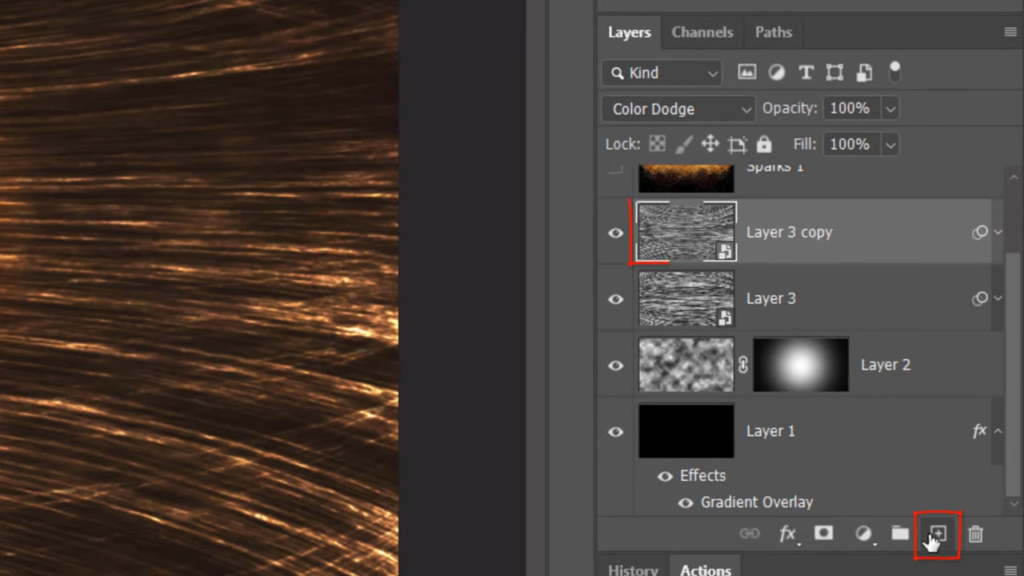
Make the top layer active
5:21
and make a new layer above it.
5:24
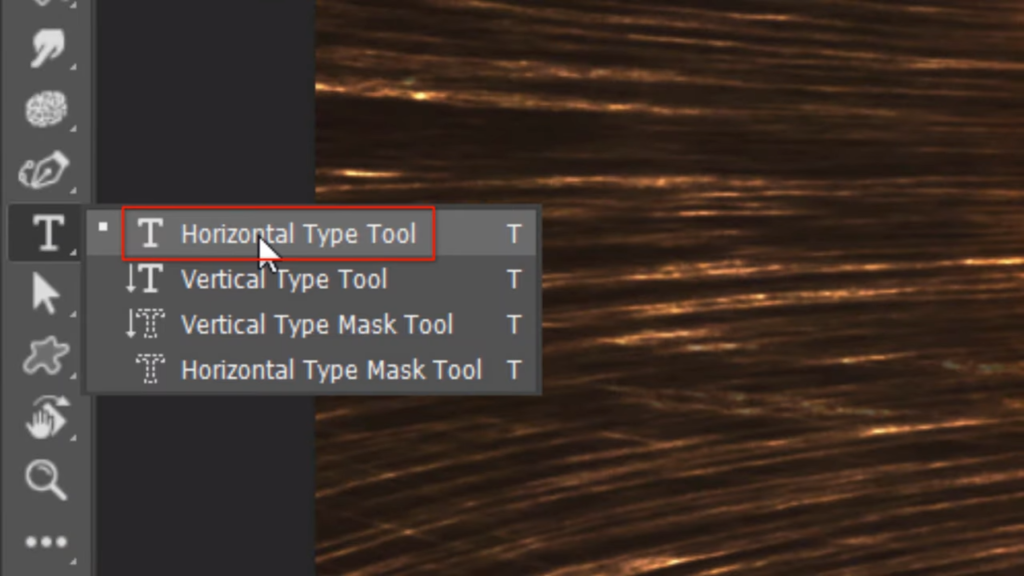
Open your Horizontal Type Tool and type Picker. Pick a medium to heavy font. I’m picking bank Gothic bold.
5:35
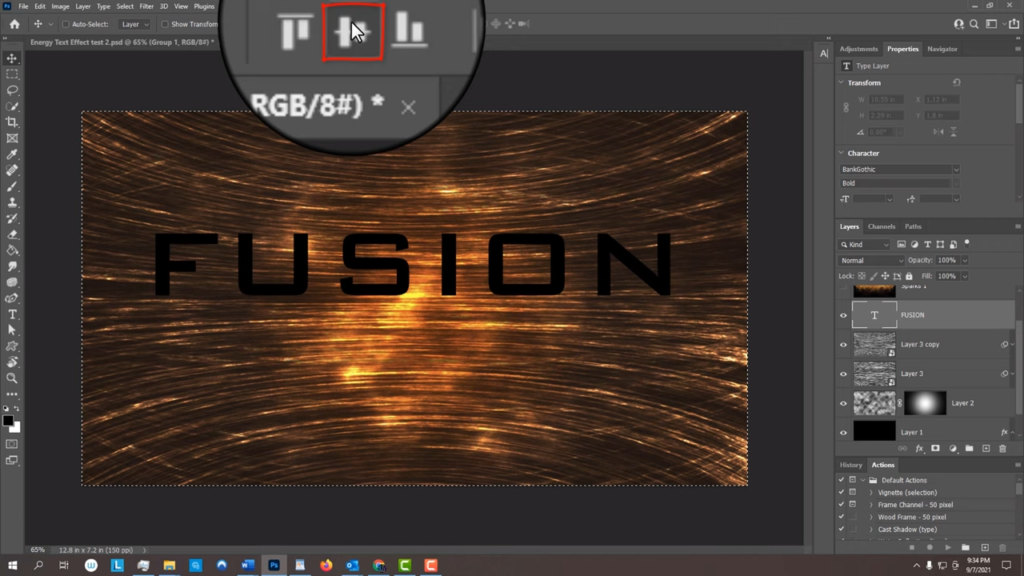
I’ll make it size 166 points, but feel free to make it any size you want. Based on the font you choose and the number of characters in your text. The aliasing is irrelevant for this effect. I’ll choose Center Alignment. Click on the document and type out your text. To adjust the spacing in your line of text also known as tracking, highlight the line and press and hold Alt or Option as you press the right or left arrow key on your keyboard.

6:05
To center it, open your Move Tool and press Ctrl or Command A to select your document. Click the Align Horizontal Centers icon and the Align Vertical Centers icon. Deselect it by pressing Ctrl or Command D.
6:23
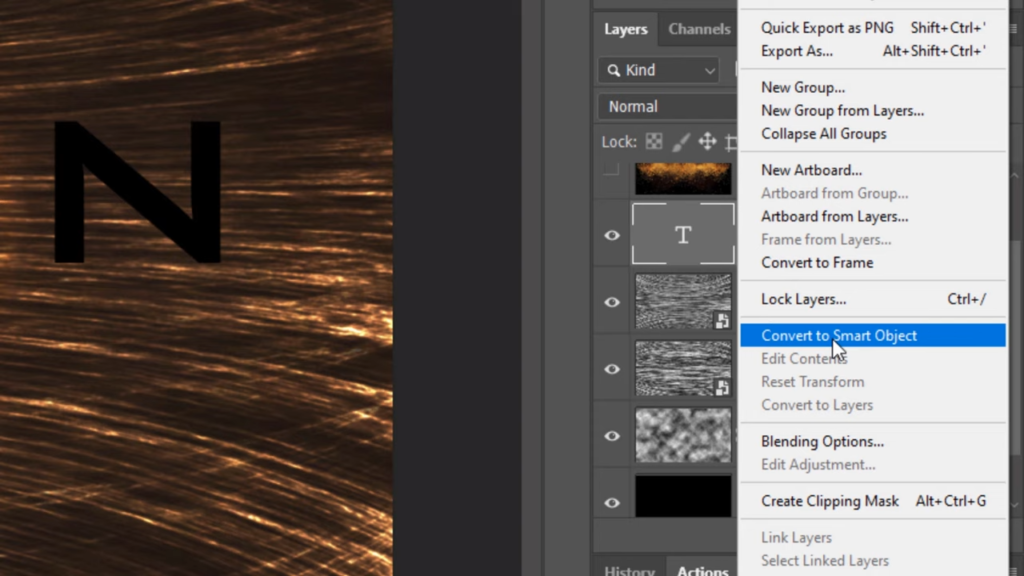
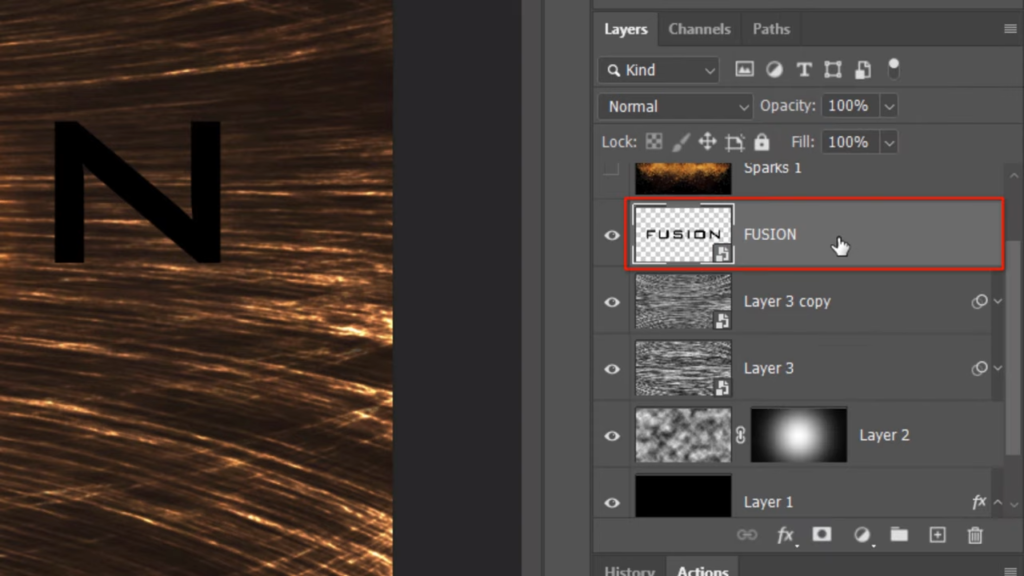
Make it into a Smart Object
6:27
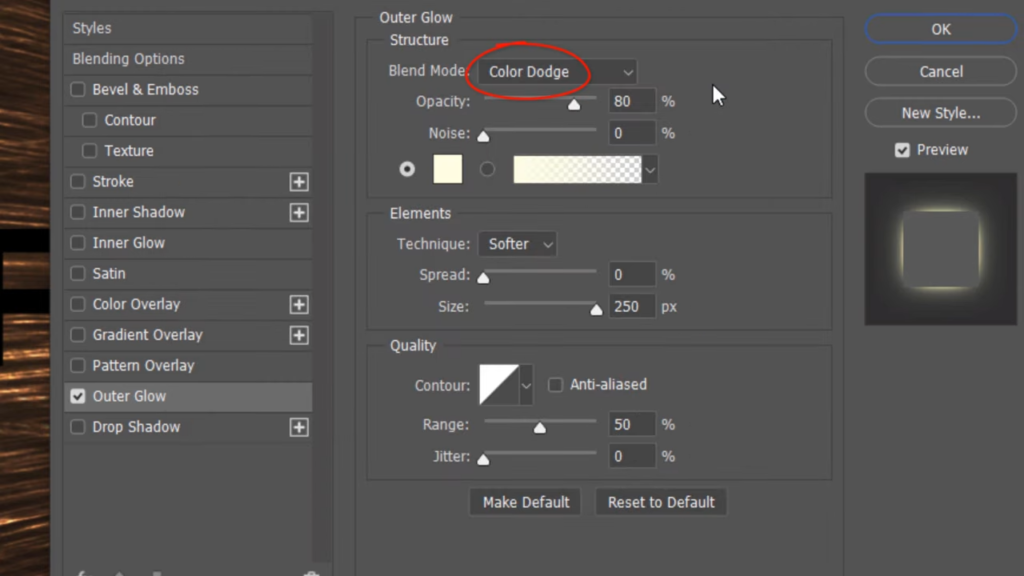
and double click it to open its Layer Style window. Click Outer Glow
6:34
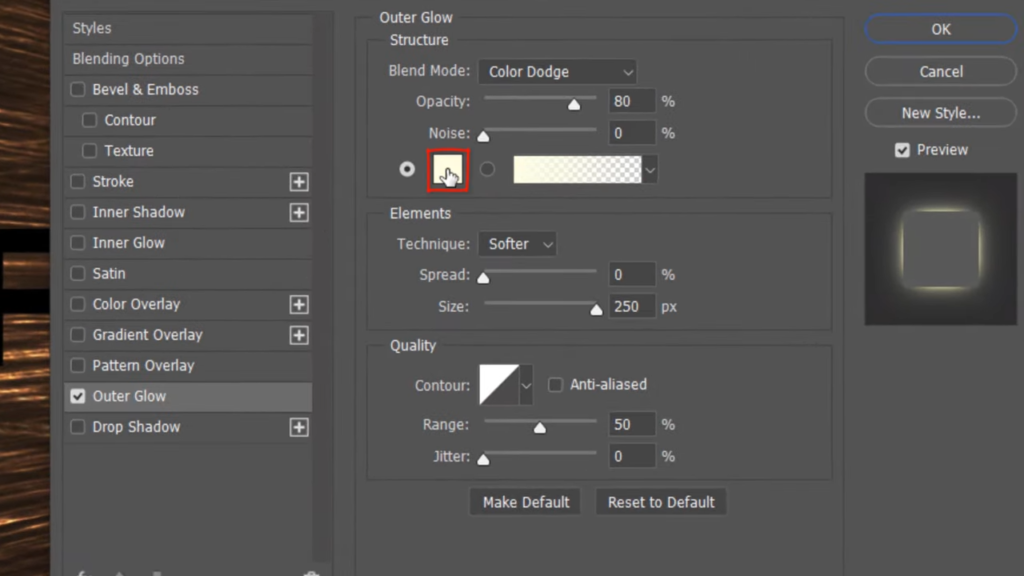
and the color box type in F F F d e to
6:42
the blend mode is Color Dodge and the Opacity is 80%. The Technique is Softer, the spread is 0% and the size is 250 pixels. The contour is linear, and the range is 50%. In case you’re wondering what range does it allows us to control the fall off of our outer glow. A lower setting gives us a harder glow, while a higher setting gives us a softer one.
7:15
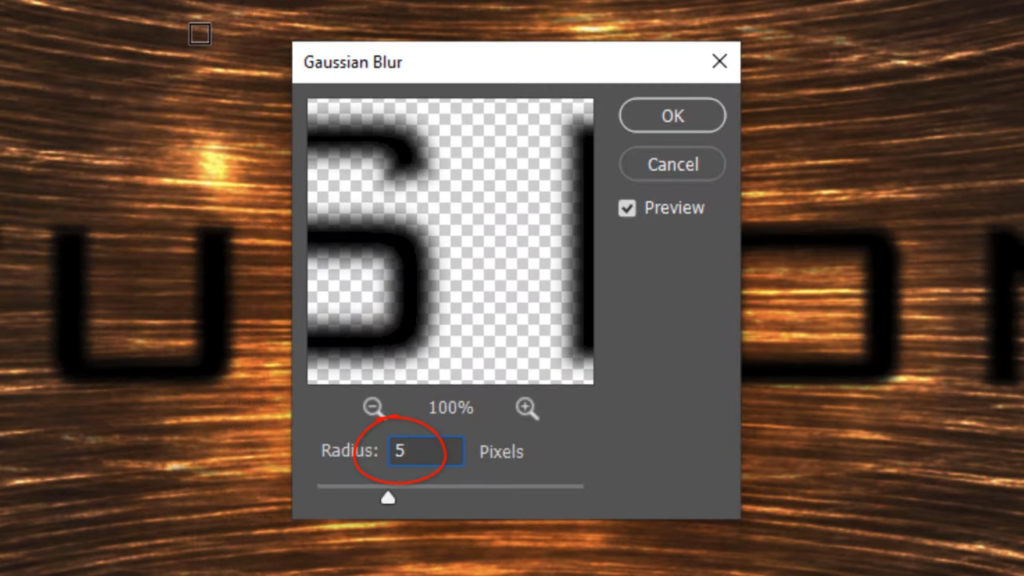
Go to Filter, Blur and Gaussian Blur.
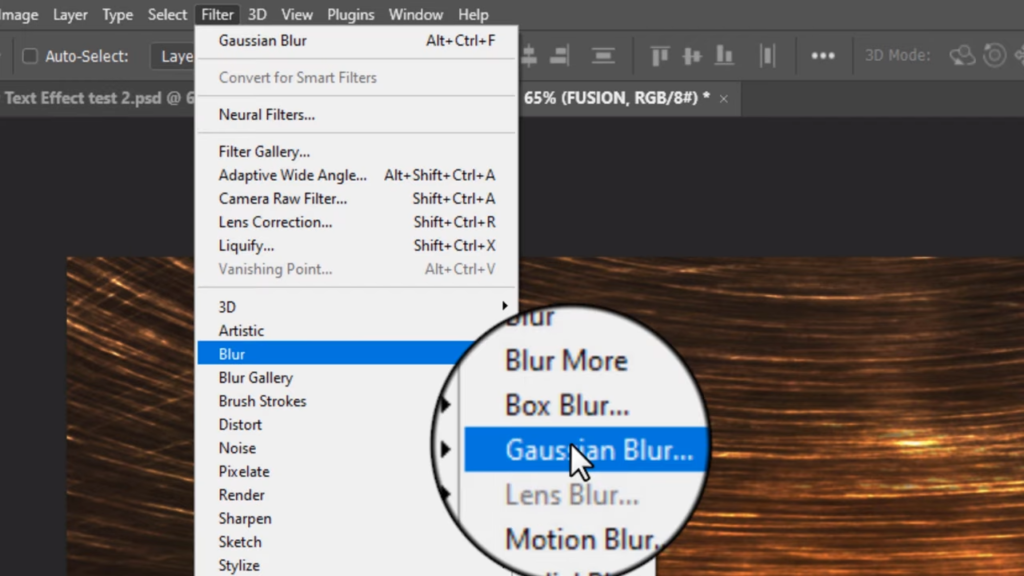
7:21
Blurred five pixels.
7:25
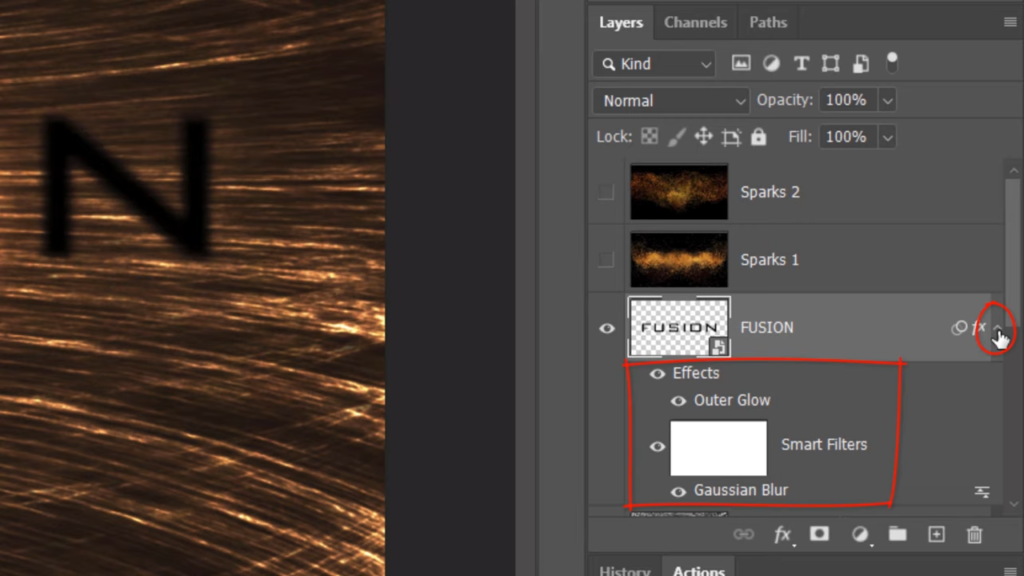
let’s collapse the Smart Filters to save some space. Go to Filter and Liquify.
7:35
With the Forward Warp Tool active, adjust the size of your brush to approximately this size.
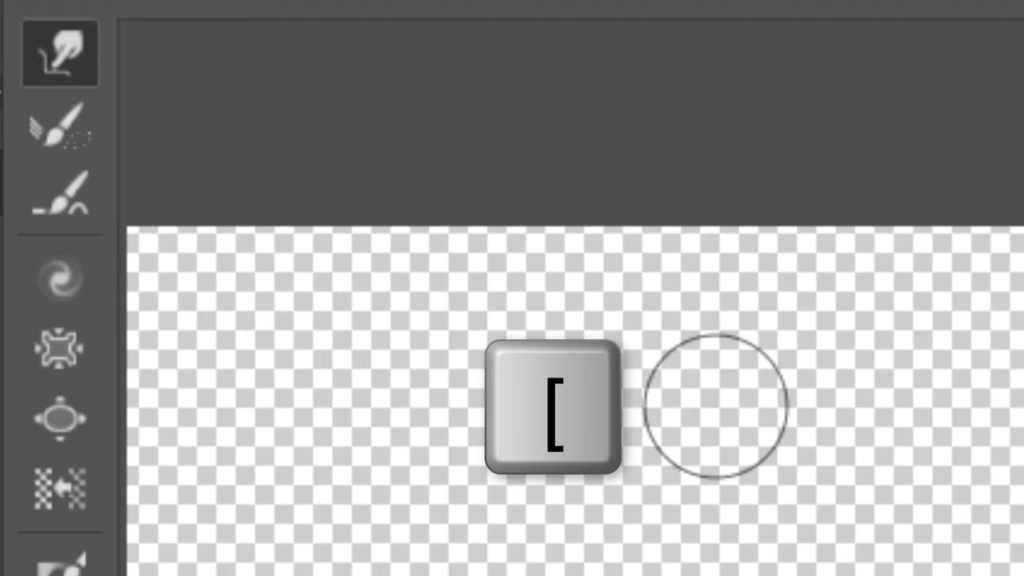
7:42
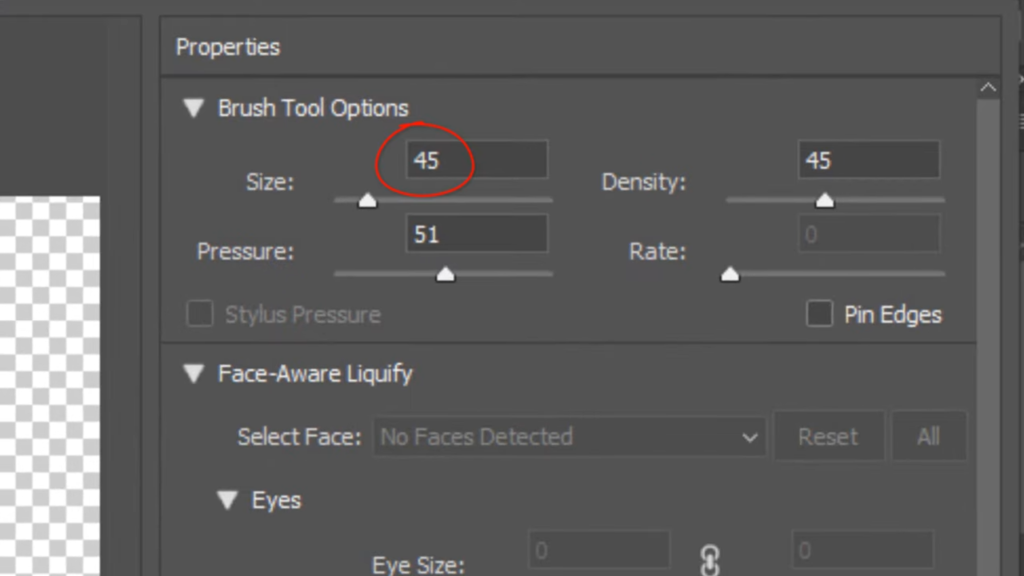
I need the size and the density both 45 and the pressure approximately 50. Drag your brush a little over the first few characters pulling it to the left like taffy. Make sure you’re not distorting it too much. Pull the middle characters a bit to the left and right and pull the last ones more to the right than left.
8:08
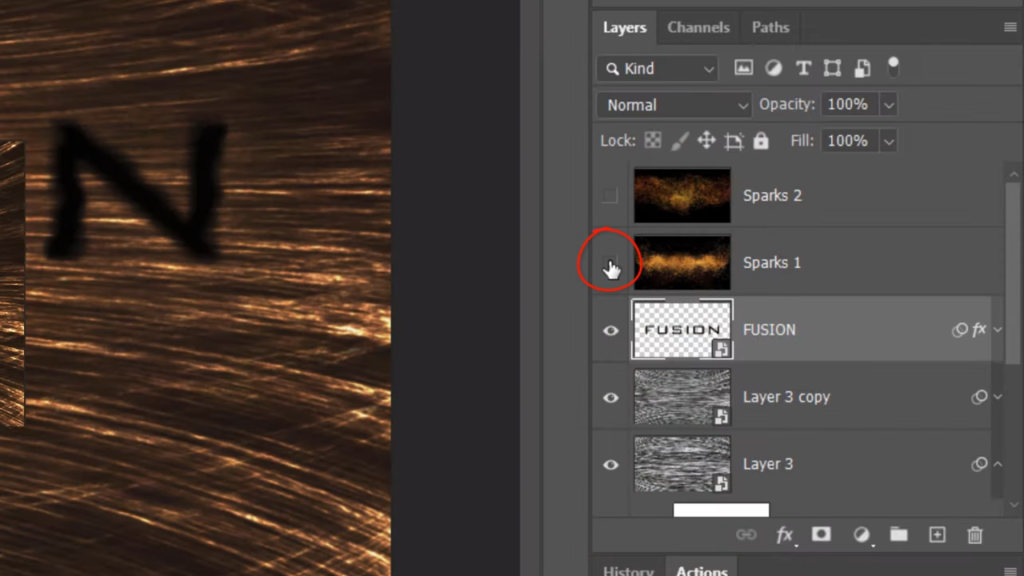
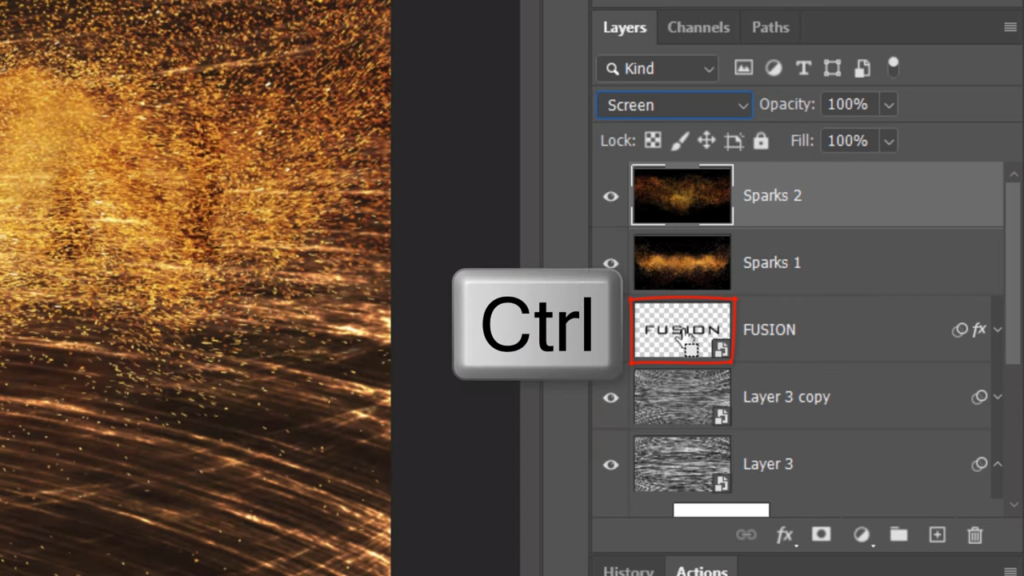
Make the bottom sparks layer visible and active and change its Blend Mode to Screen. Make the top sparks layer visible and active and change its Blend Mode also to screen.
8:24
Control or Command Click the thumbnail of your text to select it shape will make an inverted layer mask of the selection by Alt or Option clicking the Layer Mask icon will copy the layer mask to the bottom SPARCs layer by pressing and holding Alt or Option as you drag a copy of it straight down. Make a top layer mask active and reduce its density to 10%. Lastly, we’ll intensify the red colors. Open the Adjustments tab. If you don’t see it, go to Window and adjustments. Click the Hue Saturation icon and open the list of color ranges. Click reds and increase the saturation to 80%.
0 Comments