

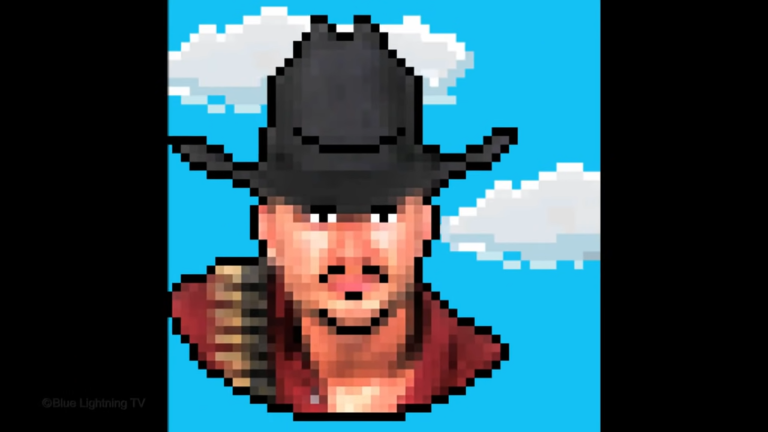
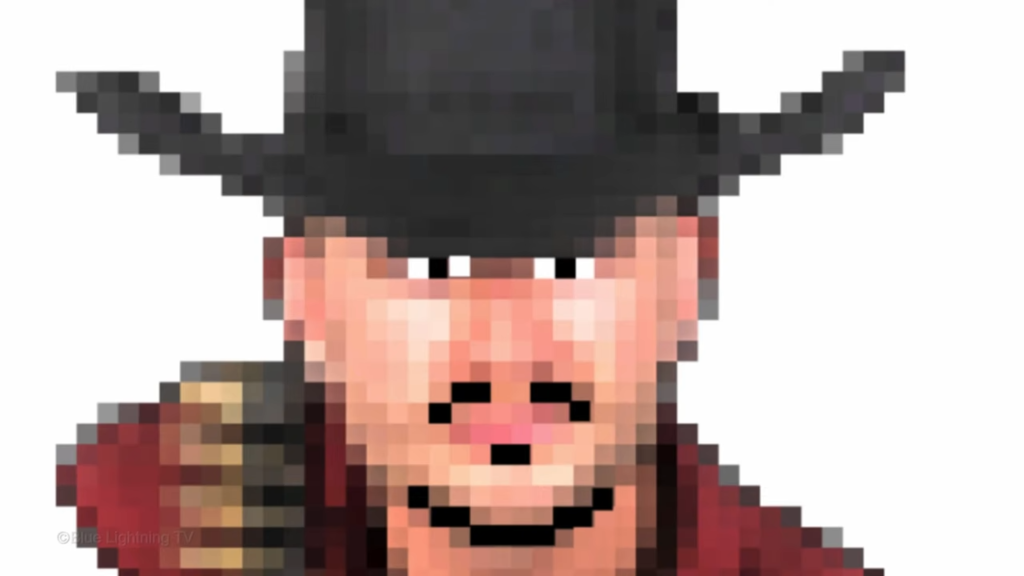
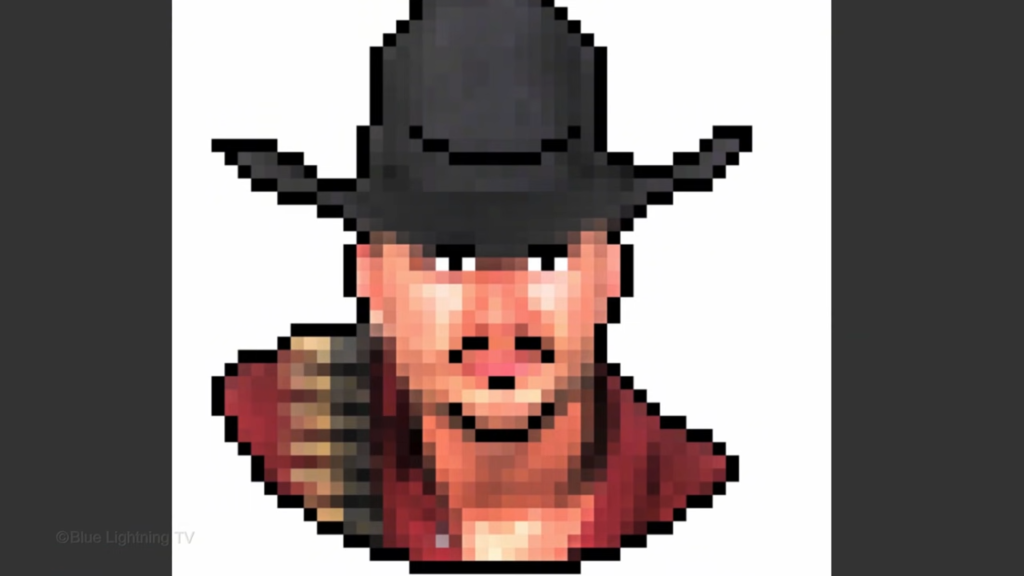
How to create a fun retro eight bit pixel art portrait from a photo.
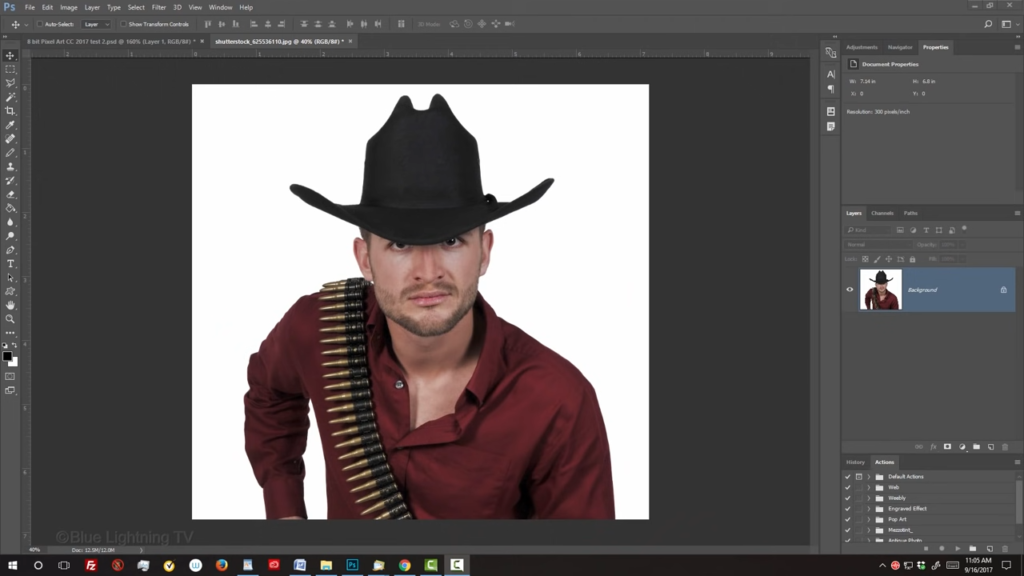
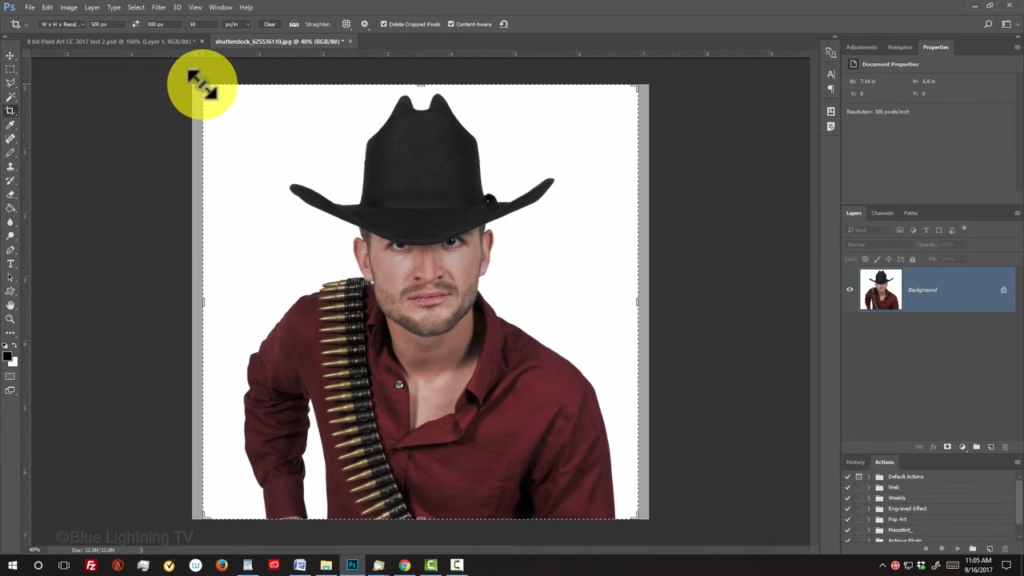
Open a photo of someone or something that you’d like to use for this project. I downloaded this one from Shutterstock. Before we begin, I want to mention that I’ll be moving a bit faster for more advanced users. The first step is to resize it to get the results we want.
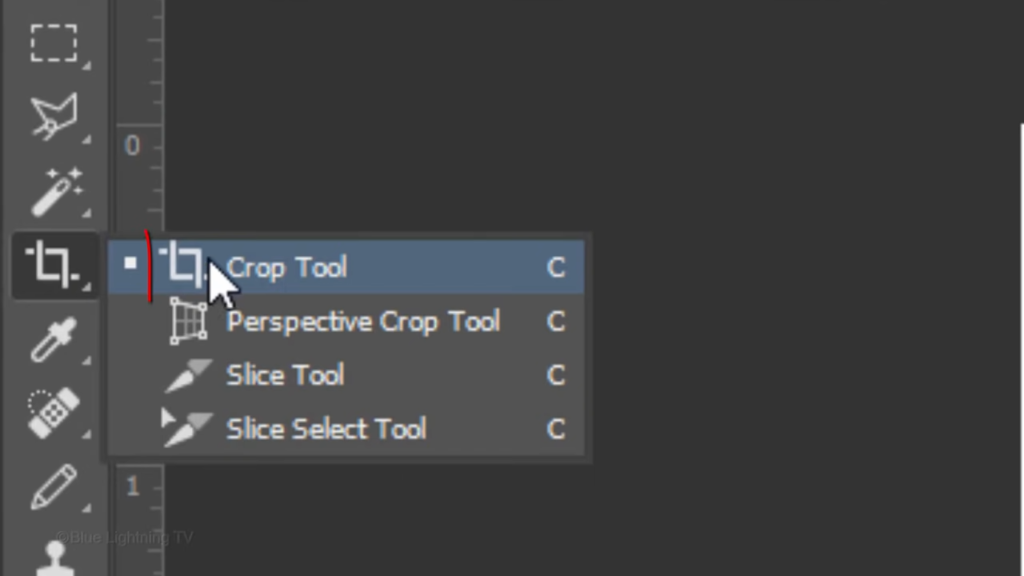
Open your Crop Tool.
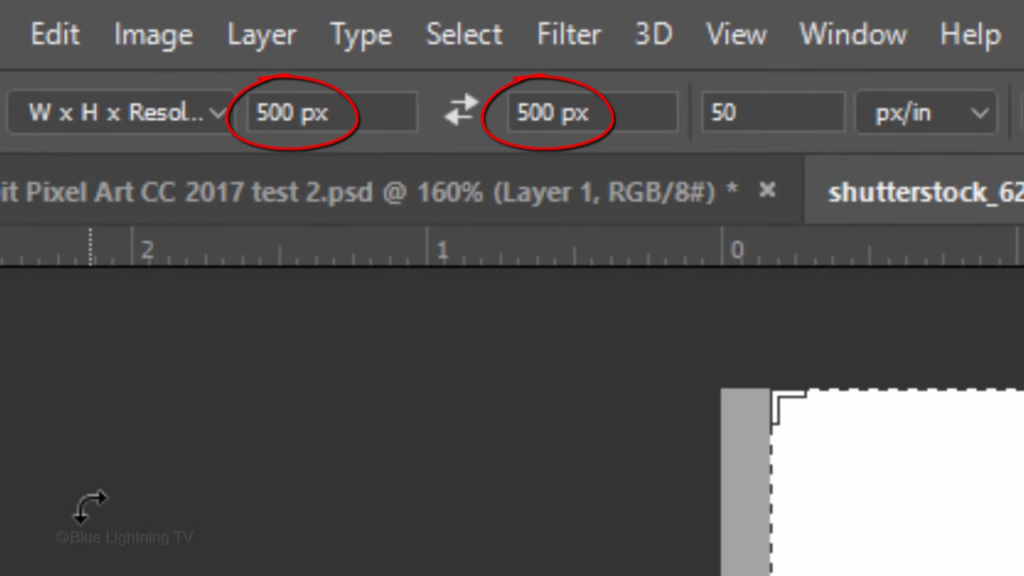
In the Width and Height fields, type in 500 pixels each.
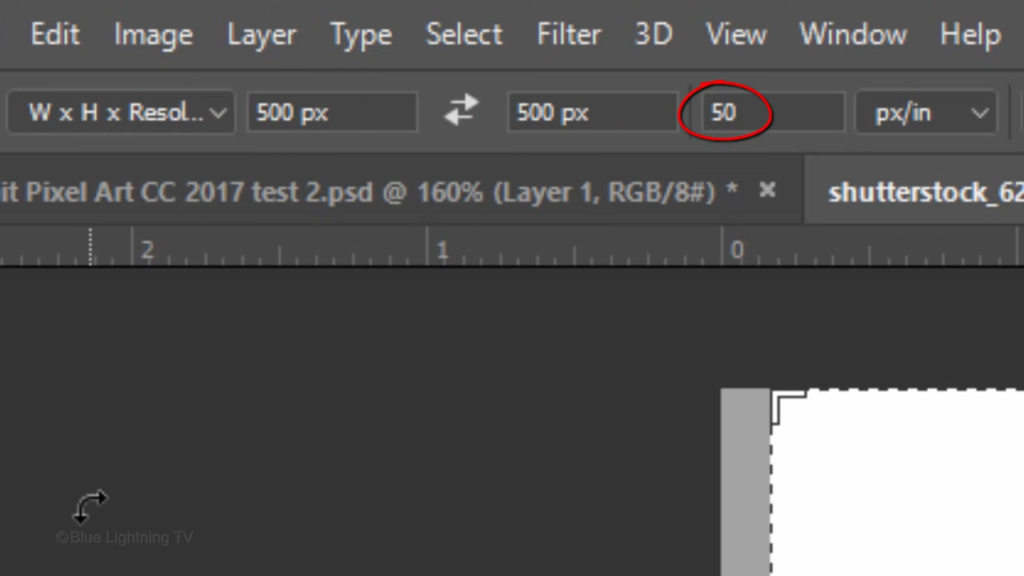
And for its resolution, type in 50 pixels per inch.
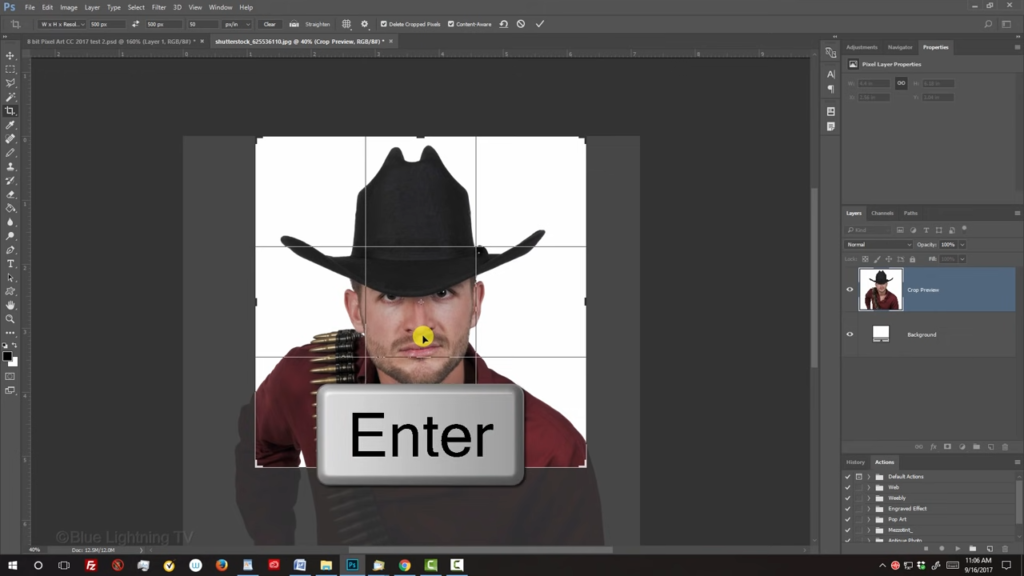
Drag the crops bounding box, see your subject is centered and size to your liking.
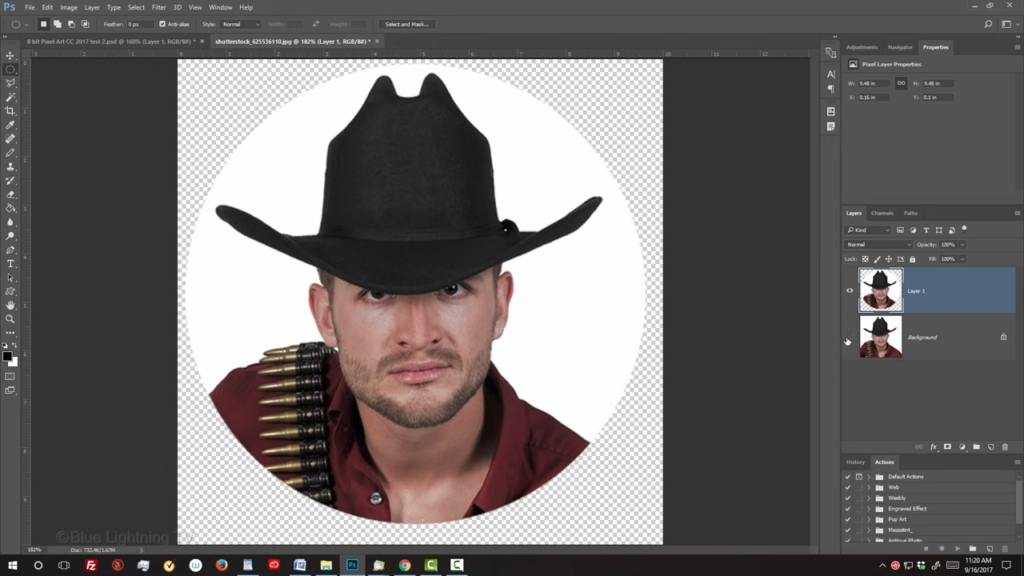
Then, press Enter or Return. To fit it back onto your canvas, press Ctrl or Command zero. For this example, I’d like to crop the bottom of my subject into a circular shape. If you’d like to do the same for your subject, open your Elliptical Marquee Tool.
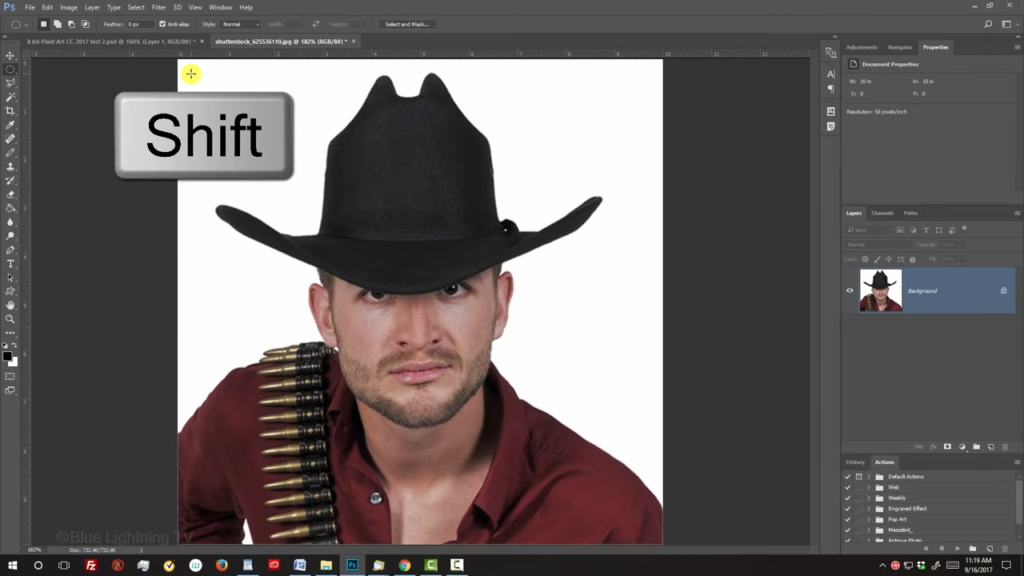
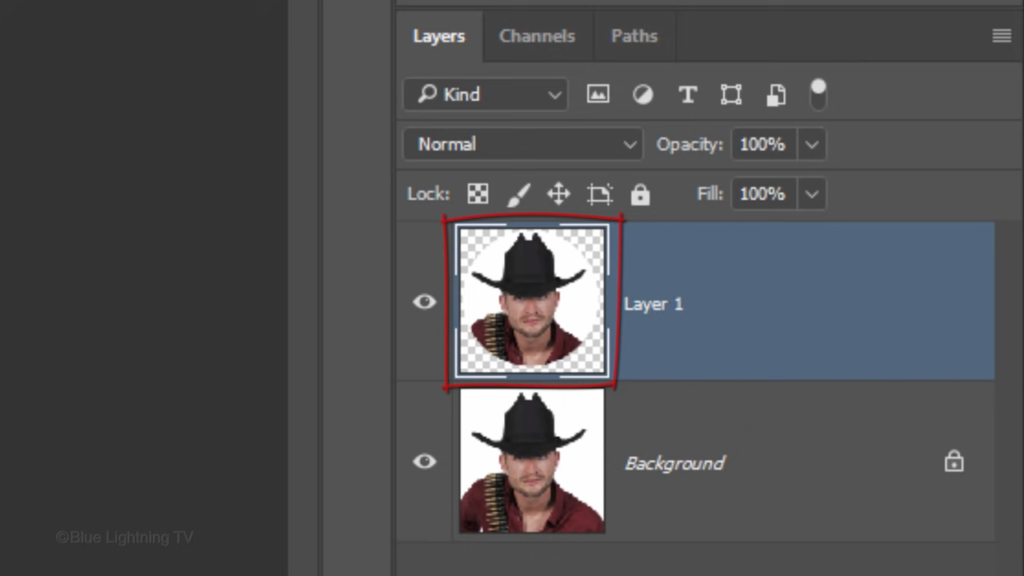
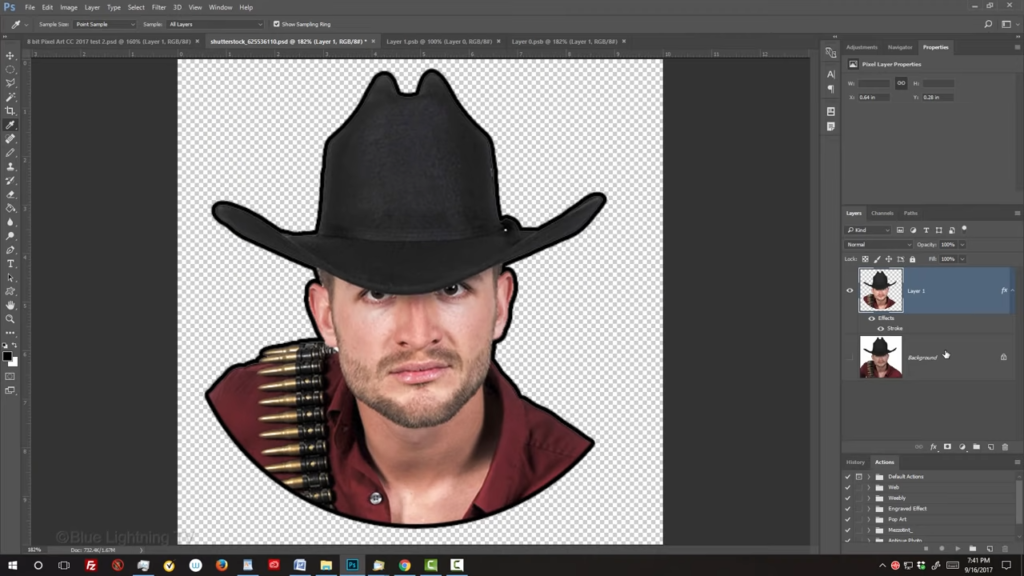
Go near a corner and press and hold the Shift key as you drag a circular selection over it. We’ll cut out our subject inside the selection by pressing Ctrl or Command J.
Click the eyeball icon next to the bottom layer to hide it.
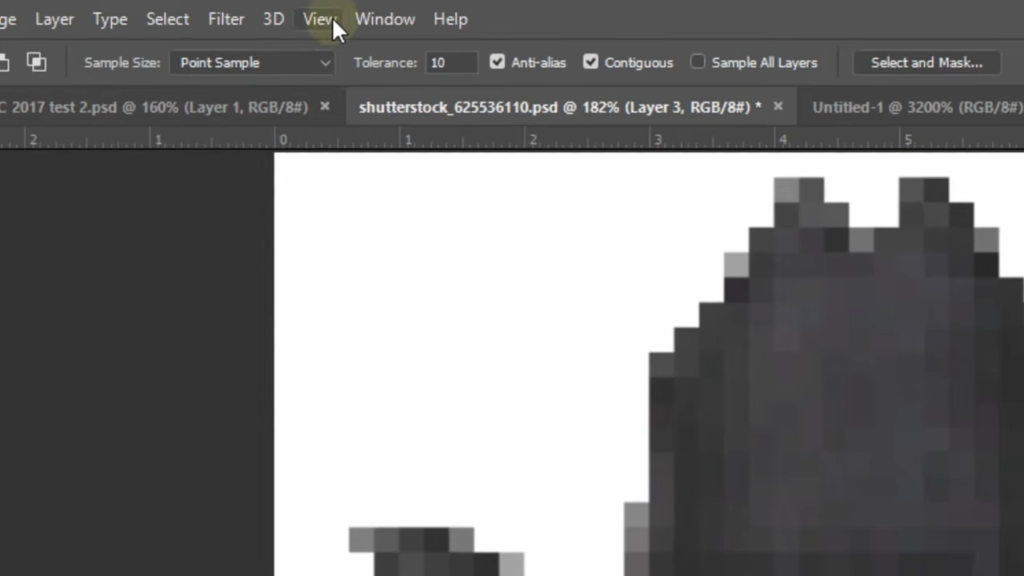
Next, we’ll delete the rest of the background behind our subject. There are many ways to do this and your method should depend on the characteristics of your photo. For this example, since the background is pure white, I’ll use my magic wand tool.
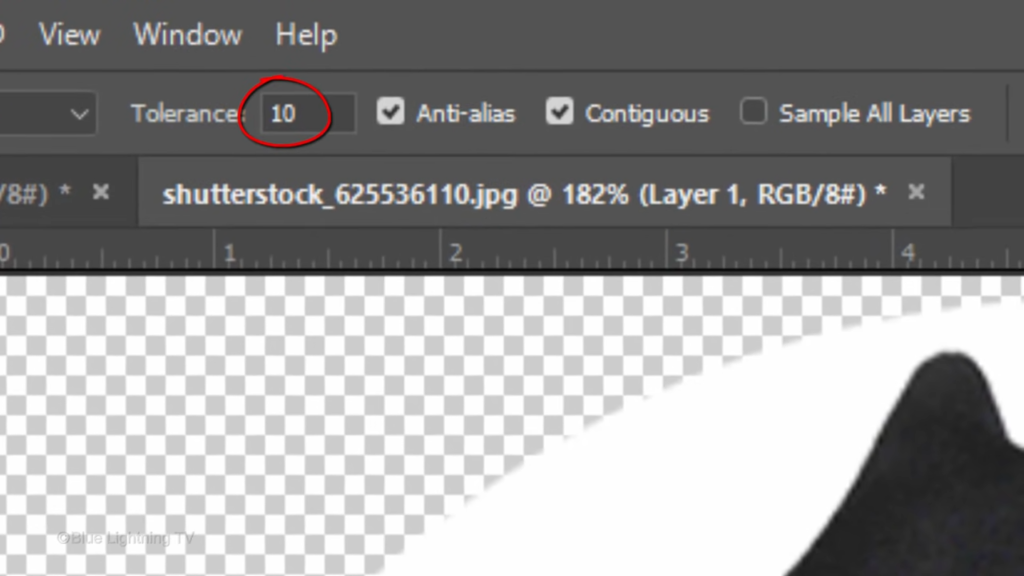
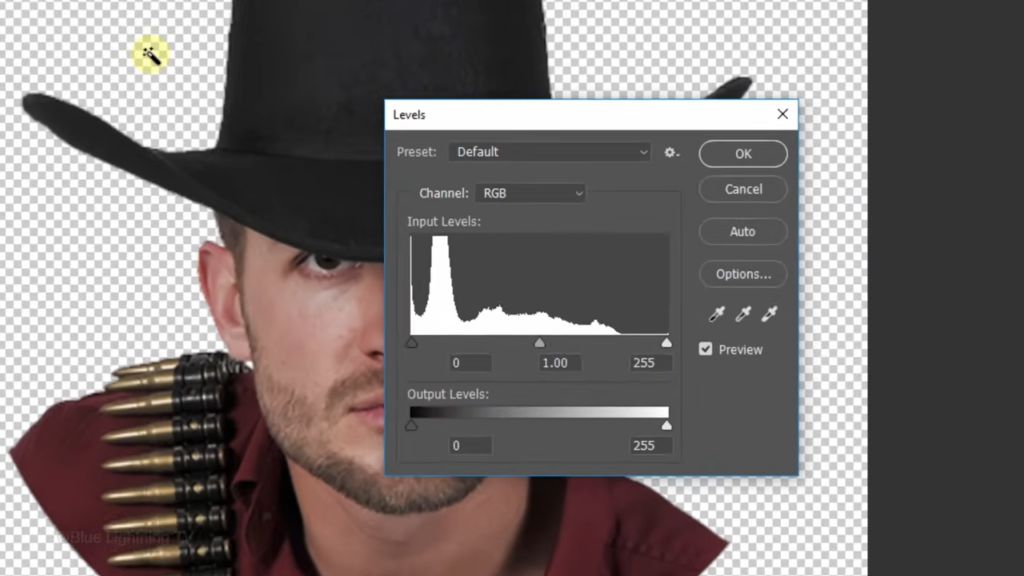
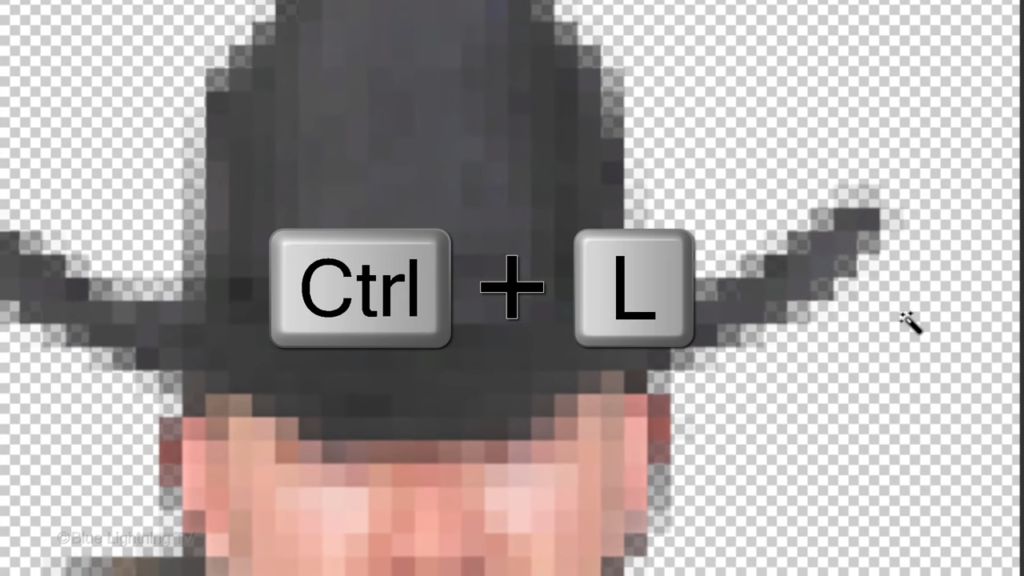
I’ll make the tolerance 10 And make sure Contiguous is checked. Contiguous will ensure that only the white area outside my subject will be selected. I’ll click anywhere on the white area to make a selection of it. After you make your selection. Press the Delete key on your keyboard to delete the background. To deselect it, press Ctrl or Command D. To check the brightness and contrast of your subject. open your Levels window by pressing Ctrl or Command L.
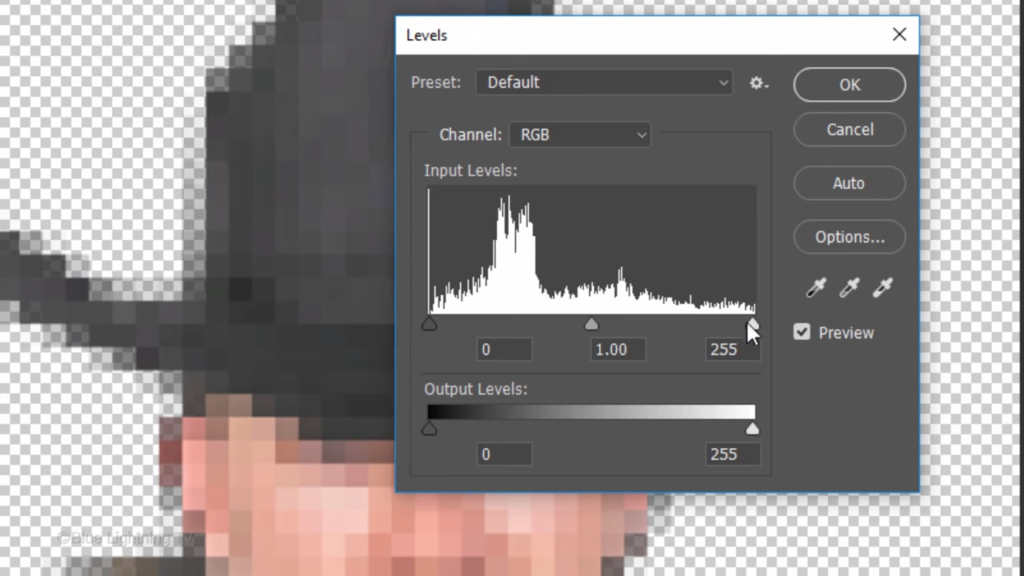
If the histogram starts to rise somewhere other than the ends, Drag the Input Levels to the points where the histogram starts to rise. In this example, only the Input Highlight level needed to be slid over.
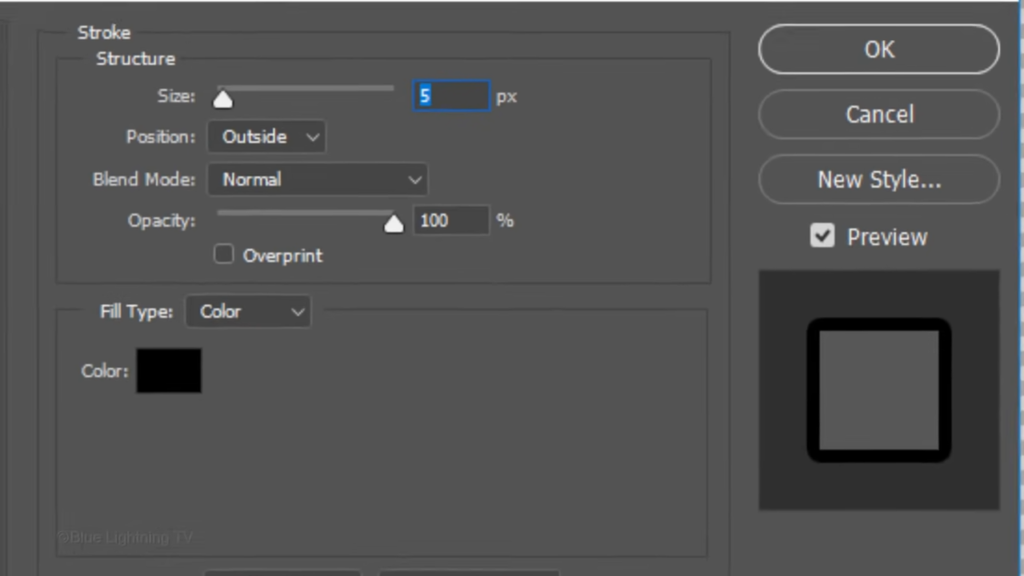
Click the fx icon and click Stroke.
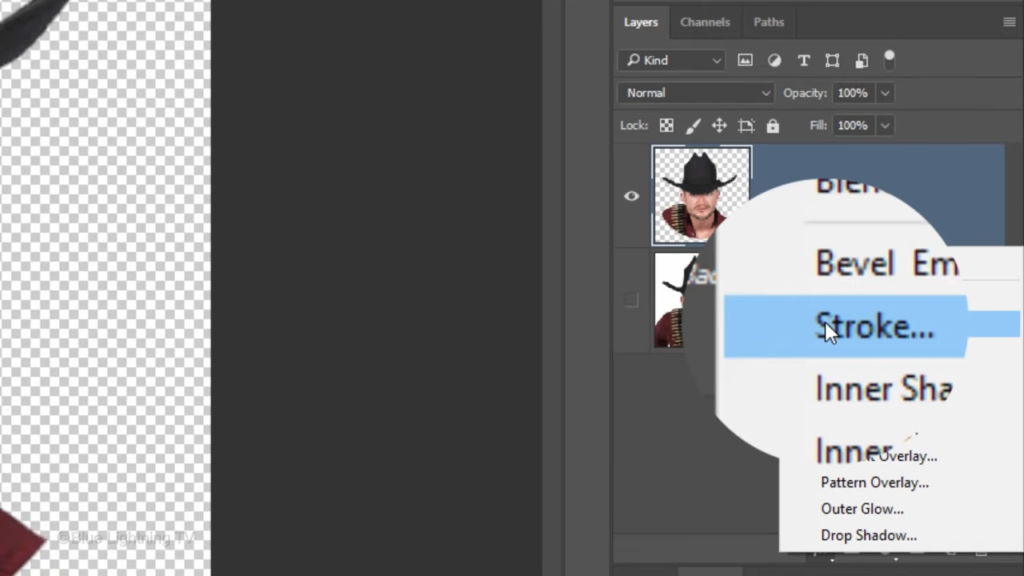
The color is black. The size is five pixels and the Position is Outside. Then click OK or press Enter or Return.
We’ll convert our image into a Smart Object so we can add filters and additional adjustments to it not destructively. To do this, click the icon at the upper right of the Layers panel and click Convert to Smart Object.
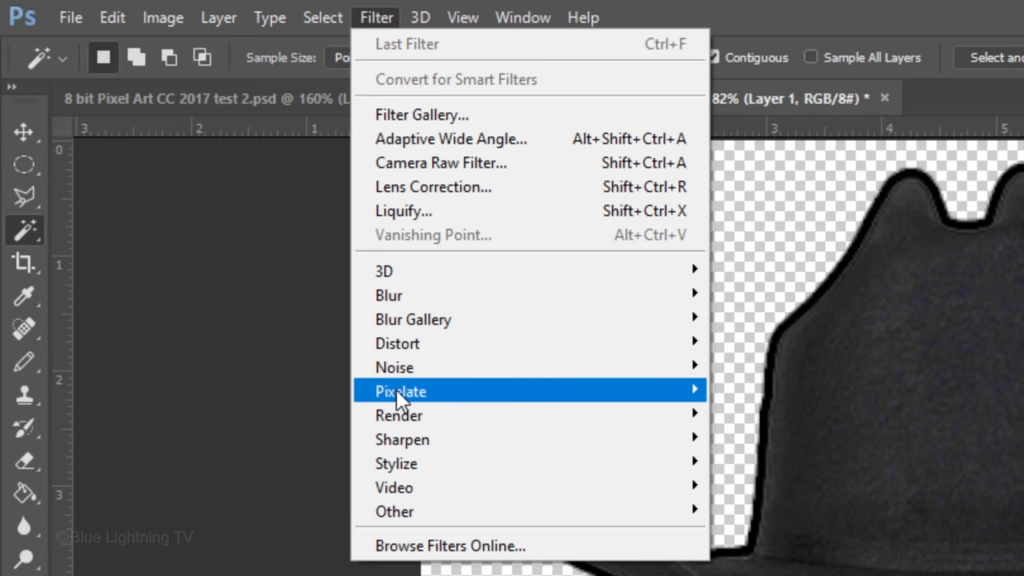
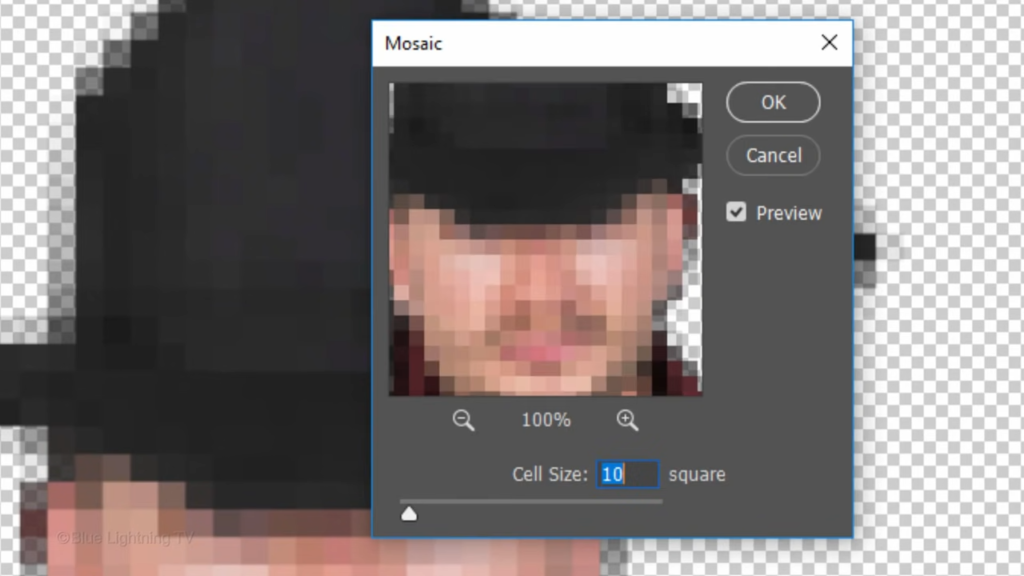
Go to Filter, Pixelate and Mosaic.
Make the Cell Size 10 Square.
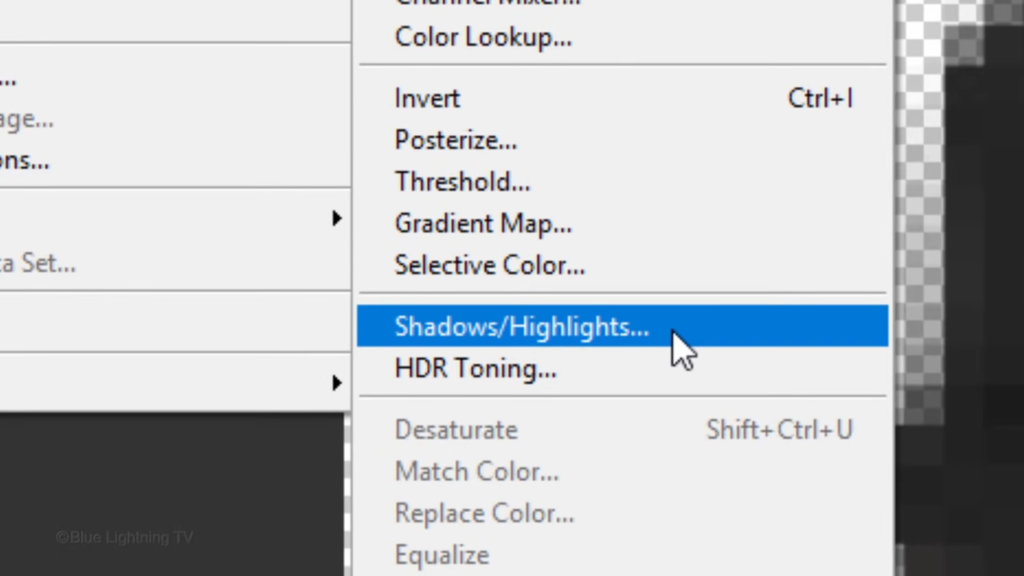
Go to Image Adjustments
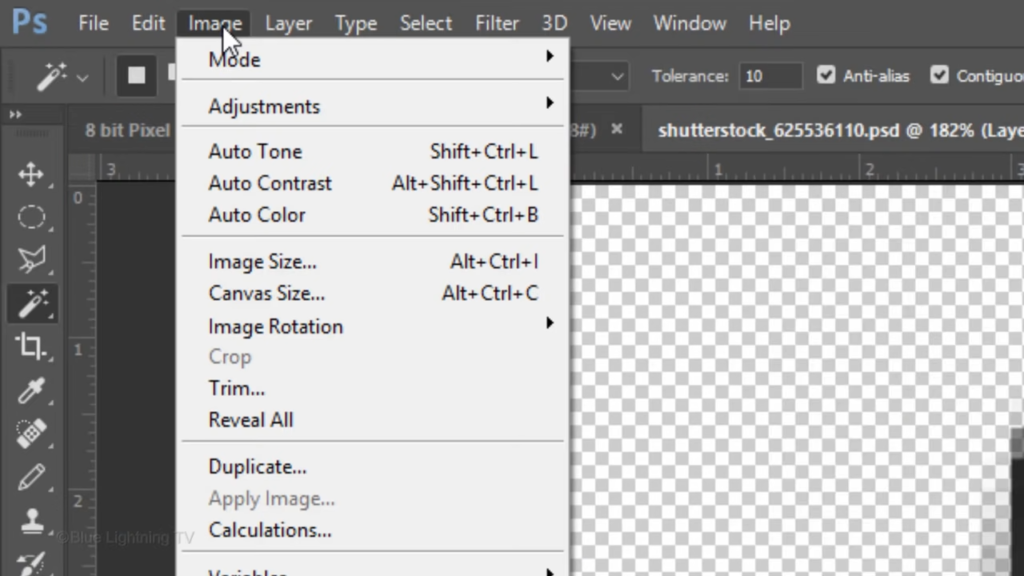
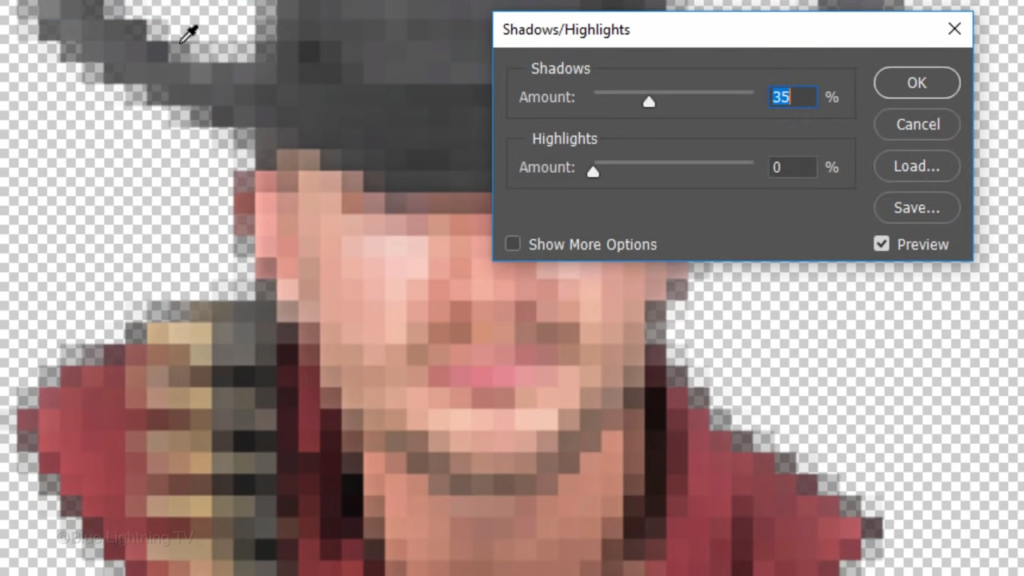
and shadows highlights.
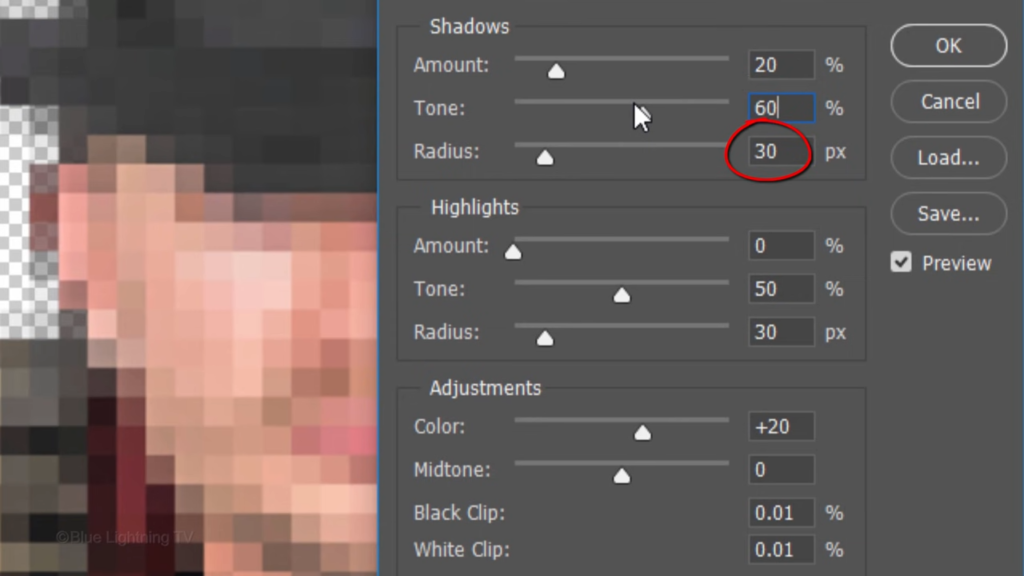
Check show more options.
Make the shadow amount 20.

The tone 60

and the radius 30.
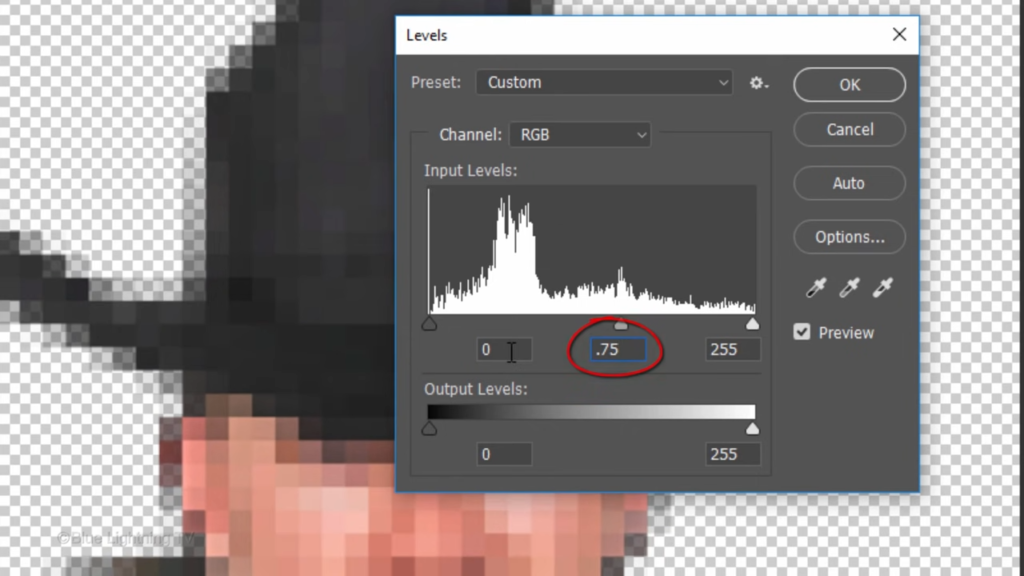
We’ll adjust the levels again by pressing Ctrl or Command L
I’ll make the input mid tones point 75
And the Input Highlights to 23 however, feel free to adjust these amounts.
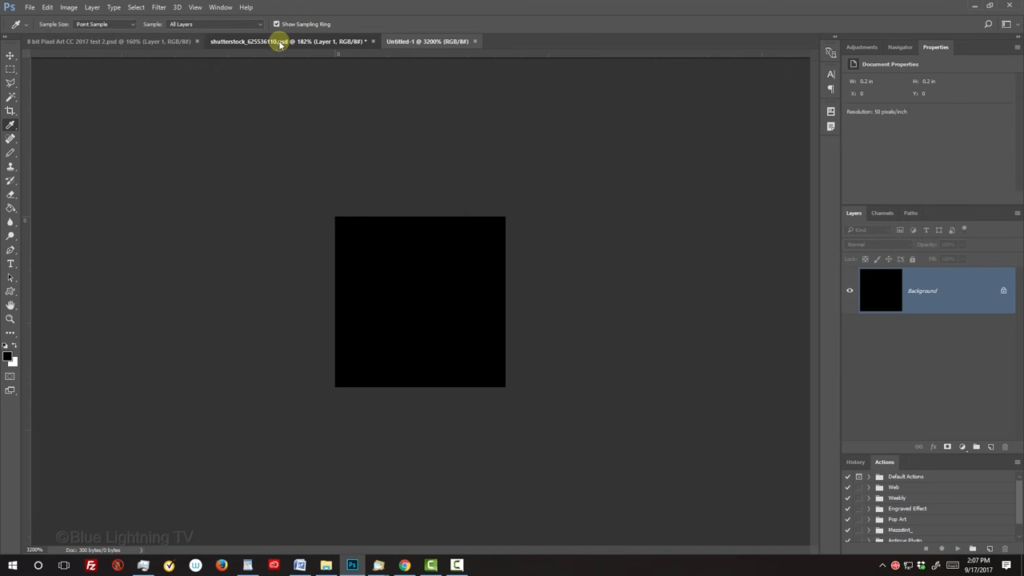
Next we’ll enter black and white squares to accentuate certain features of our character. I’ll show you two ways of doing it. First, I’ll show you how to do it if you’re using a version earlier than CC. Then I’ll show you how to do it using CC or later which has a precise method. If you are using a version earlier than CC Create a new document by pressing Ctrl or Command N or go to File and New.
Make the Width and the Height 10 pixels each
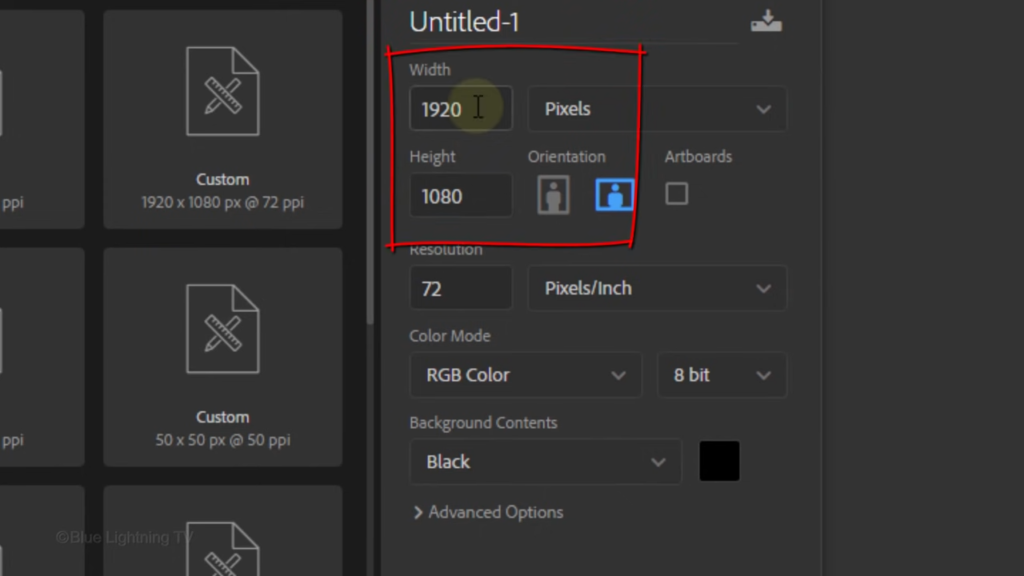
and the Resolution
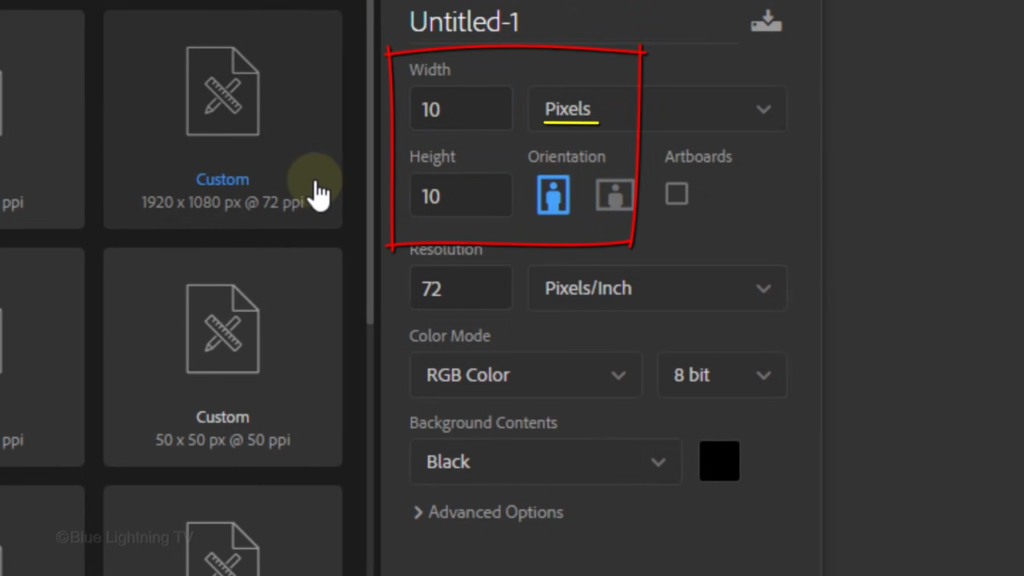
50 pixels per inch, the color is black.
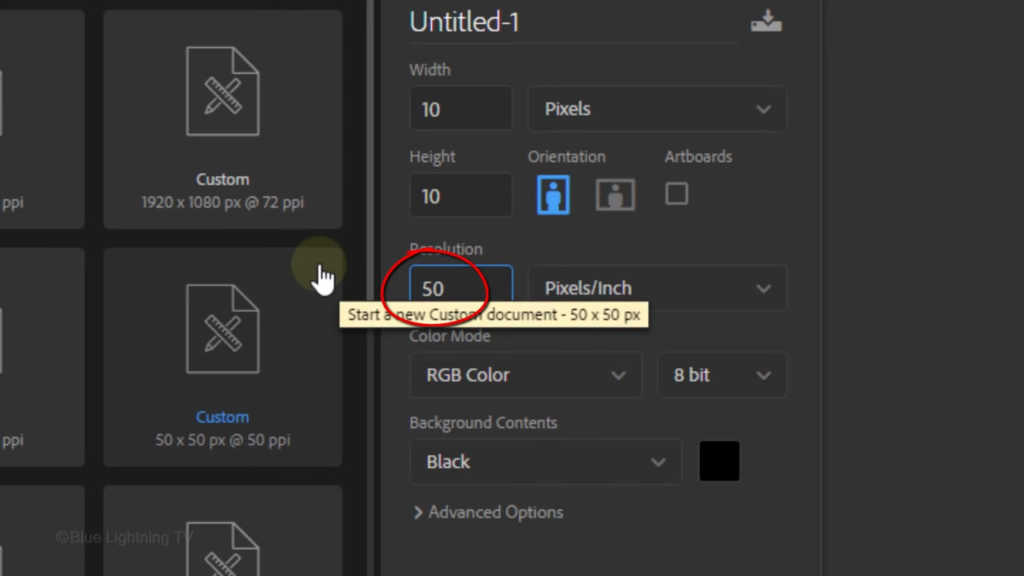
Then click Create or open.

To see it on your canvas at its maximum size, press Ctrl or Command zero.
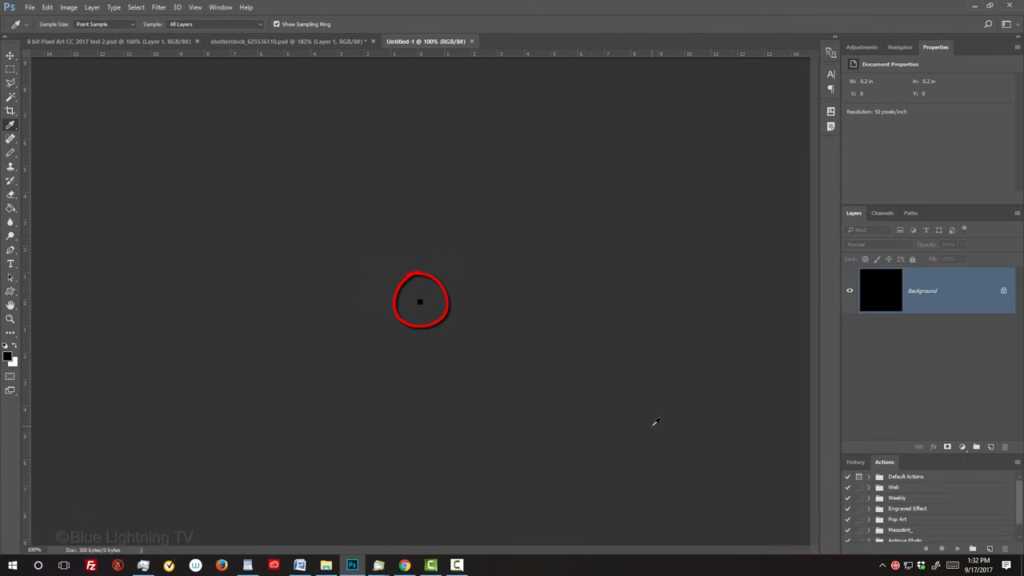
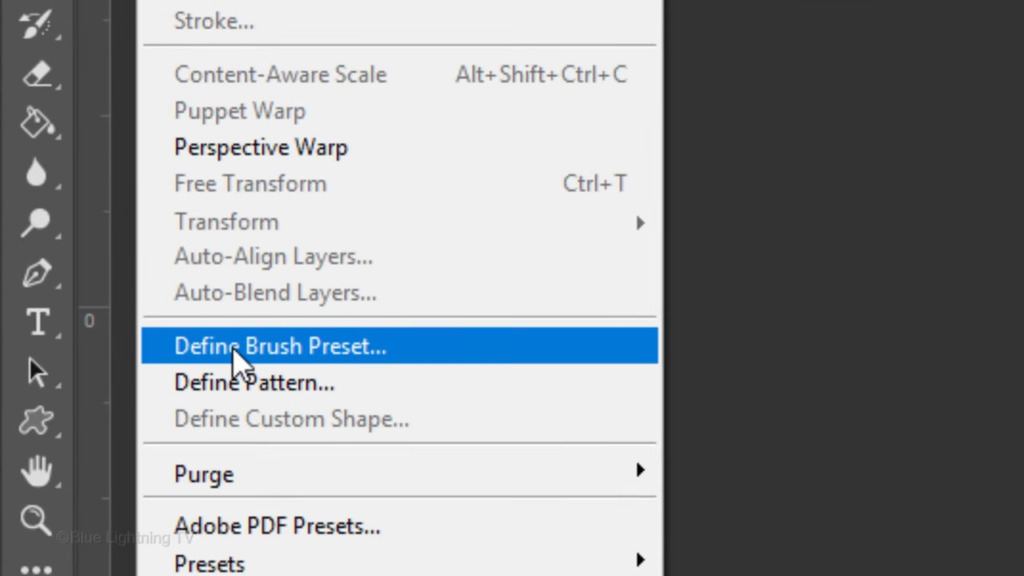
Go to Edit
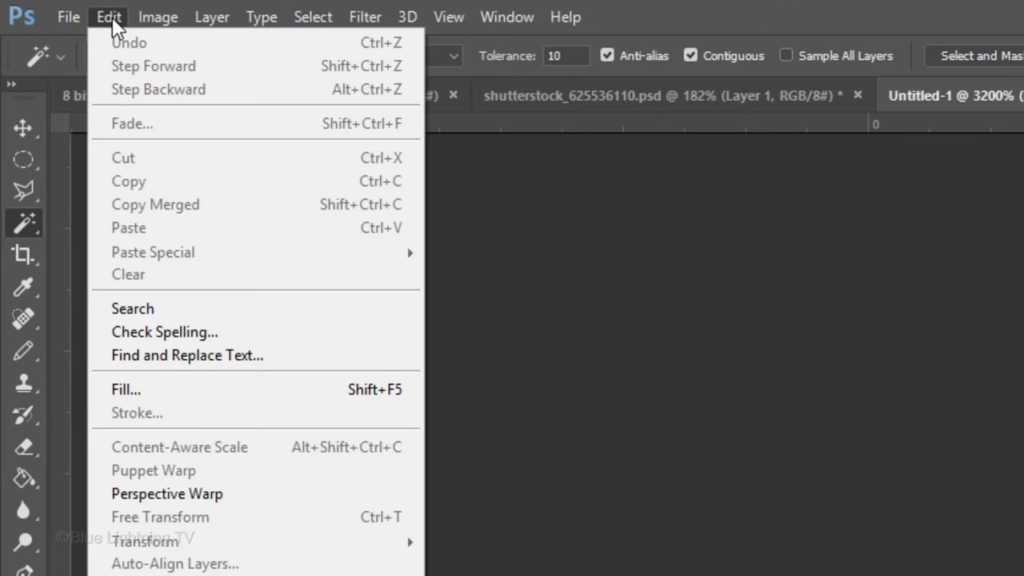
and Define Brush Preset.
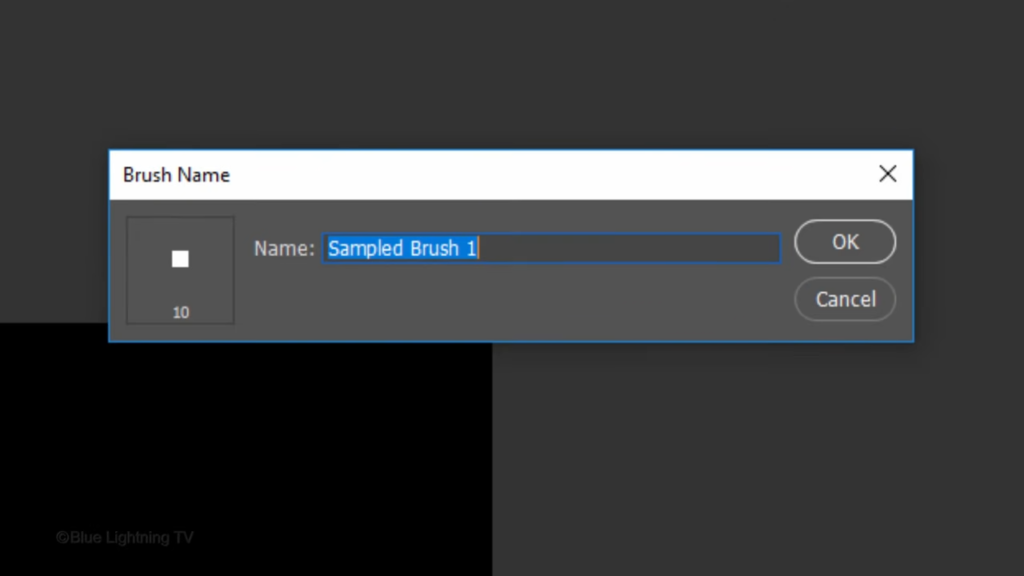
When this window appears, just click OK.
Open back your pixel art document. Irrespective of the version you’re using, let’s remove the lightest squares along the edge of your character. Go to Select and Color Range.
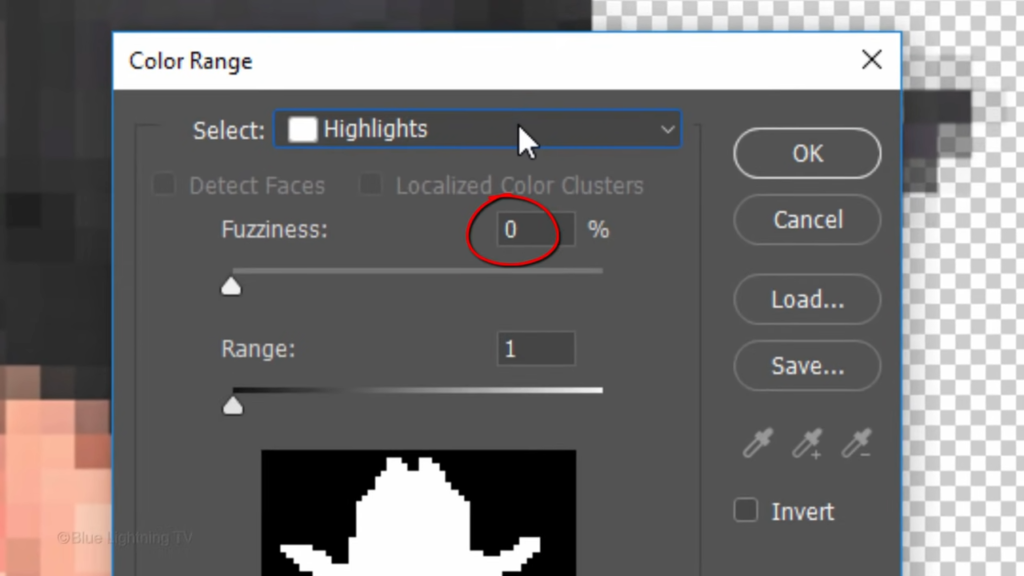
Choose highlights.
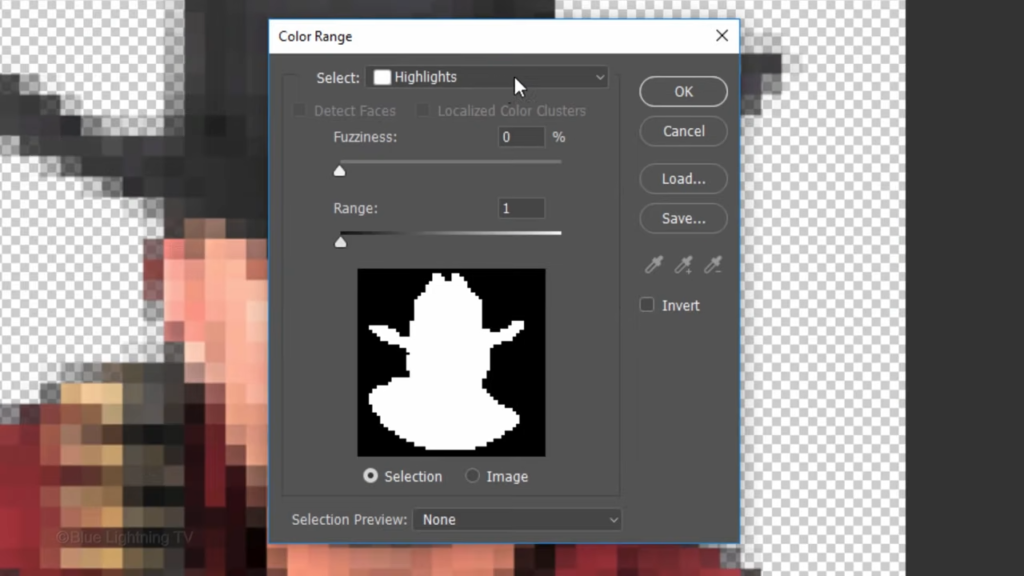
Make the fuzziness 0% And the range one.
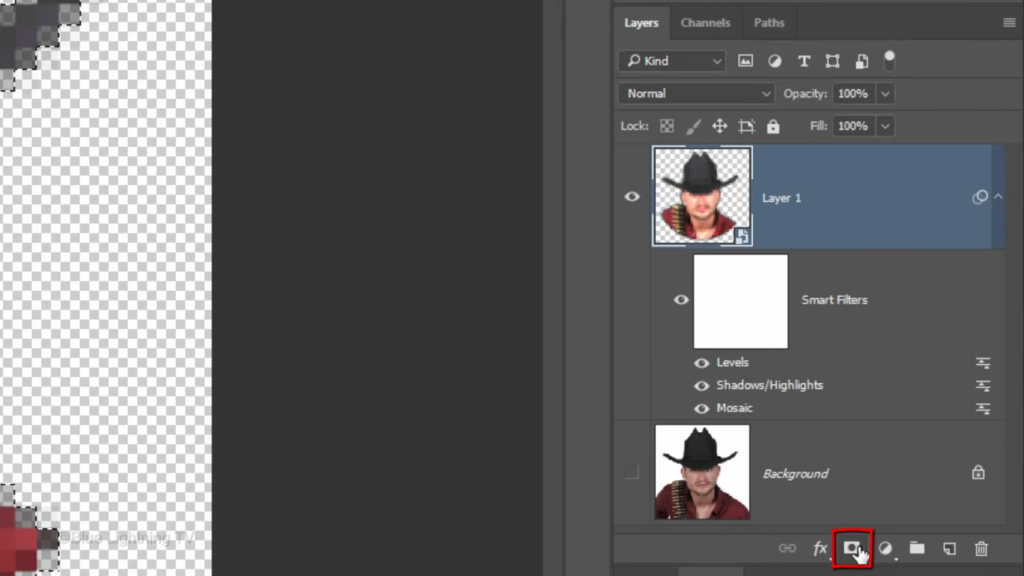
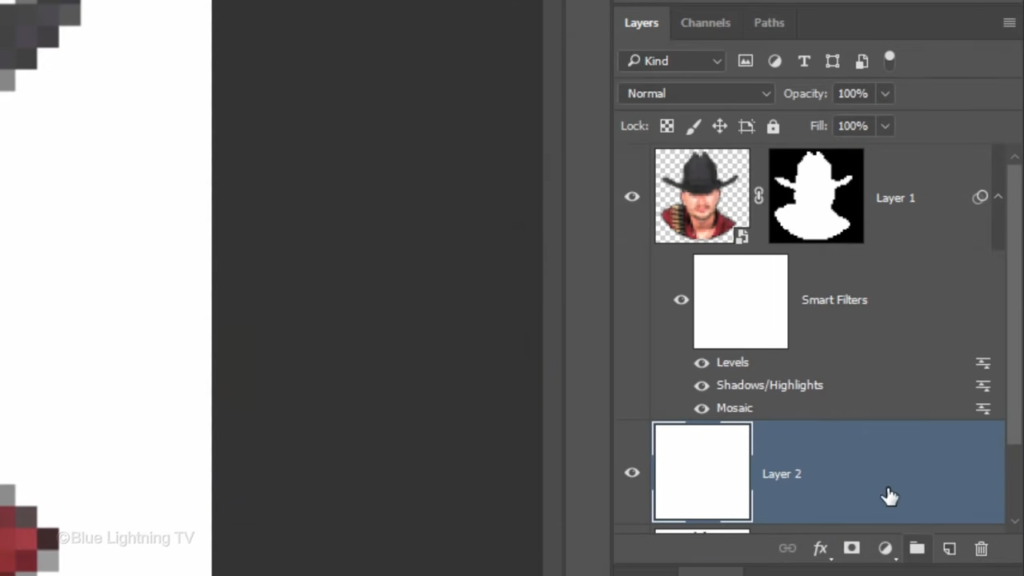
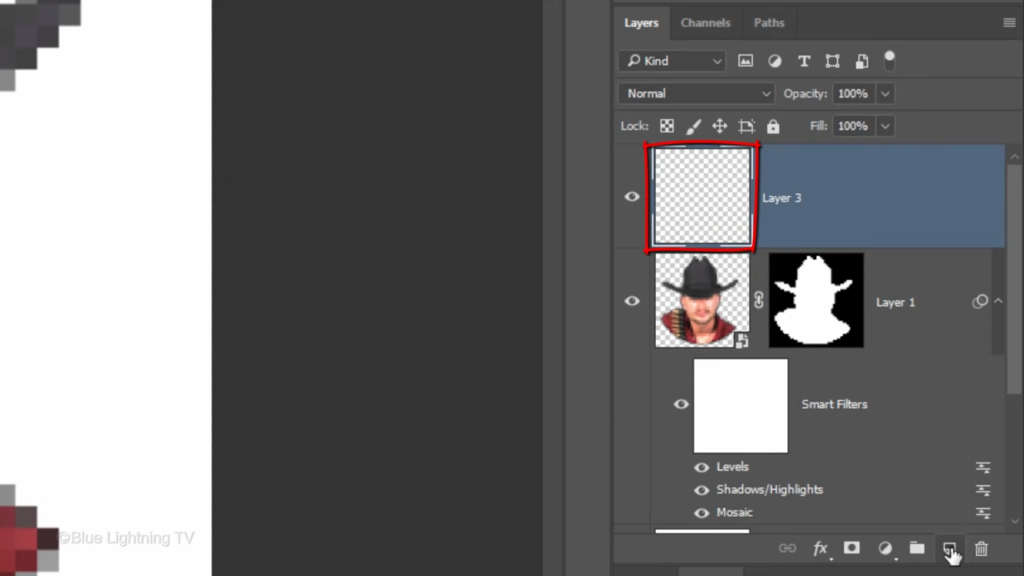
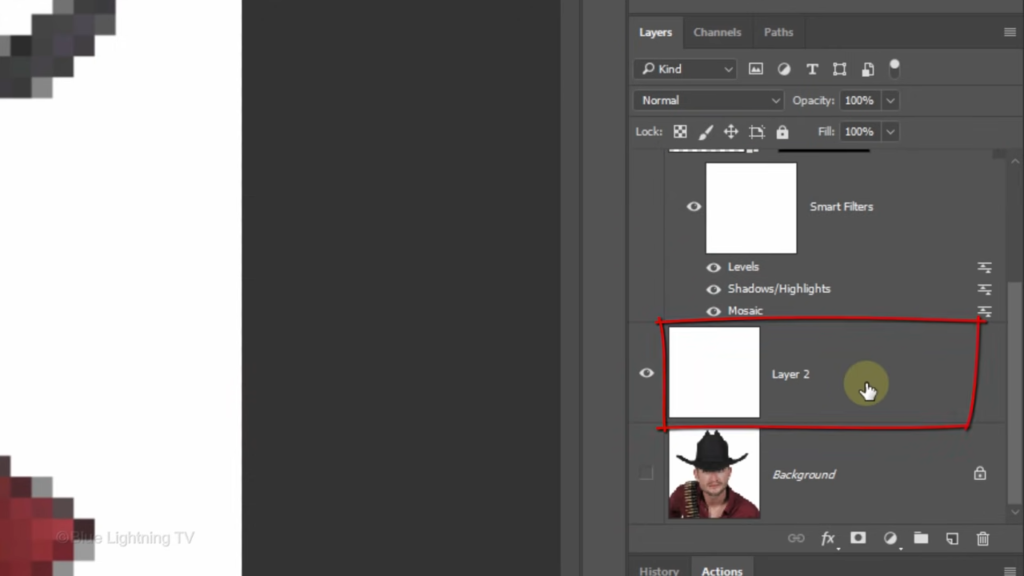
Click the Layer Mask icon. To make a layer mask the selection next to the active layer. We’ll make a new layer below the active layer by Ctrl clicking or command clicking the New Layer icon. We’ll use this layer as the background for now let’s fill it with white and since white is our background color, press Ctrl or Command plus delete.
Click the top layer to make it active and make a new layer above it.
Four versions earlier than CC.
Open your Pencil Tool
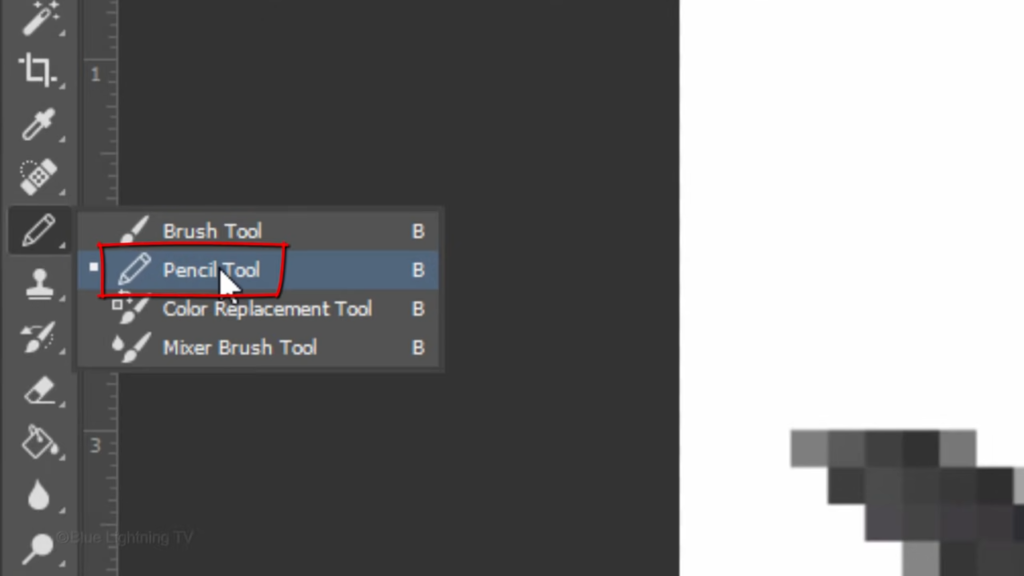
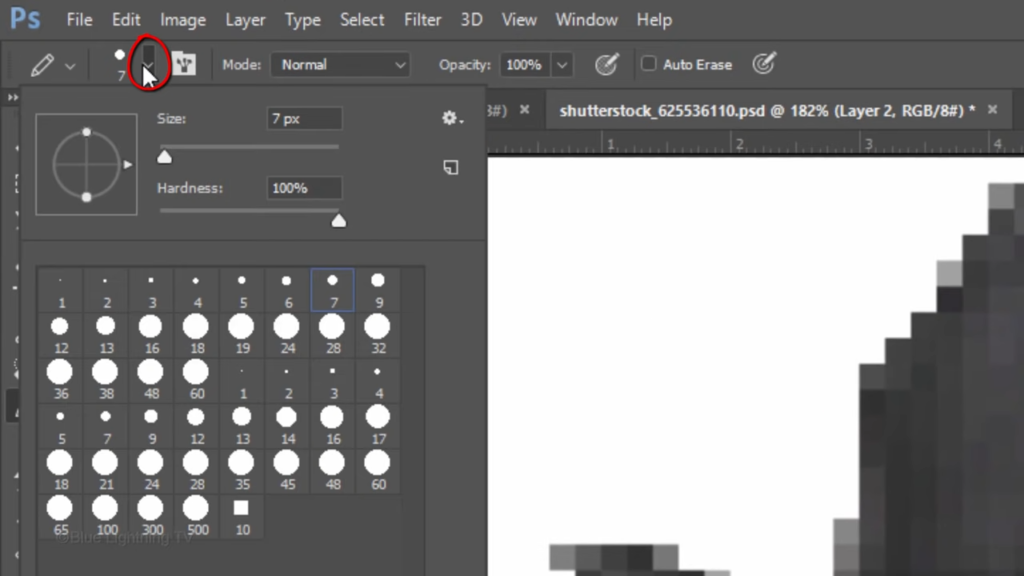
and Pencil Picker. The last thumbnail is the preset we saved earlier. Click it to make it active and make sure its opacity is 100%. For this example, I’ll add black squares to my subjects moustache and beard. However, this first method requires great care and aligning it over the square under it. If it’s not aligned exactly, press Ctrl or Command Z to undo the last step and try again. To make your brush white. press x on your keyboard to invert your foreground and background colors.
For those who are using CC or later,
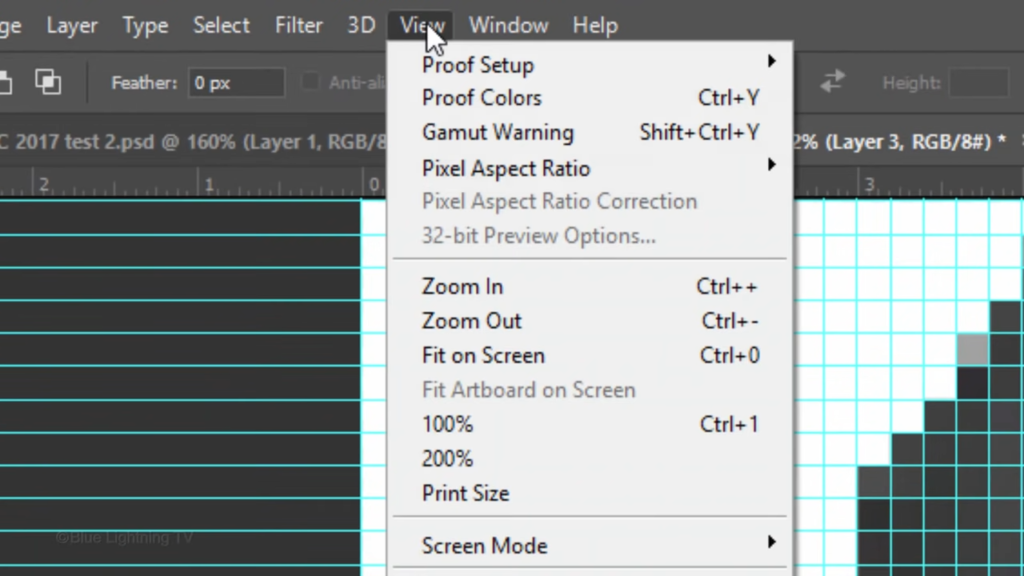
go to View
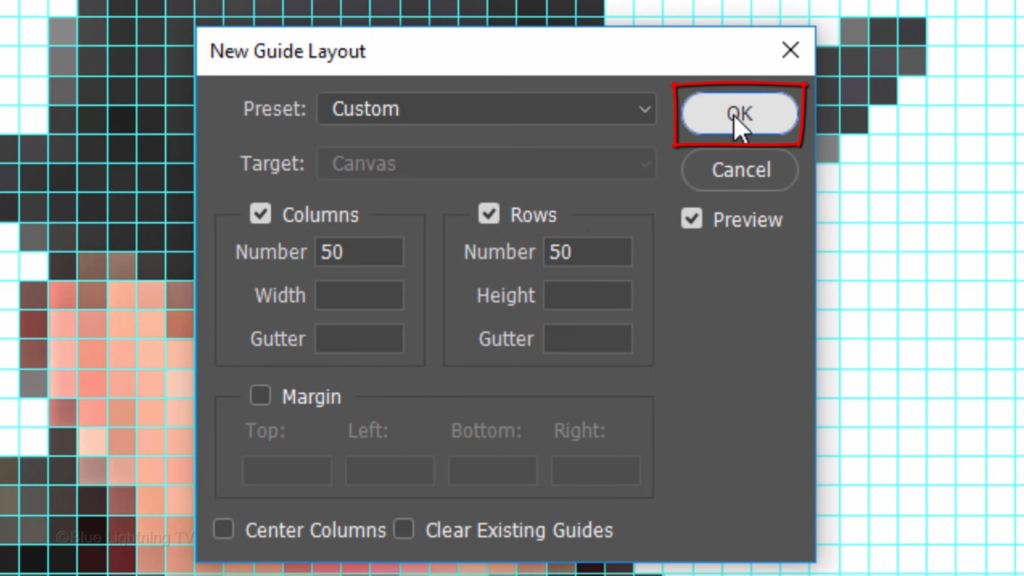
and New Guide Layout.
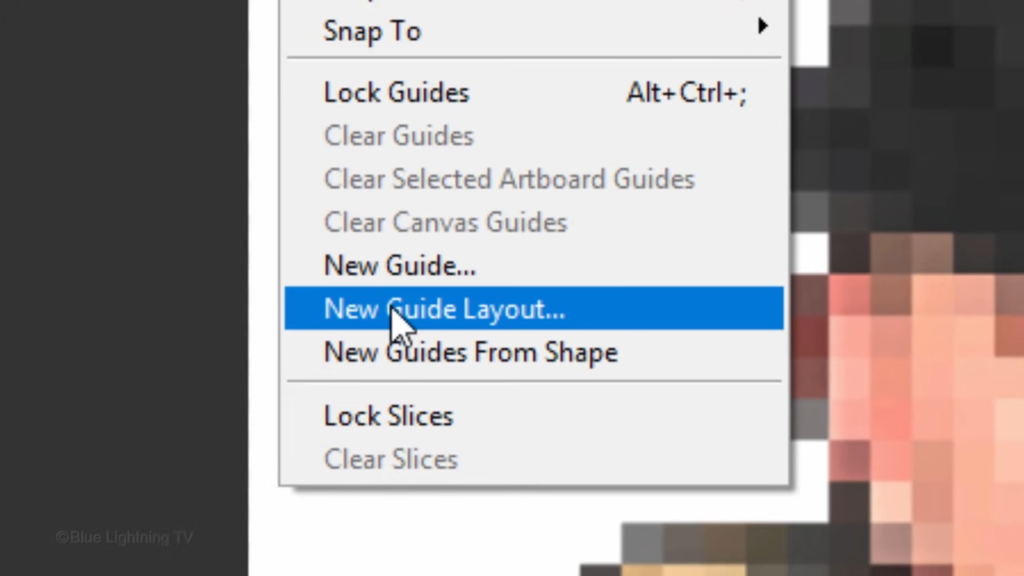
In the columns and rows, type in 50 pixels each.
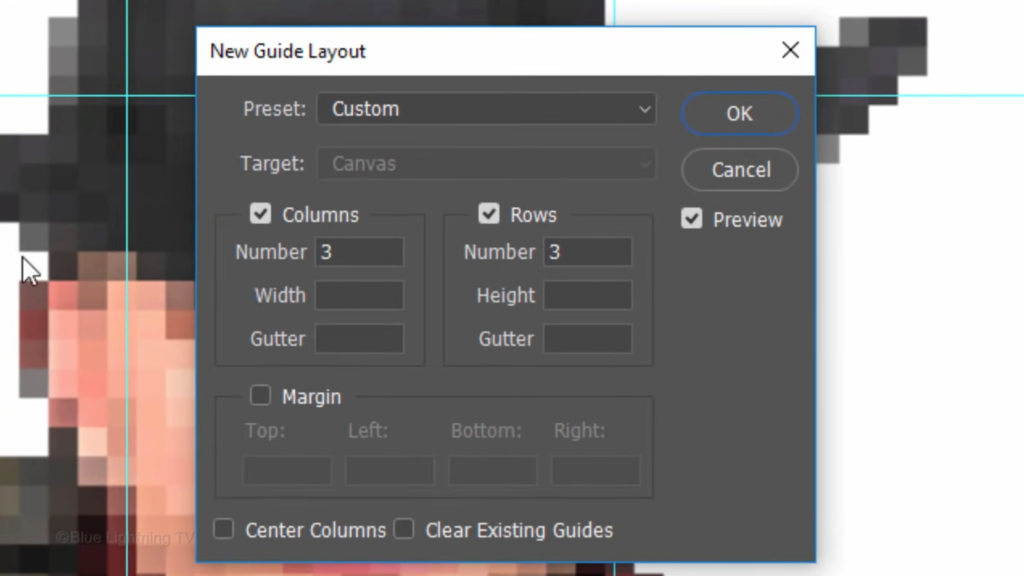
And keep everything else unfilled and unchecked.
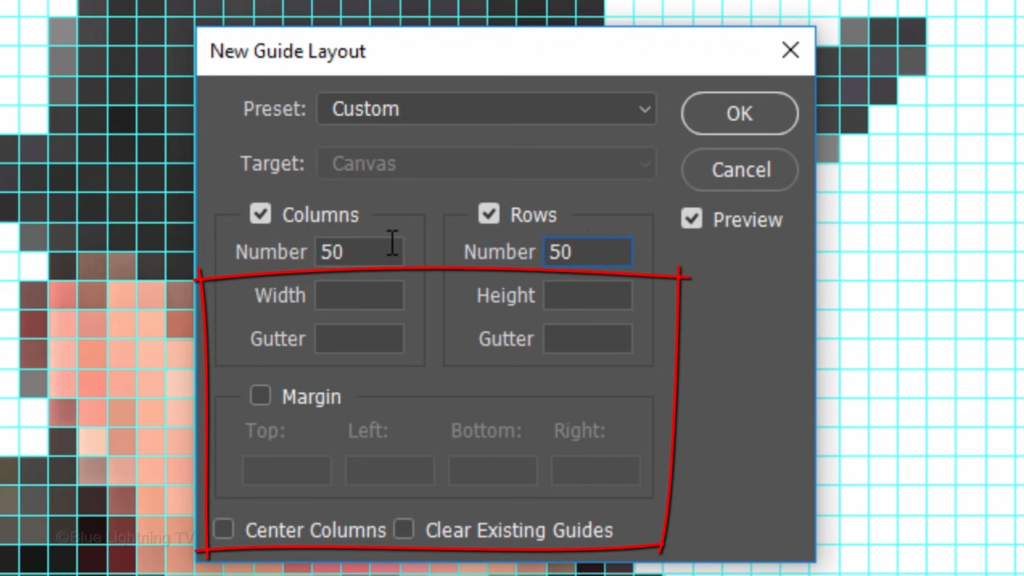
If you don’t see the guidelines, press Ctrl or Command H. Notice our guidelines perfectly aligned with the character squares.
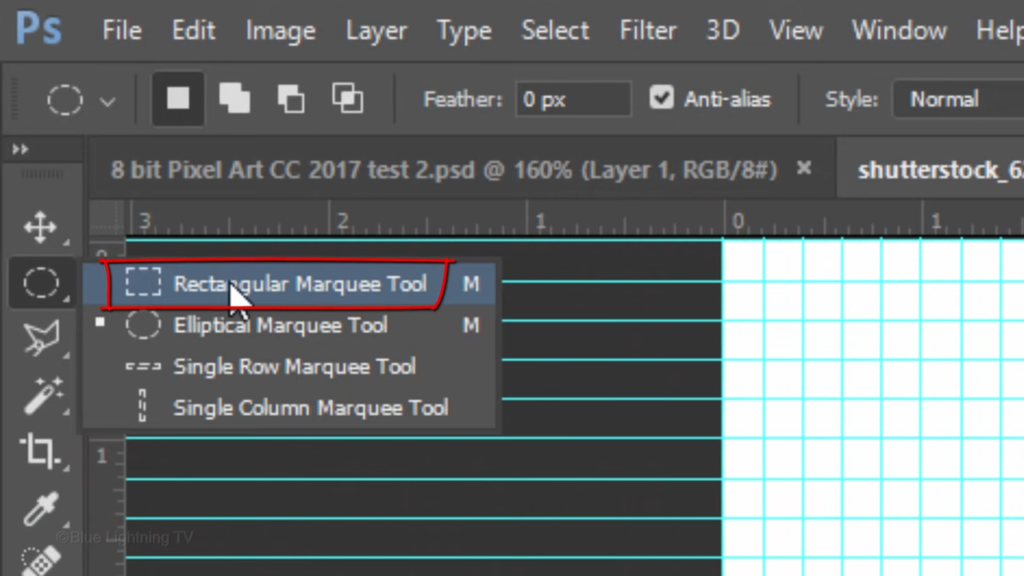
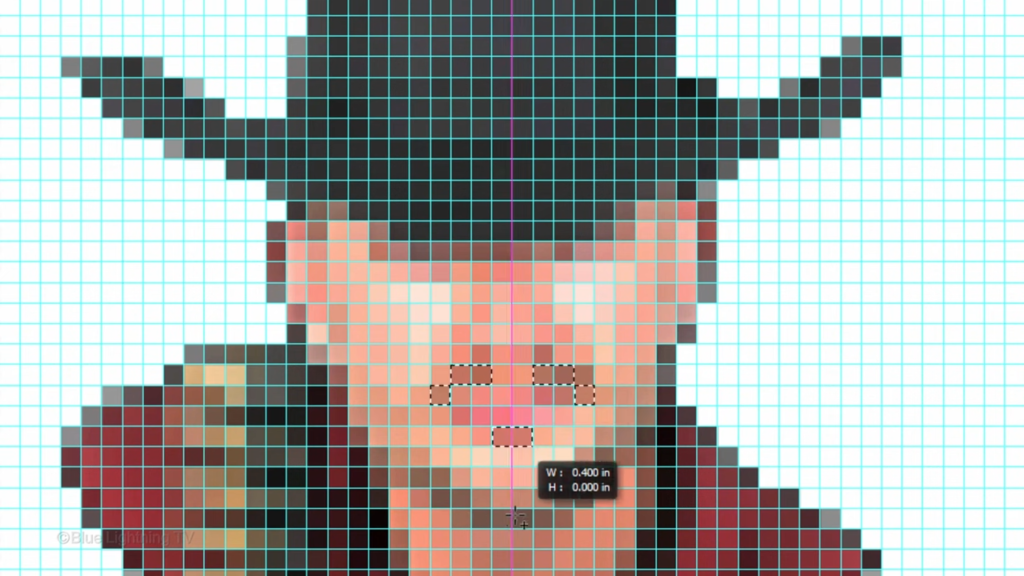
Open your Rectangular Marquee Tool and make sure the Add to selection icon is active. This adds additional selections to our image as we make them
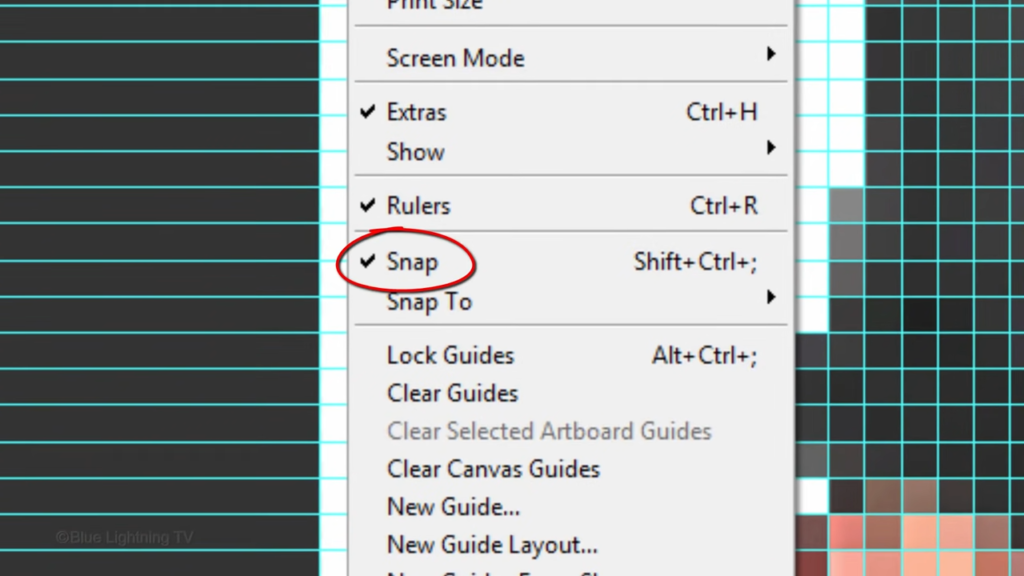
go to View
and make sure Snap is checked as well as guides. This will ensure that the selections we add will snap to the grid
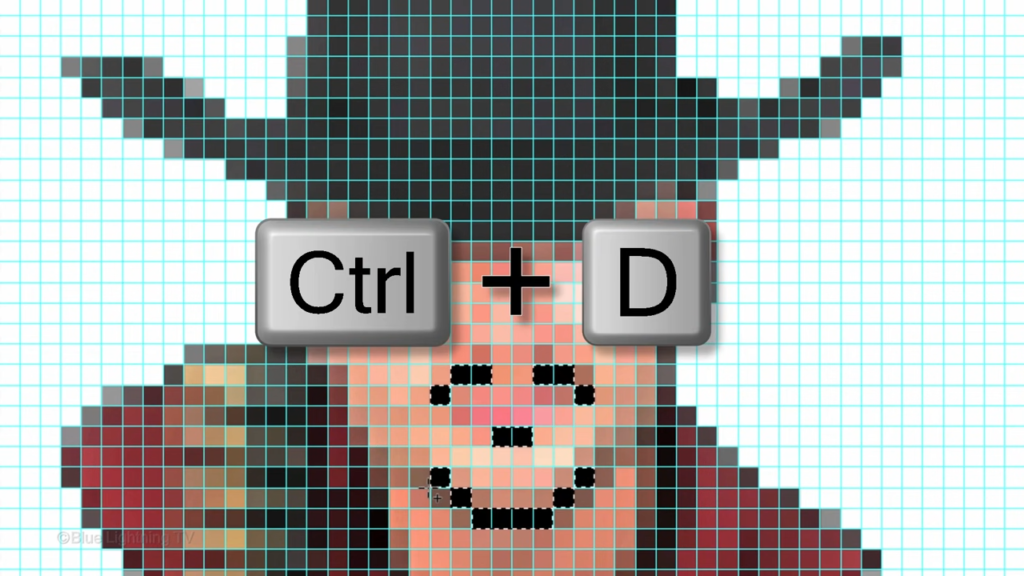
after you’ve made a cluster of selections, fill it with black
and deselect it. If you want to see your image without the guidelines, press Ctrl or Command H to make them visible again repeat the same keystrokes.
To replace the white background with another color.
Make the background active.
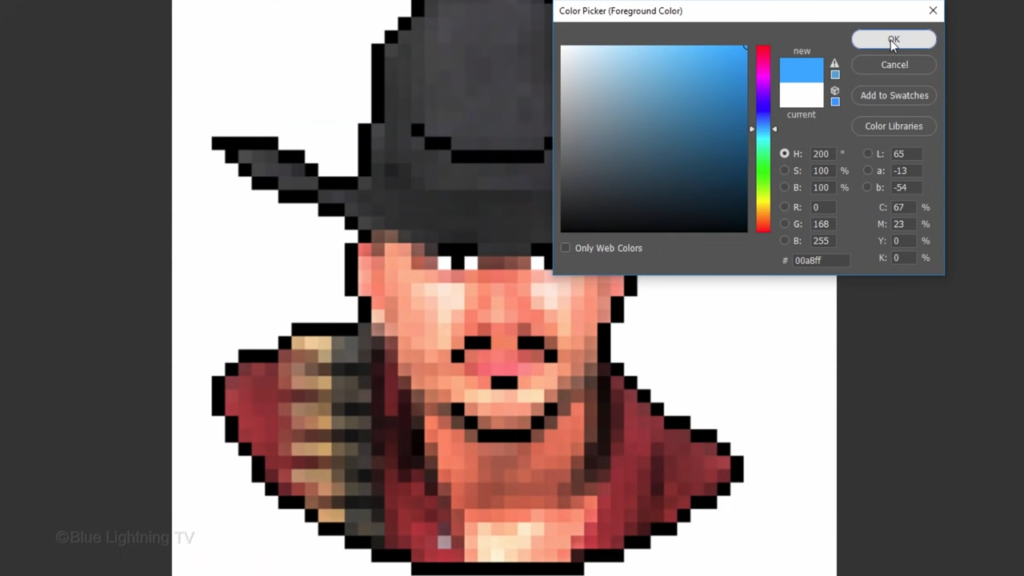
Click the foreground color

and pick a different color.
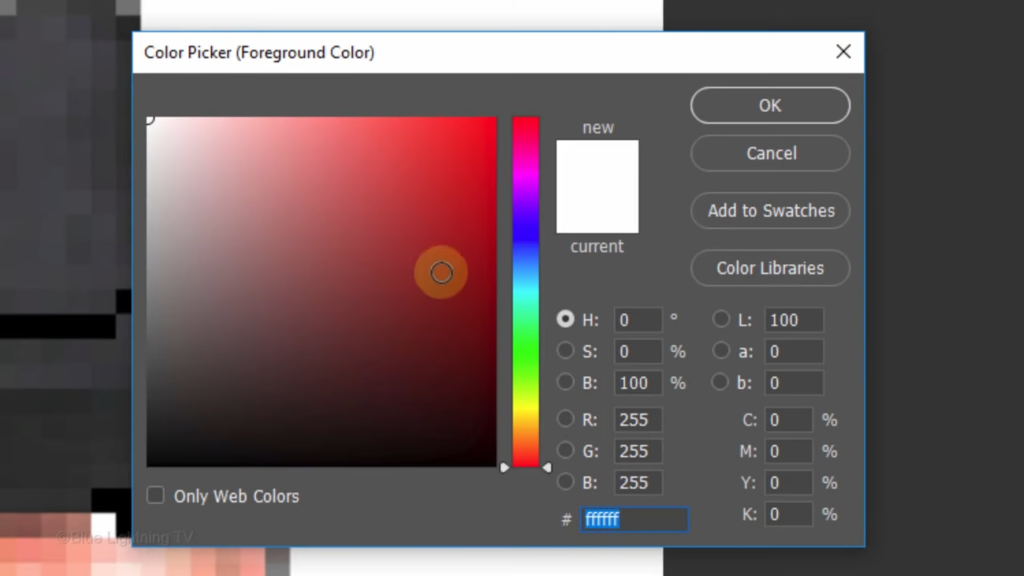
Then fill it with that color.

0 Comments