


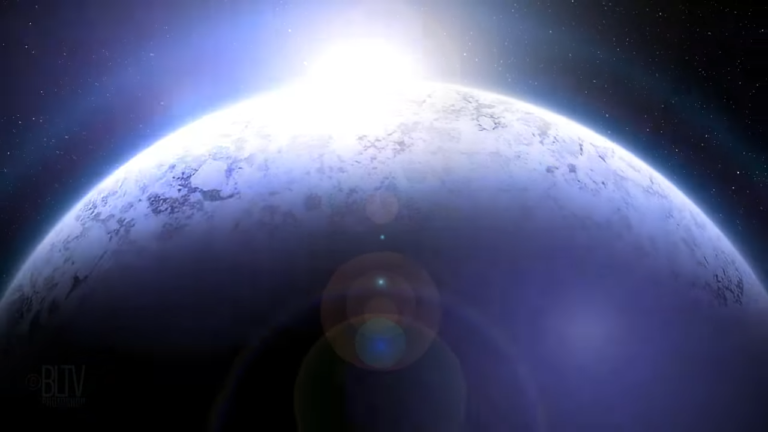
We will show you how to create a cinematic interstellar scene of a massive frozen ice planet in Deep Space.
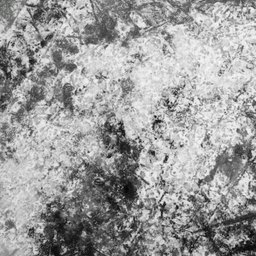
For this tutorial, you will need the texture above
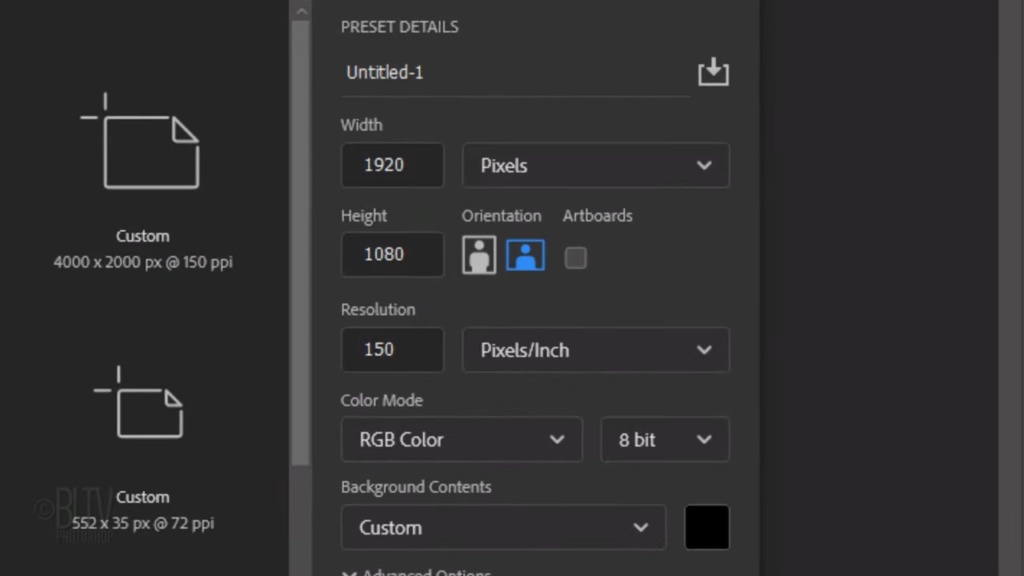
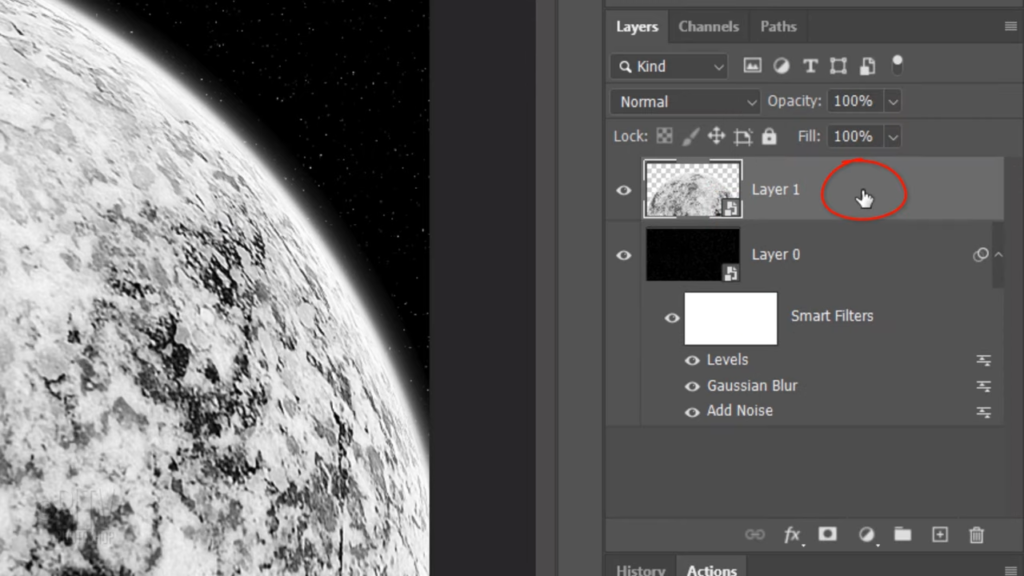
Create a new document by pressing Ctrl or Command N or by going to File and New make it 1900 20 pixels by 10 180 pixels with a resolution of 150 pixels per inch. The Color Mode is RGB and eight bits per channel. If the box isn’t black, click it and pick black. Then click Create or press Enter or Return this layer will become air Starfield will convert the black base into a smart object so we can adjust the brightness, quantity and density of the stars at any time. To do this, click the icon at the upper right of the Layers panel and click Convert to Smart Object.
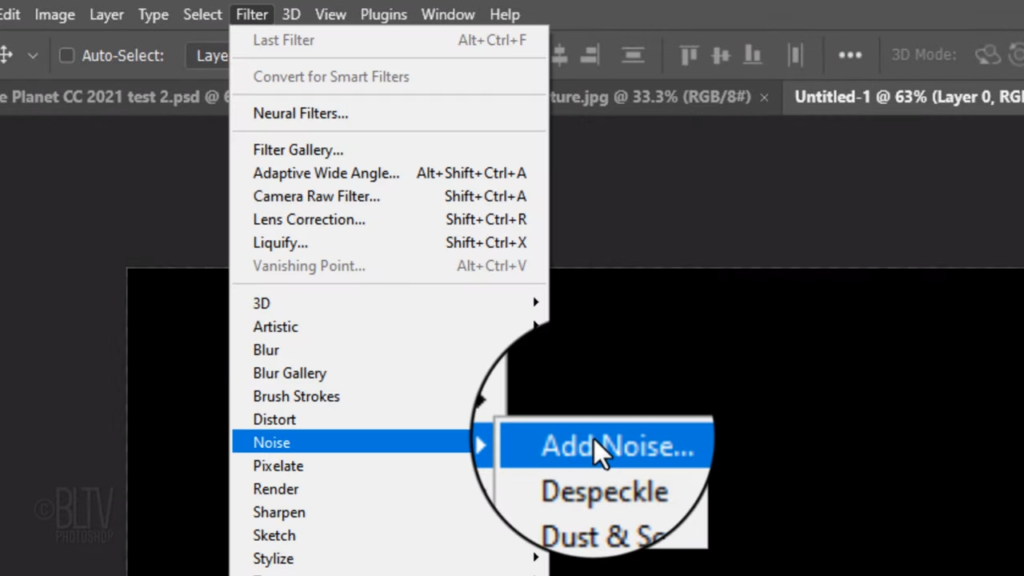
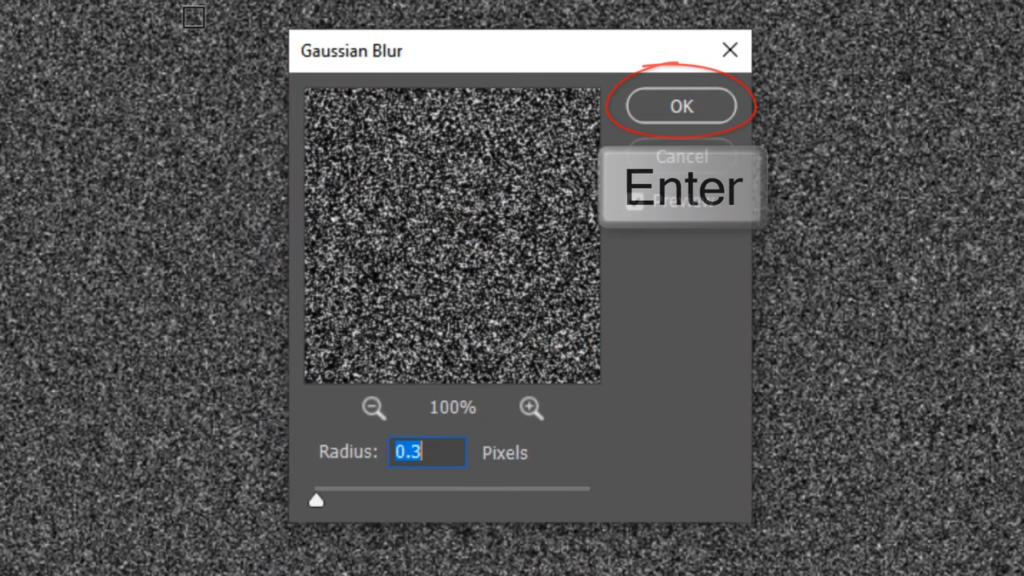
Go to Filter Noise, Add Noise. Make the Amount 80% Gaussian and Monochromatic. Then, click OK or press Enter or Return. Go back to Filter, Blur and Gaussian Blur. Blur it 0.3 pixels
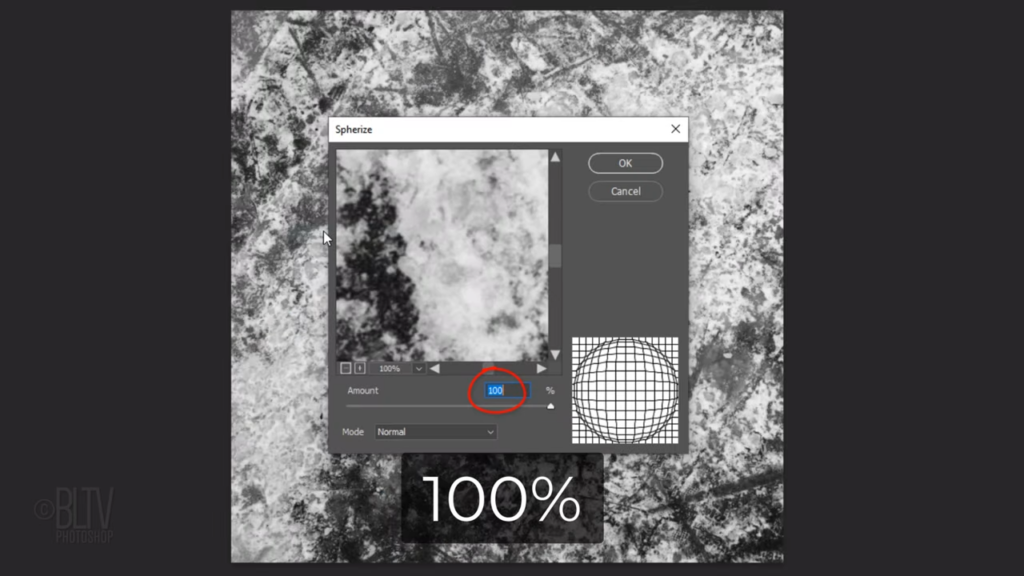
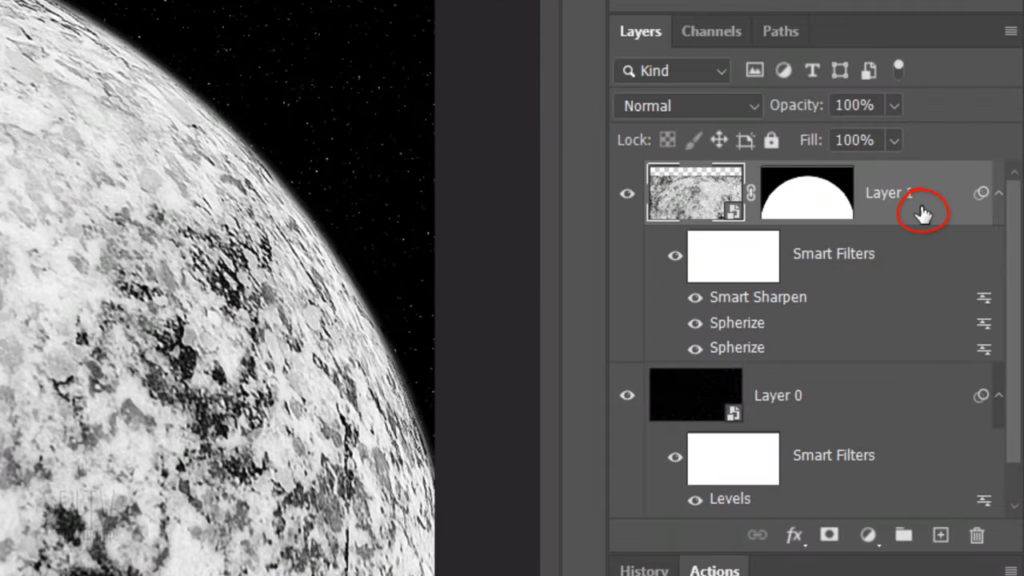
Open Levels by pressing Ctrl or Command L make the Input black level 200 And the Input White level 220. However, feel free to adjust these levels if you want. Open the ice texture I provided will convert it into a Smart Object so we can modify it non destructively. Go to Filter, Distort and sphere eyes.
The amount is 100%. Click OK or press Enter or Return. Repeat the filter by pressing Ctrl Alt F on Windows or command Ctrl F on a Mac.
Go back to Filter Sharpen and Smart Sharpen.
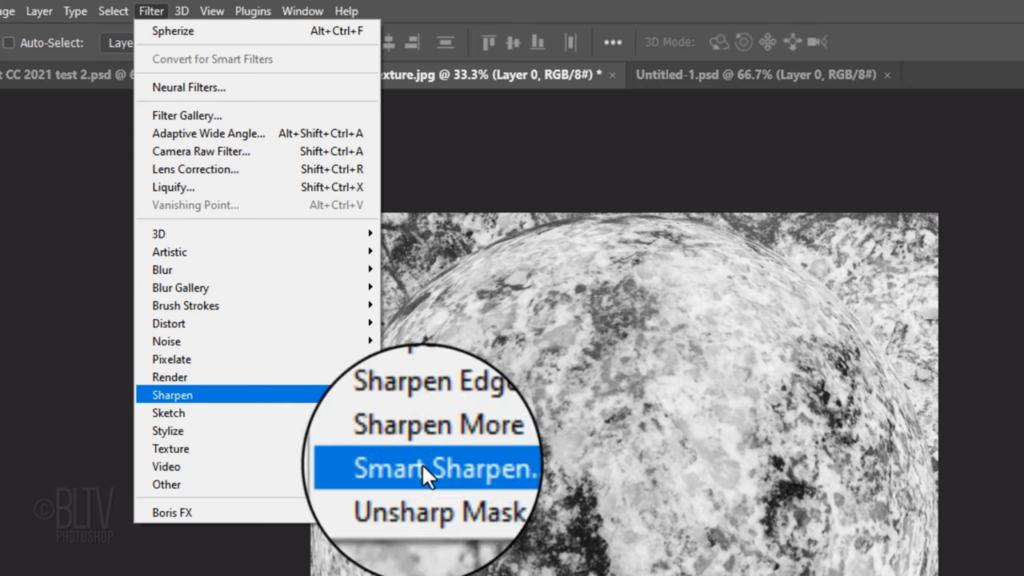
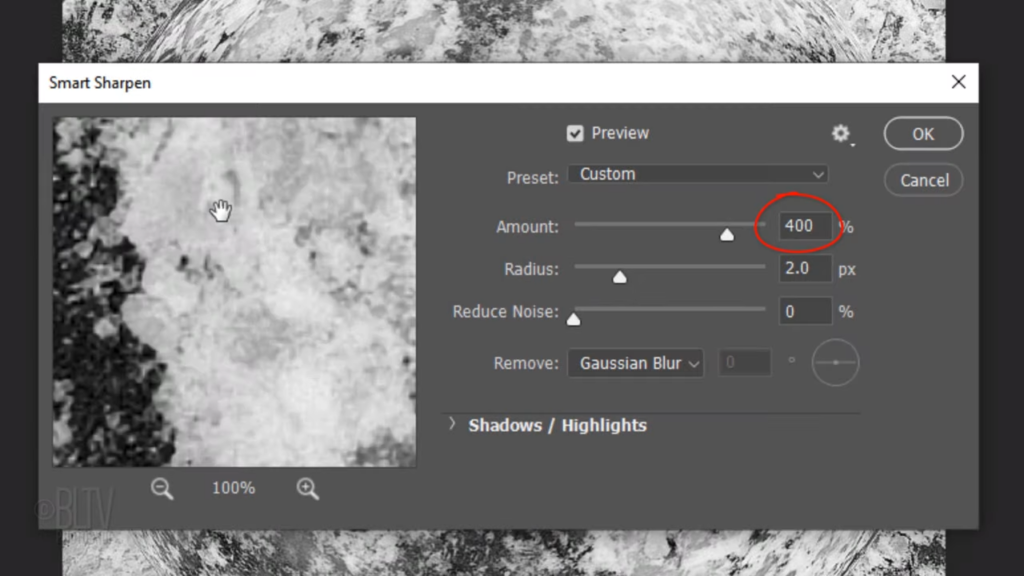
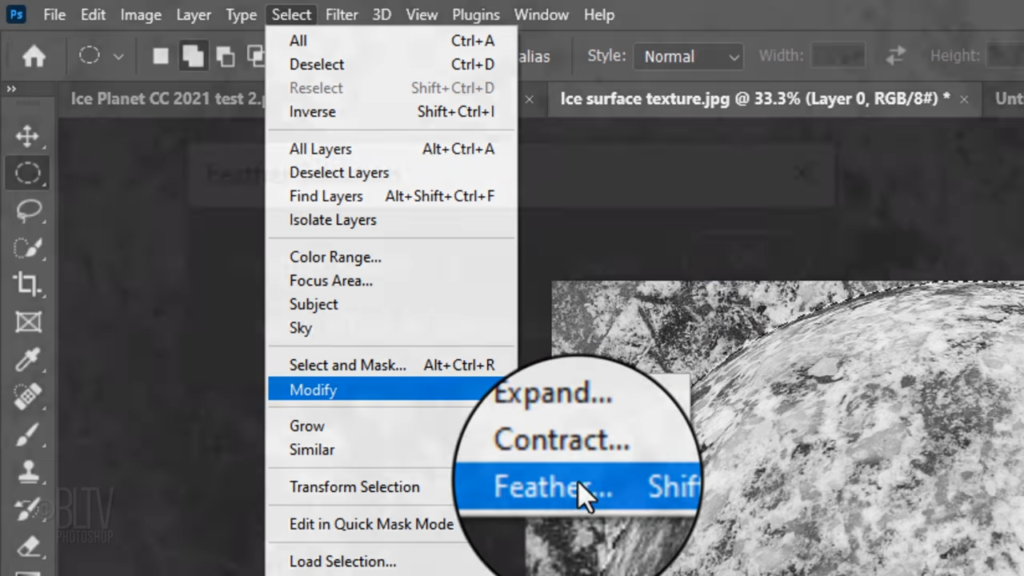
Make the Amount 400% and the radius two pixels Smart Sharpen. Sharpen some image by creating thinner, less noticeable halos around edges resulting in a cleaner image. Open the Elliptical Marquee Tool and go to a corner. Press and hold the Shift key as you drag out a circular selection to the opposite corner. Pressing Shift kept the selection as a perfect circle. Go to Select, Modify and Contract. Contract it by four pixels.
Go back to Select, Modify and Feather feather to pixels.
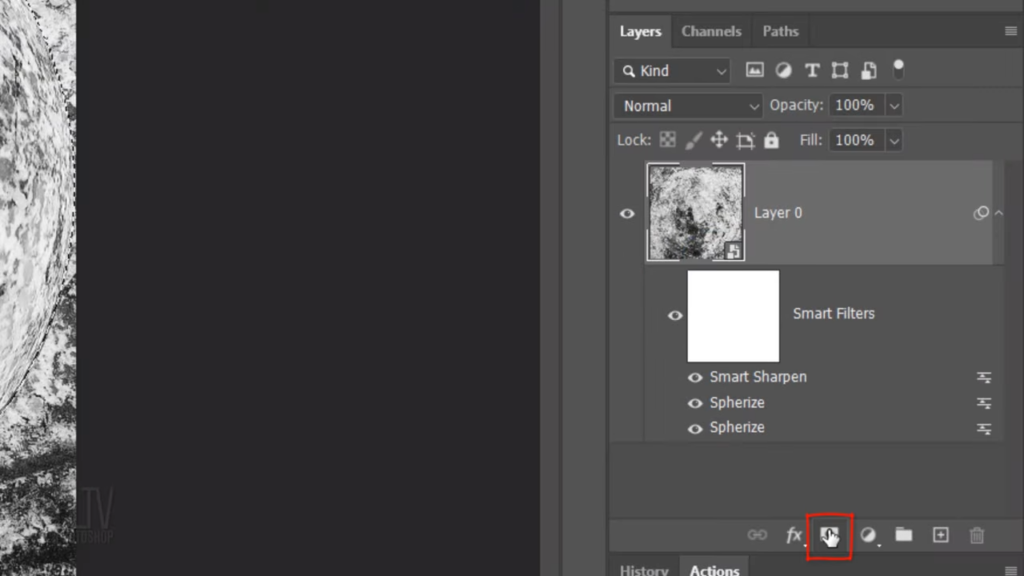
Click the Layer Mask icon to make a layer mask of a selection next to the planet. We’ll place the planet onto our star field by pressing V to open back our Move tool and dragging it onto the tab of the star field Without releasing your mouse or pen. Press and hold the Shift key as you drag it down and release. Pressing Shift get the planets centered over the starfield. Press and hold the shift key again as you drag it down approximately this far.
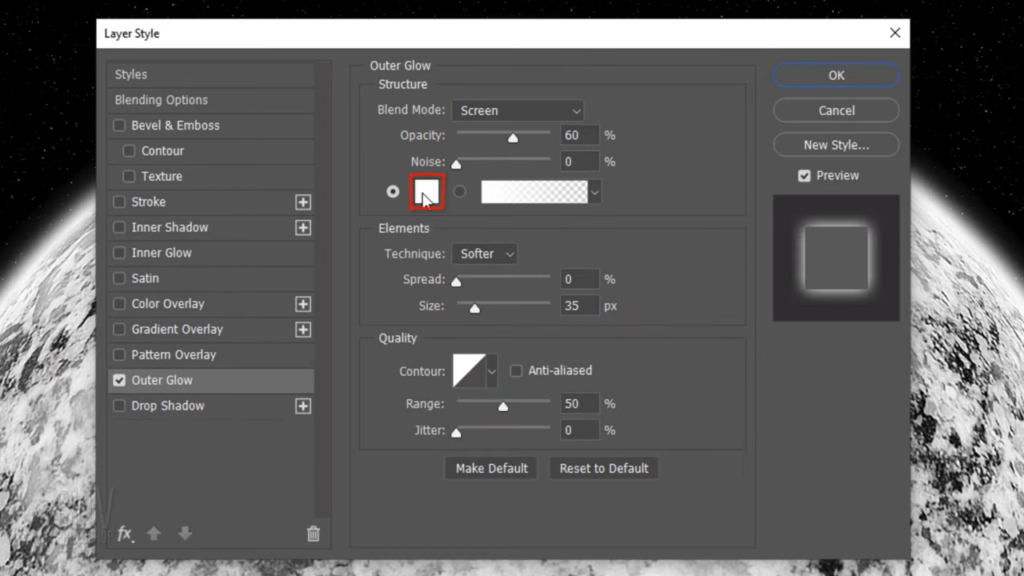
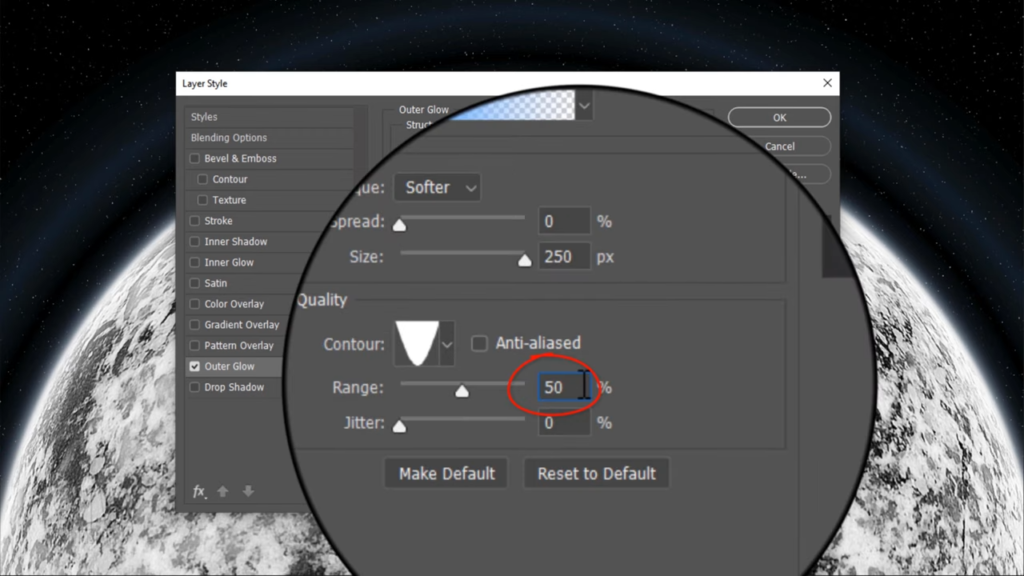
Double click an empty area of the planets layer to open its Layer Style window. Click Outer Glow.
The Blend Mode is Screen, the opacity is 60% and the noise is zero. If the box isn’t white, click it and pick White the Technique is Softer, the spread is 0% and the size is 35 pixels. The contour is linear and the range is 50%. Click Inner Glow. The Blend Mode is Screen the opacity is 100% and the noise is zero the color is white, the Technique is Softer and the Source is Edge that choke is 0% and the size is 75 pixels. The contour is linear and the range is 50%.

convert it into a Smart Object.
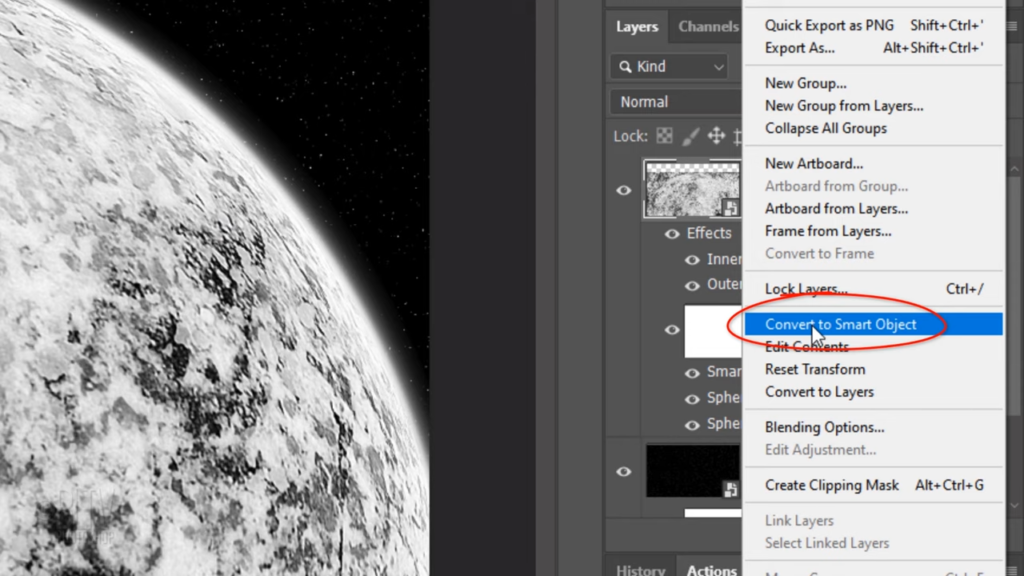
Double click an empty area of the layer to open its Layer Style window. Click Outer Glow
and the color box. Type into the hexadecimal field 00 c zero, f f, then click OK or press Enter or Return. The Blend Mode is lightened. The opacity is 20% and the size is 250 pixels. Open the contour list, click the gear icon and click the small or large list click cone inverted.
The range is 40%.
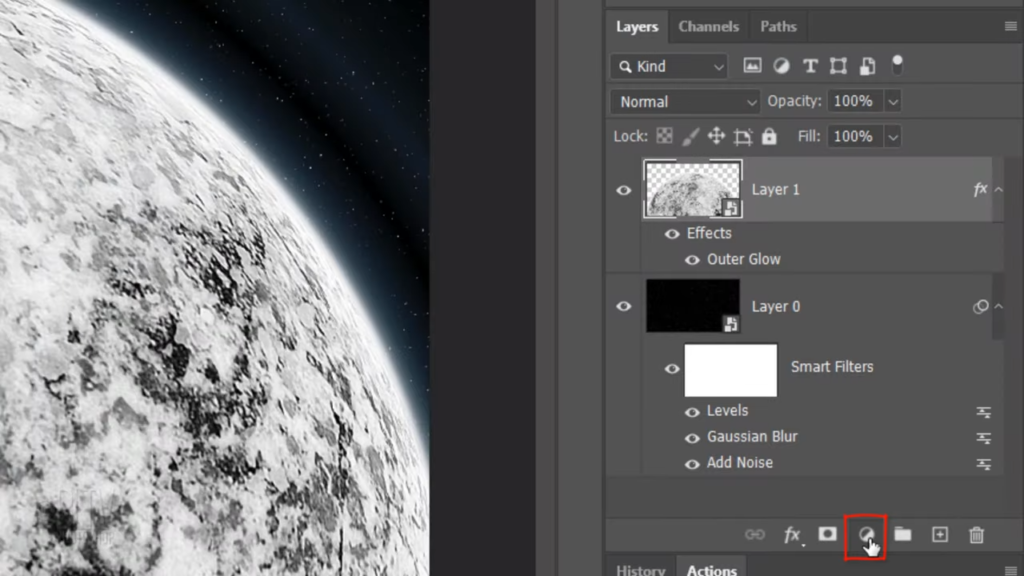
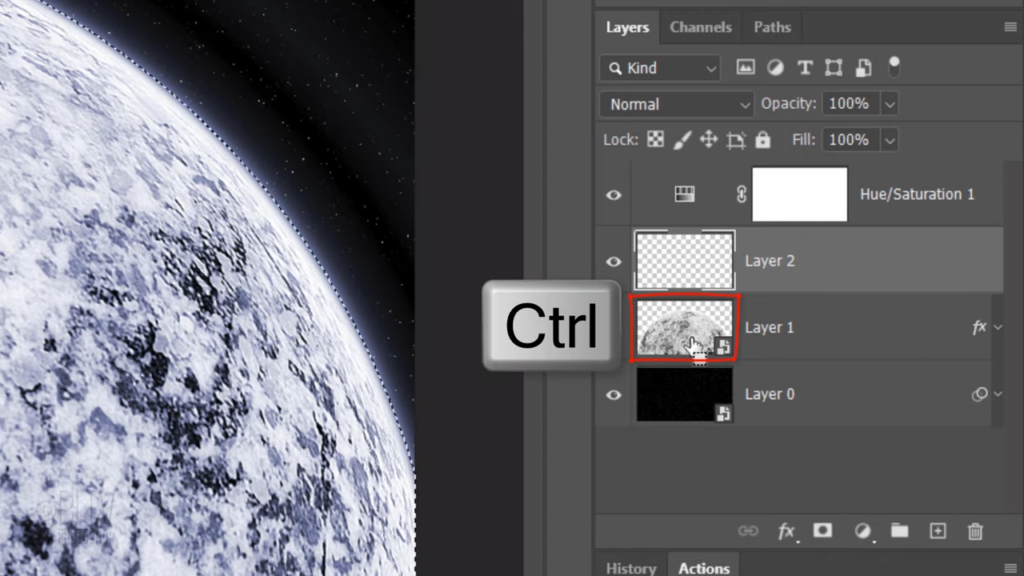
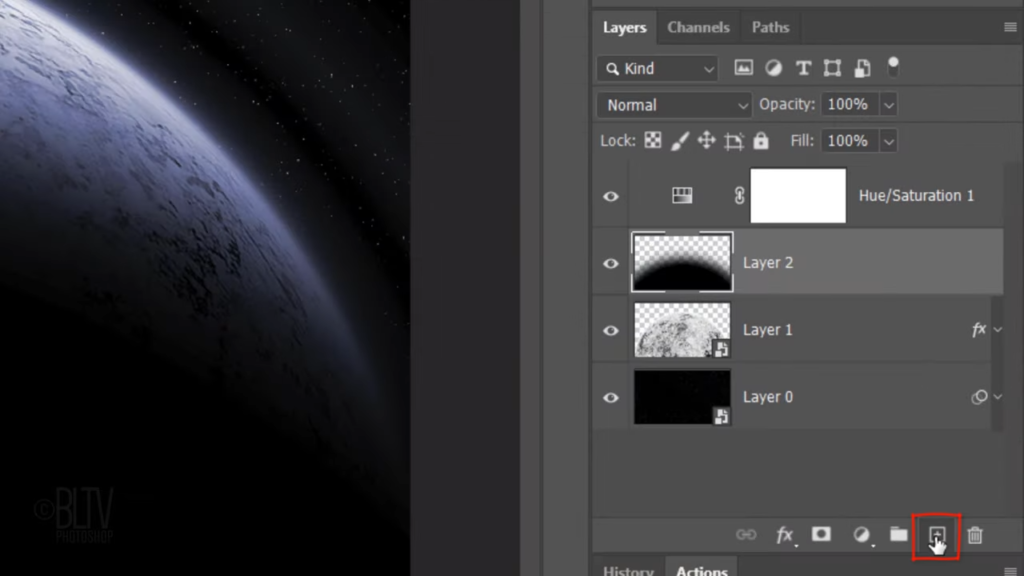
Click the Adjustment Layer icon and click hue saturation Check Colorize and for the hue type in 220, the saturation is 25 and the lightness is zero. Next, we’ll place most of our planet and shadow but before we do, let’s save some space in the Layers panel by collapsing the effects. Make the planet layer active and make a new layer above it.
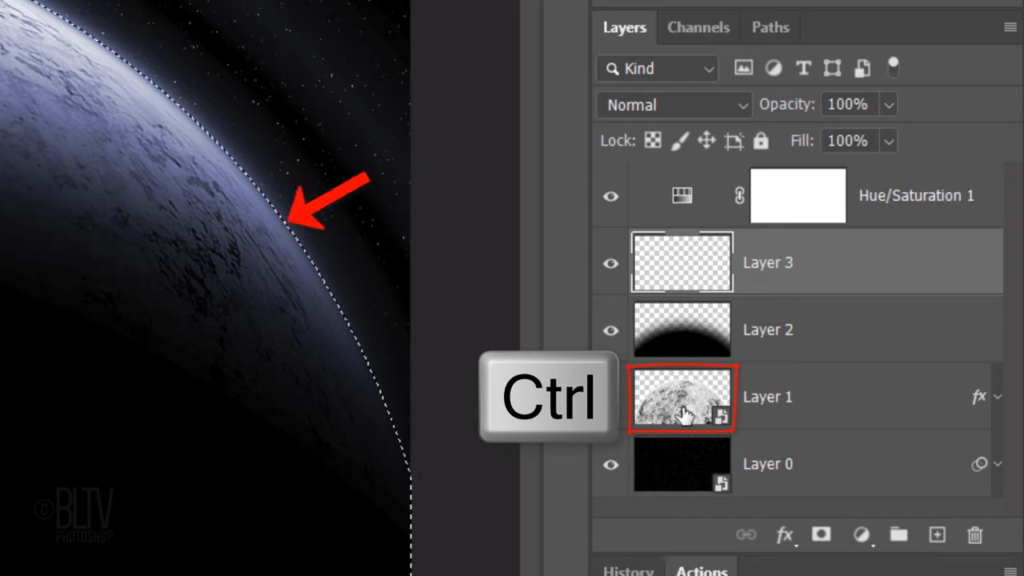
Control Click or Command click the planet to select its shape. Go to Select, Modify and Feather. Feather it 50 pixels will fill the selection with black. Check your foreground and background colors. If they aren’t black and white respectively, press D on your keyboard or click this icon. Since our foreground color is black, press Alt or Option plus Delete. Then Deselect it by pressing Ctrl or Command D. Open your Transform Tool by pressing Ctrl or Command T.
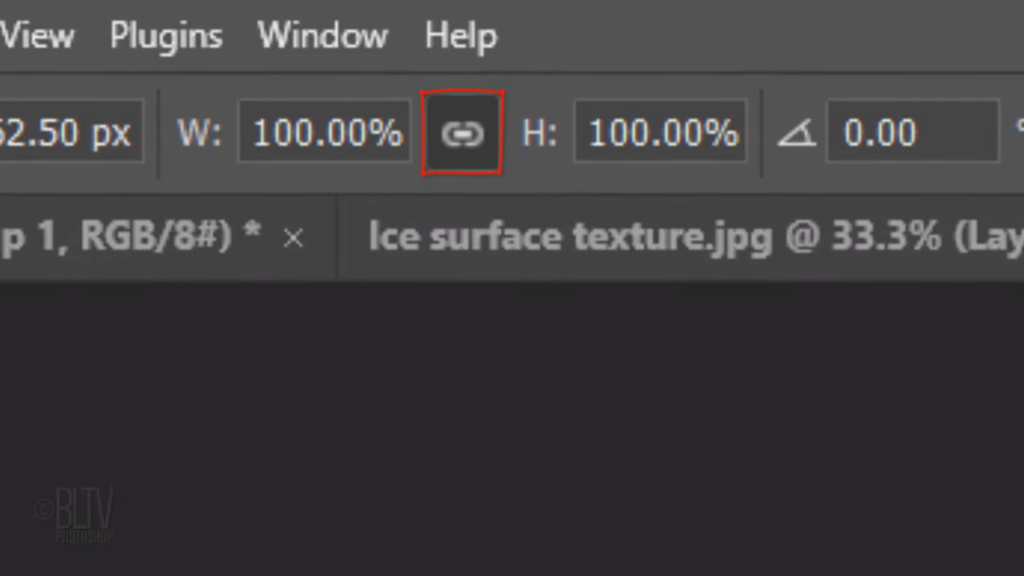
At the top. Make sure the chain link icon is active. This links the transforms width and height in either one, type in 160 and press Enter or Return. Press v to open your Move Tool and press and hold the Shift key as you drag the shadow down approximately this far.
Make a new layer
and create a selection of the planet. Click the Layer Mask icon to make a layer mask of the selection next to the empty layer. Whatever we place into the empty layer will be confined to the inside of the white area of the layer mask. Make the empty layer active
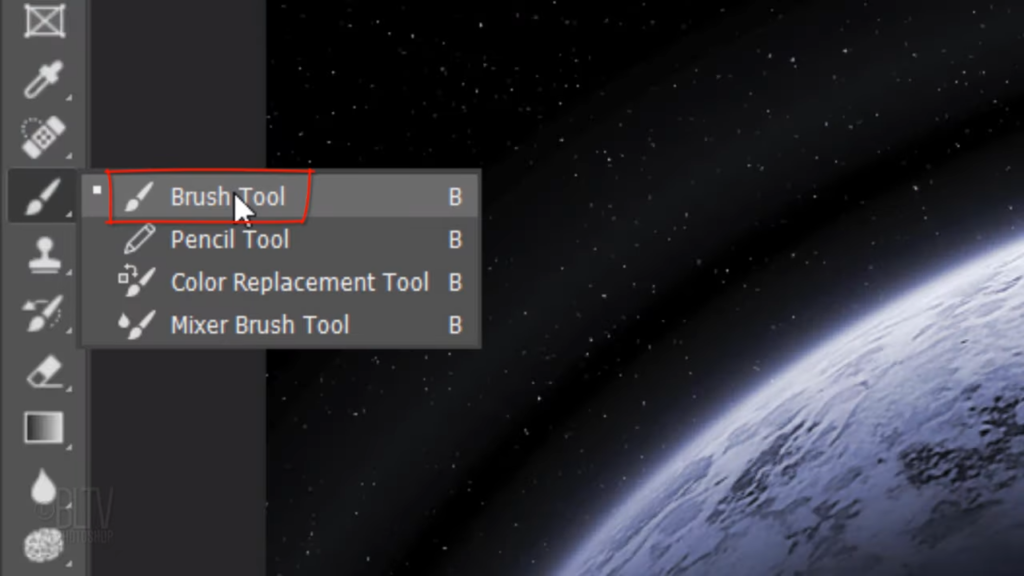
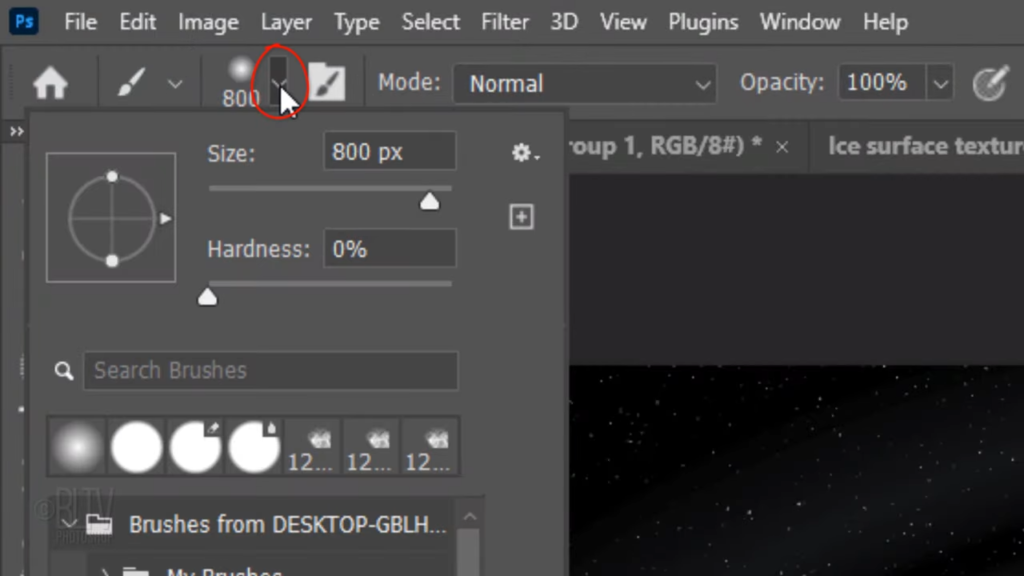
and open your Brush Tool. Invert the colors by pressing x on your keyboard. Open the Brush Picker and make it size 800 pixels. Pick a soft round brush the hardness is 0% and the Opacity and Flow are both 100%. Place your brush between the planet and the star field and click once.
Make the starfield active and make a new layer above it.
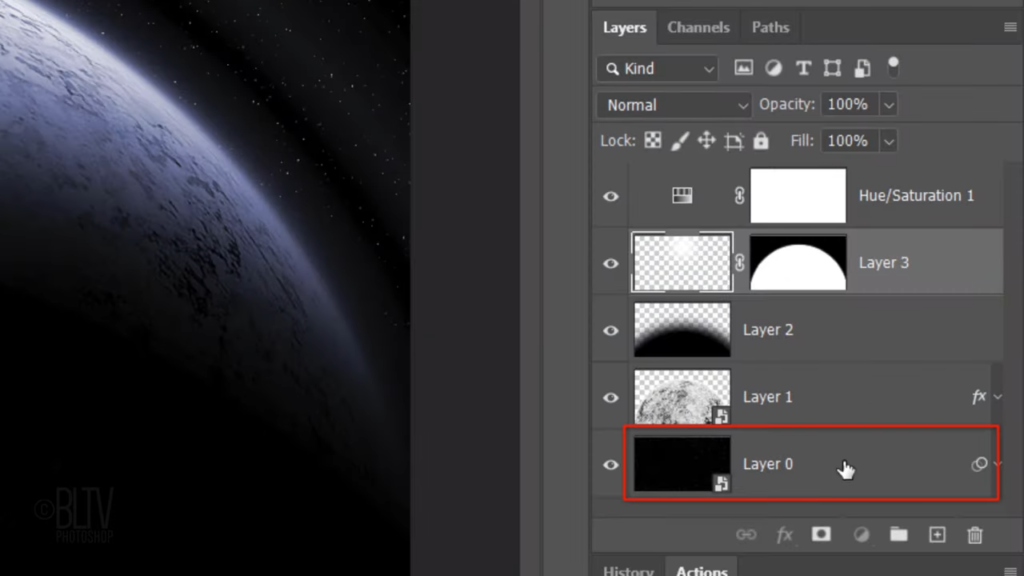
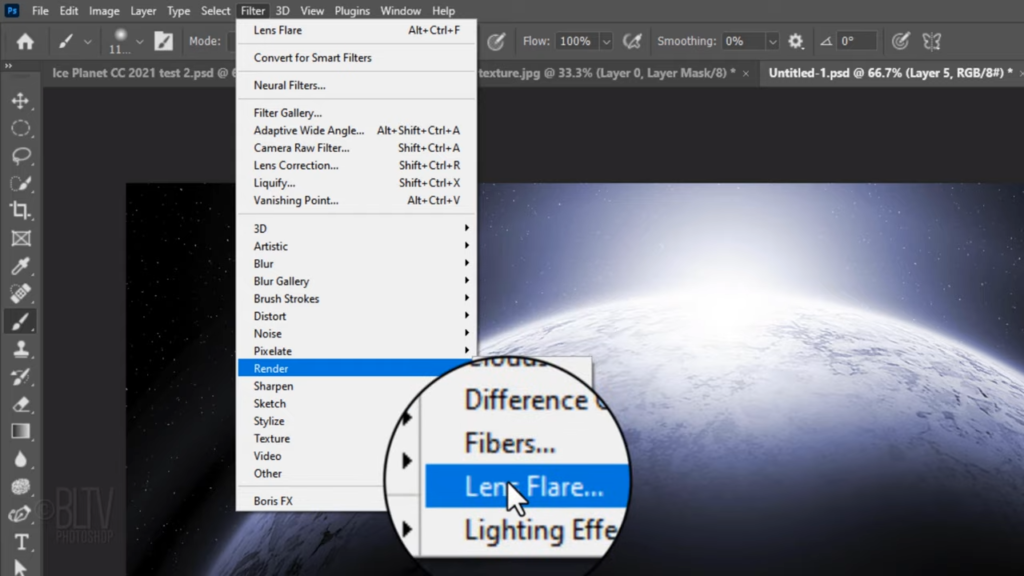
Open your Brush Picker again and increase the size to 1100 pixels. Place your brush at approximately the same location as before and click once. Lastly, we’ll add a dramatic lens flare we’ll create a composite snapshot of our image so we can position the lens flare correctly. Make the top adjustment layer active and press Ctrl or Shift E on Windows or Command Option Shift E on a Mac.
Go to Filter, Render and Lens Flare. The brightness is 75% and the Lens Type is 50 to 300 millimeters zoom. Drag the flare in the preview window to the top of the planet.
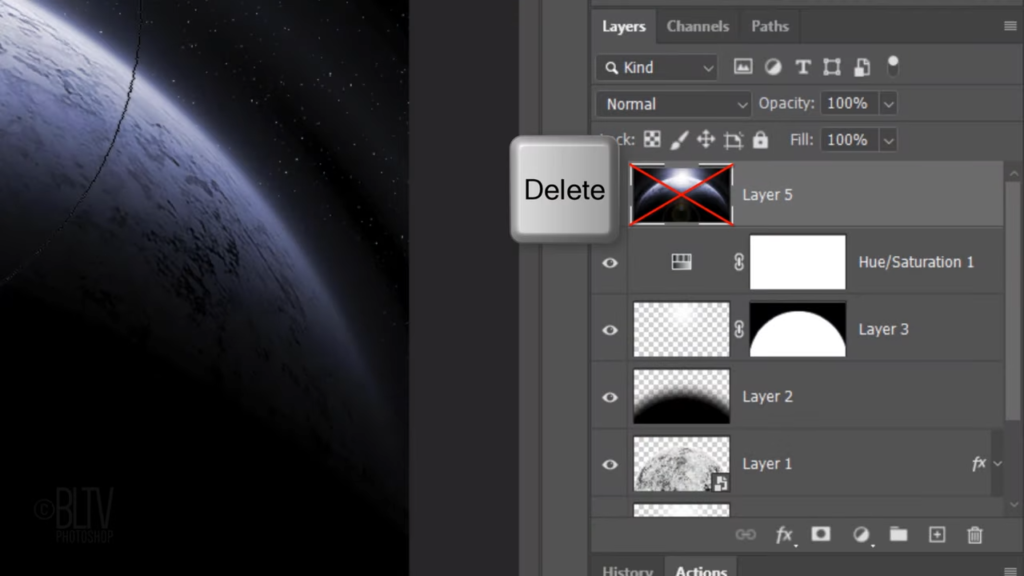
Now that we position the lens flare, press the Delete key to delete the composite snapshot.
Make a new layer

and fill it with black.
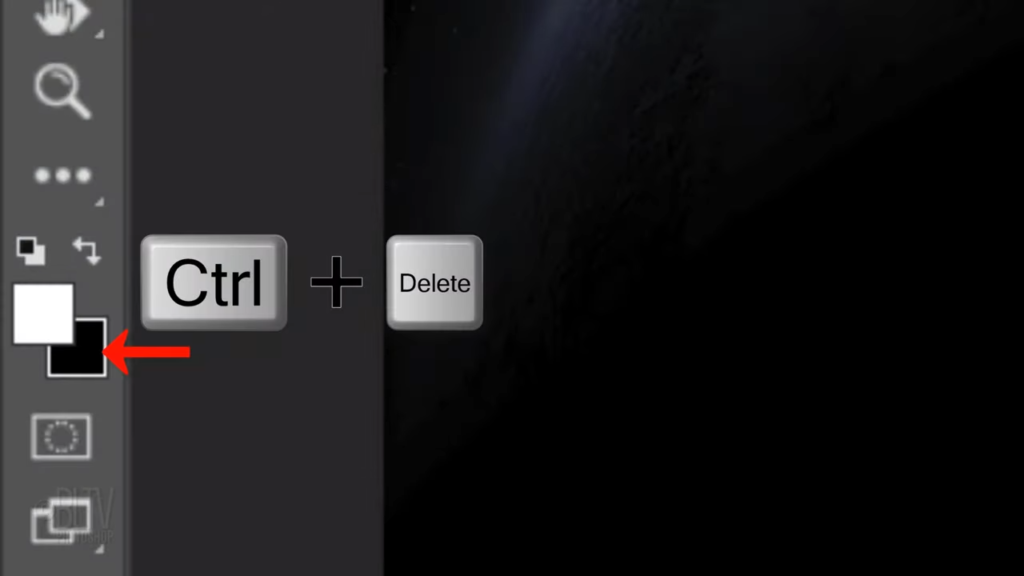
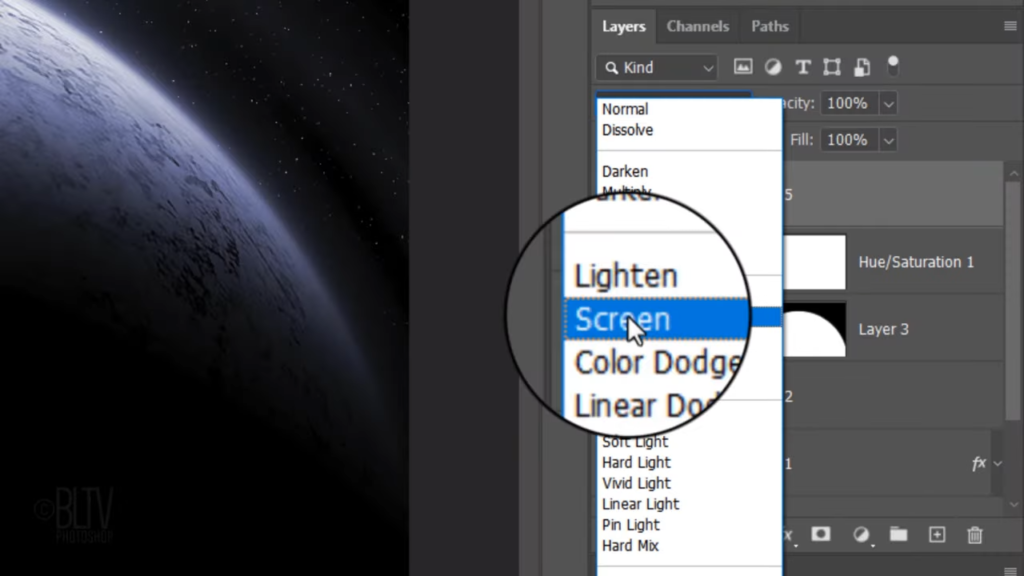
Change its Blend Mode to Screen and repeat the last filter we used.
0 Comments