


0:12
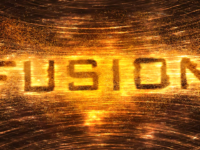
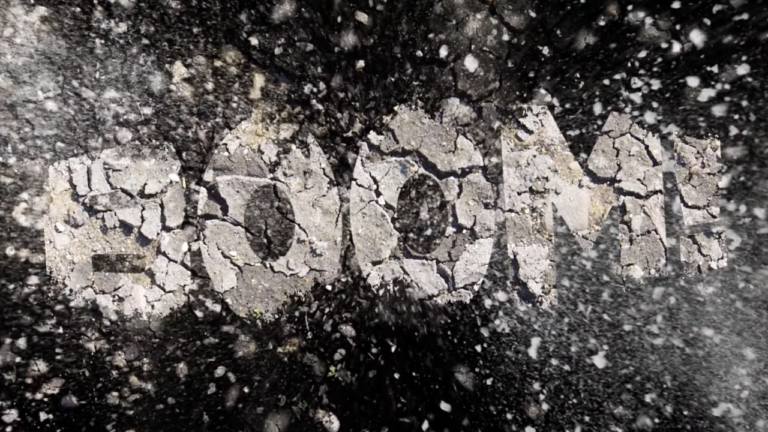
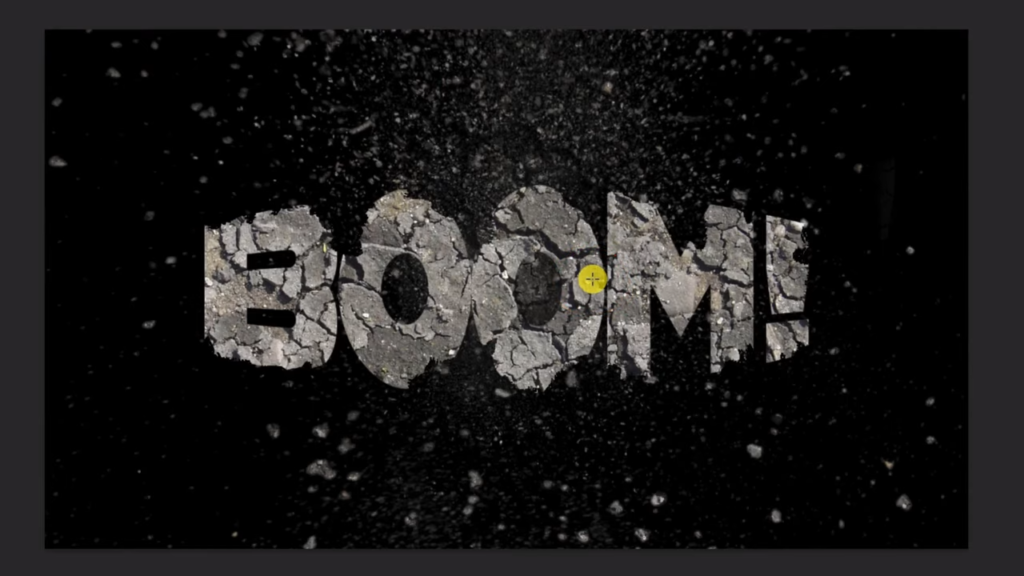
Today we are going to show you how to create powerful exploding text.
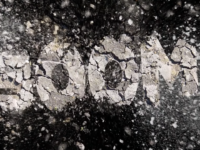
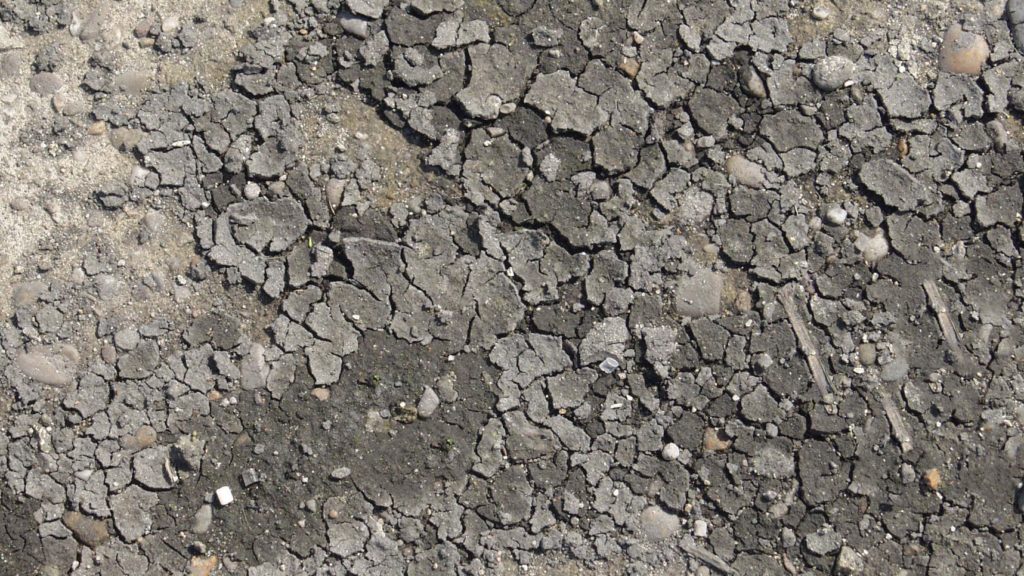
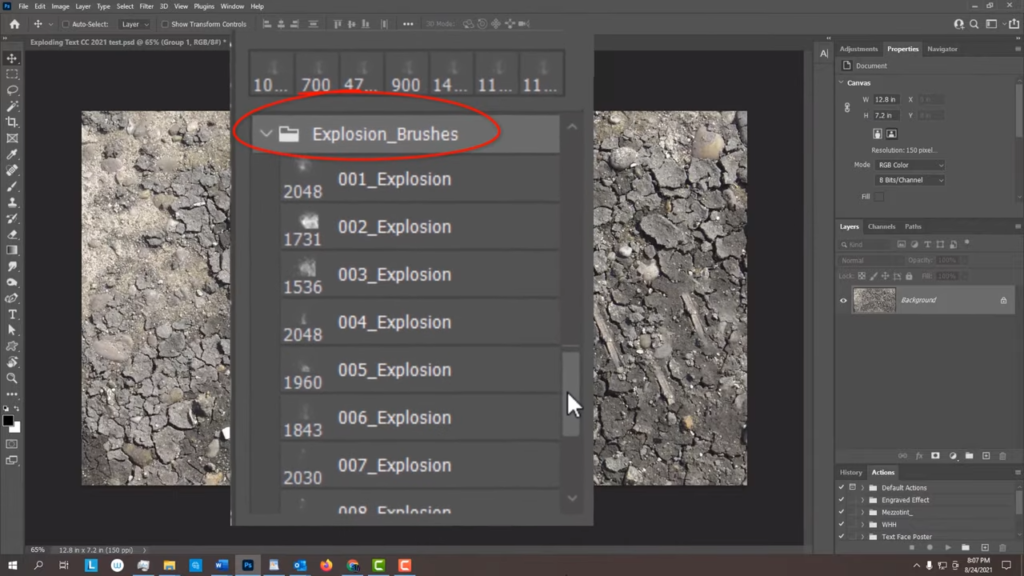
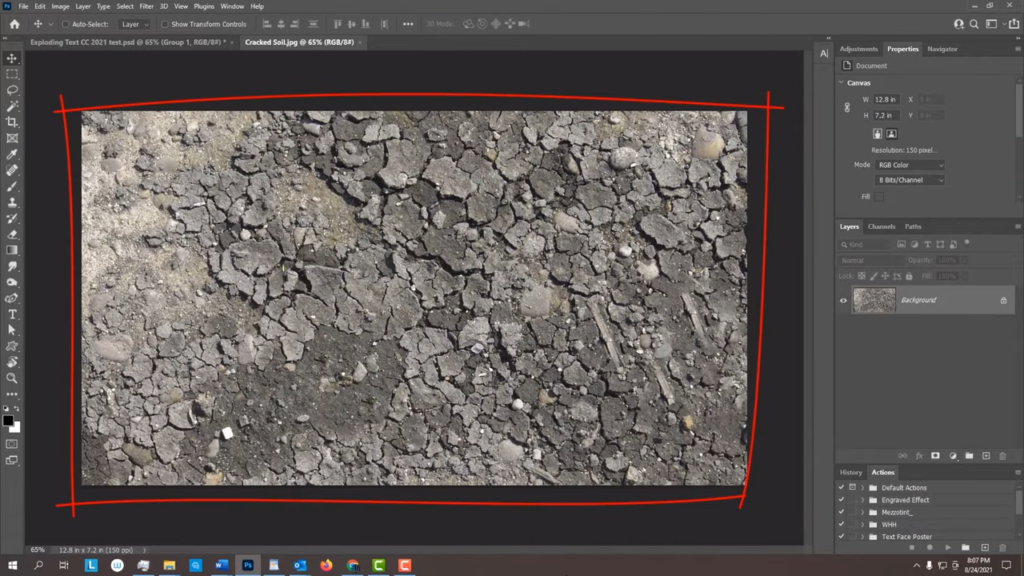
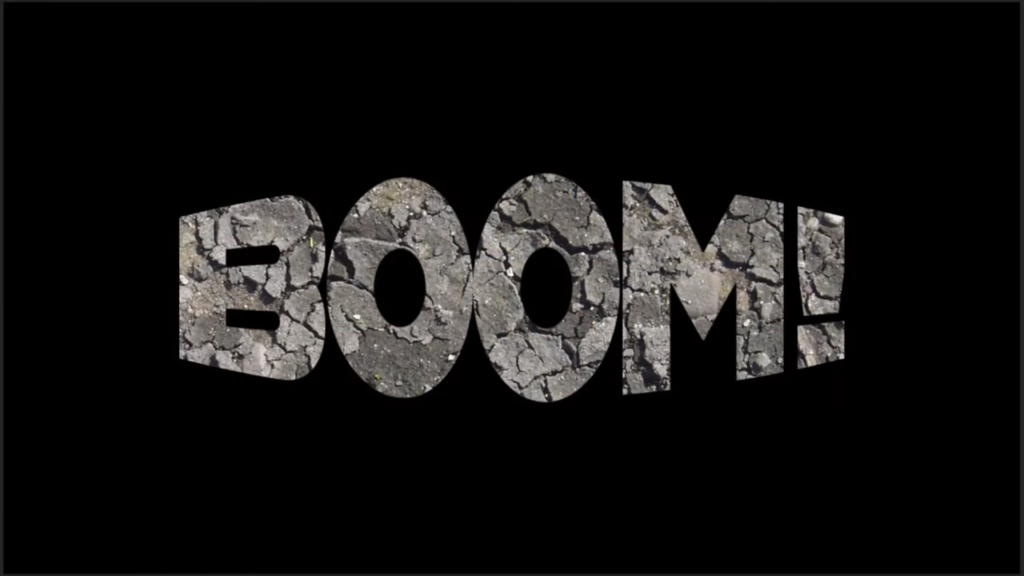
I provided a set of custom explosion brushes as well as an image of cracked soil.
Cracked Soil texture:
Explosion Brushes: https://onedrive.live.com/?authkey=%21AI%5FvX%2D%2Duz1P5pvk&cid=5670E98A103E04B0&id=5670E98A103E04B0%211853&parId=root&o=OneUp
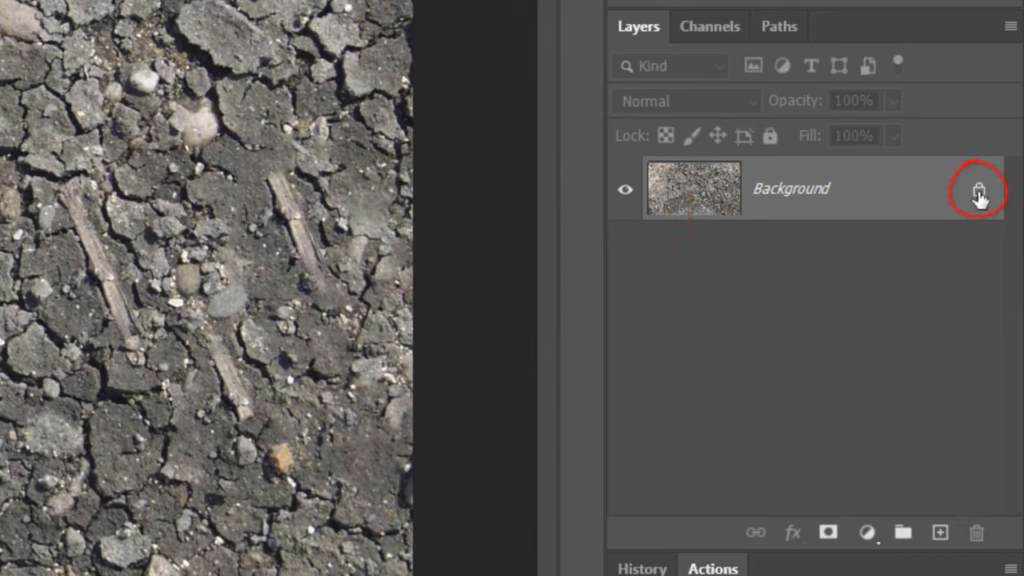
We’ll make a new layer below the texture. Click the lock icon to unlock the texture, and Ctrl or Command Click the New Layer icon will fill the empty layer with black but before we do, check your foreground and background colors. If they aren’t black and white respectively, press D on your keyboard. Since black is our foreground color, press Alt or Option plus Delete. Temporarily hide the texture.
0:53
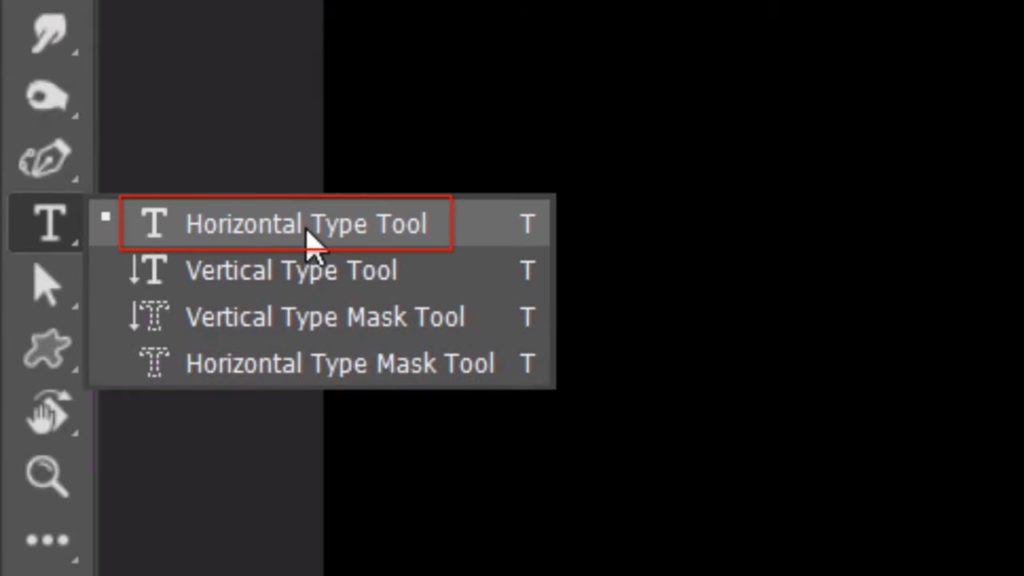
Open your Horizontal Type Tool we want our text to be white so we can see it easily. To make our text white, invert the colors by pressing x on your keyboard. Open your Type Tool and pick any heavy font.
1:10
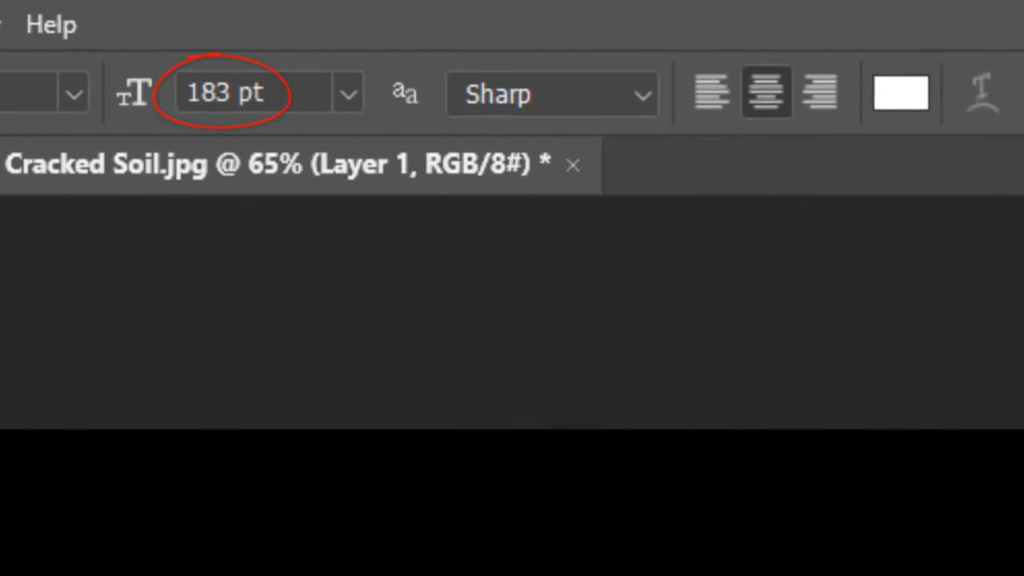
I’ll make it size 183 points, but feel free to adjust this amount depending on the font you choose and the amount of characters in your text. Just keep in mind that large text has the best results for this effect. I’ll make the aliasing Sharp and Center Alignment.
1:28
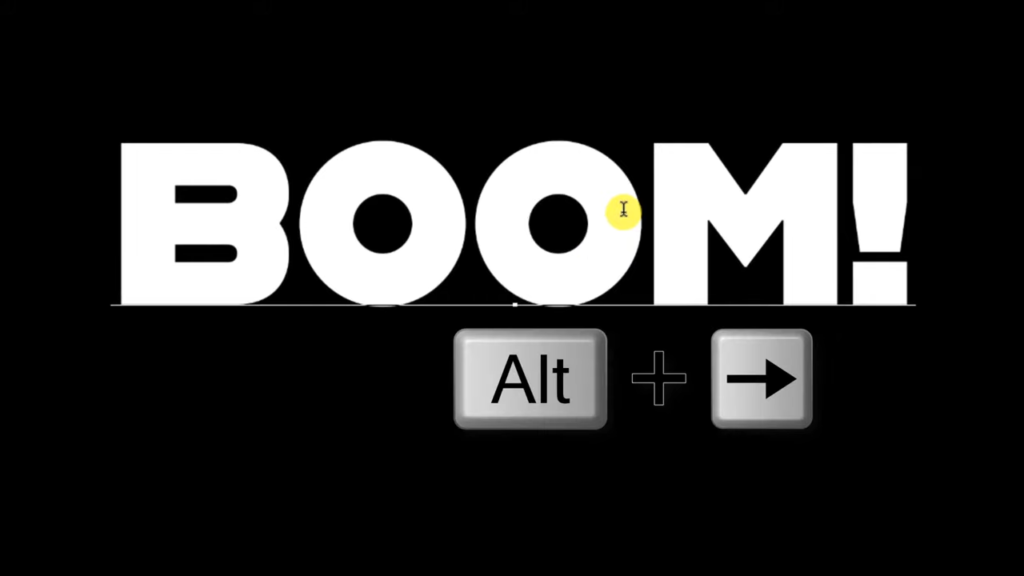
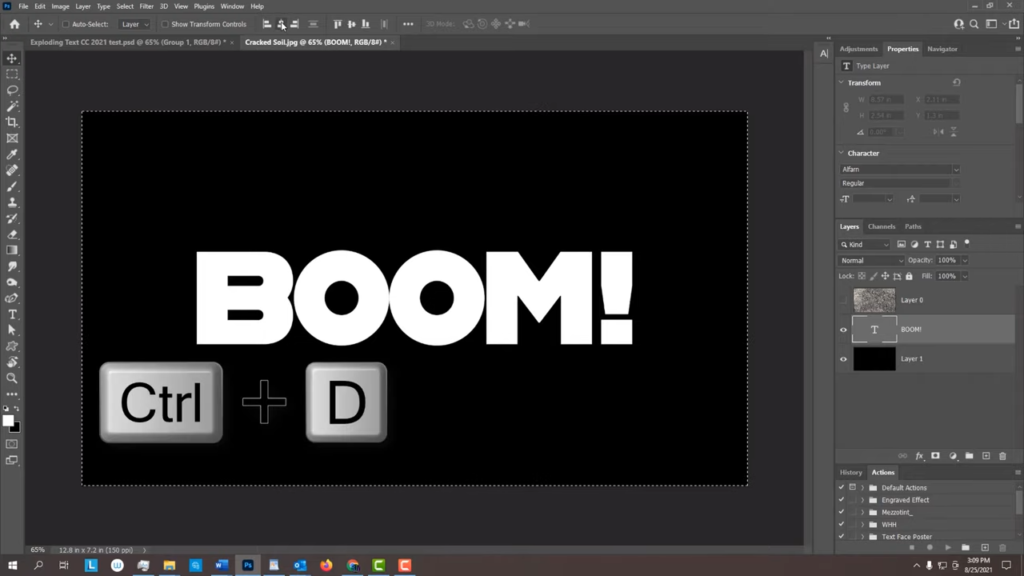
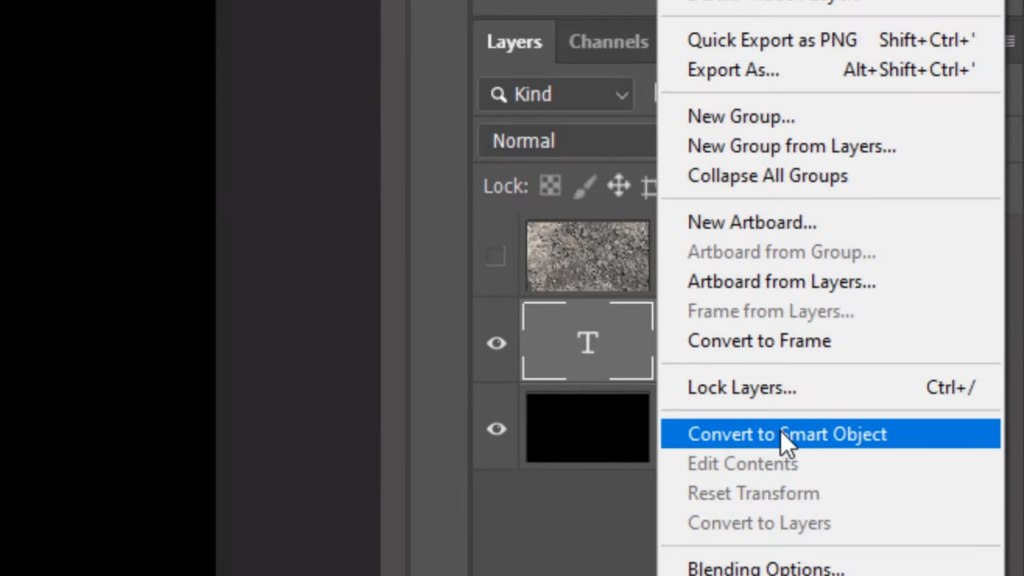
Click on your document and type out your text. If you want to adjust the spacing between two characters known as kerning, click between those characters and press Alt or Option as you click the right or left arrow key on your keyboard. As a side note, adjusting your entire line of text at once is called tracking. To do that, highlight the entire line with your cursor and use the same hotkeys to center your text. Open your Move Tool and press Ctrl or Command A to select your document, click the Align Horizontal Centers icon and the Align Vertical Centers icon. Then deselected by pressing Ctrl or Command D will convert our text into a Smart Object so we can modify it non destructively. To do this, click the icon at the upper right and click Convert to Smart Object.
2:23
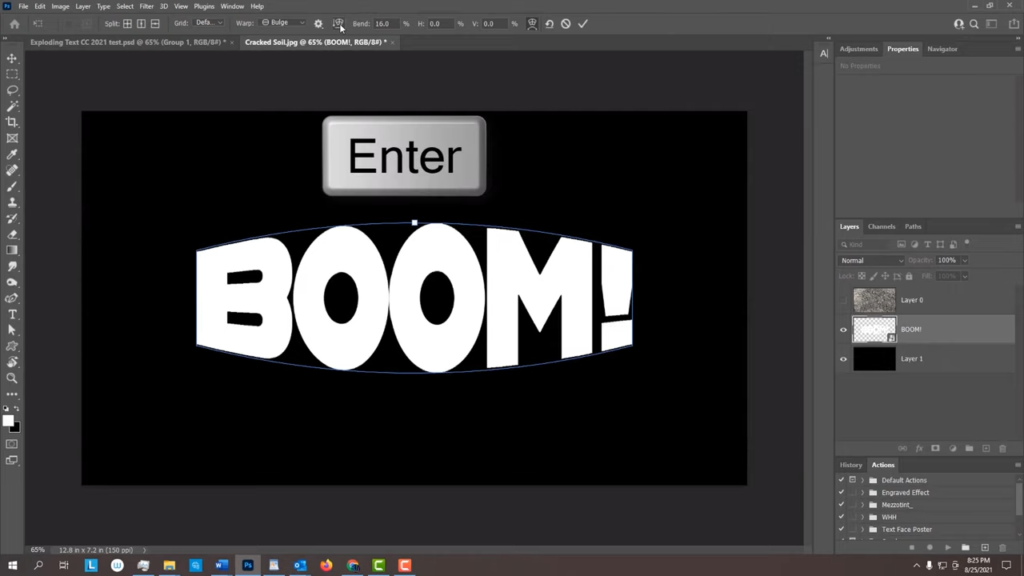
Next, we’ll bulge out the center of our text. Press Ctrl or Command T to open the Transform Tool and click the Warp transform icon at the top.
2:36
Click the Custom tab and click Bend
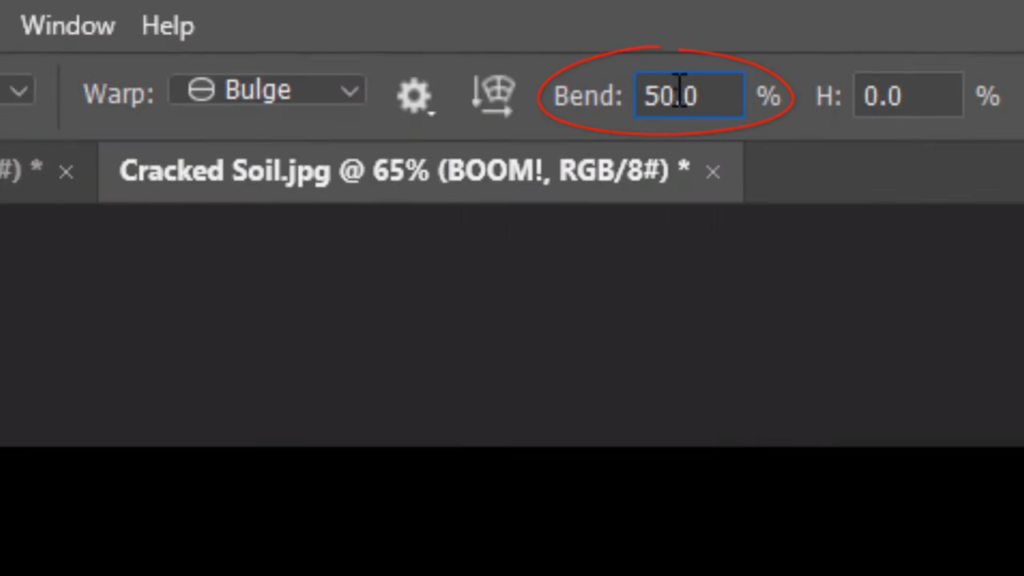
2:41
will bend it 16%.
2:45
Then, press Enter or Return or click the checkmark at the top.

2:50
Make the texture visible and active. Change its Blend Mode to Multiply.

2:58
Make the text layer active
3:01
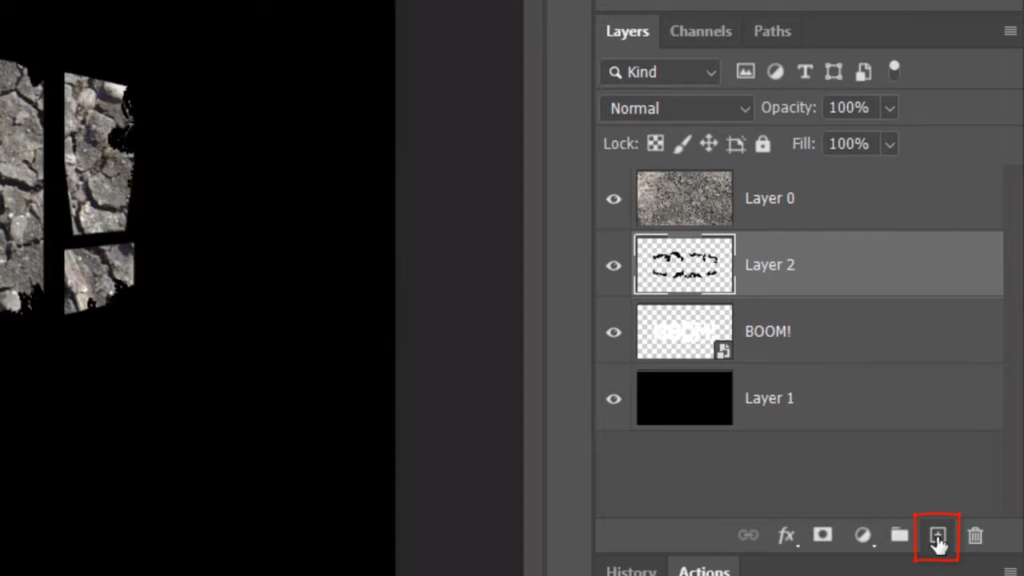
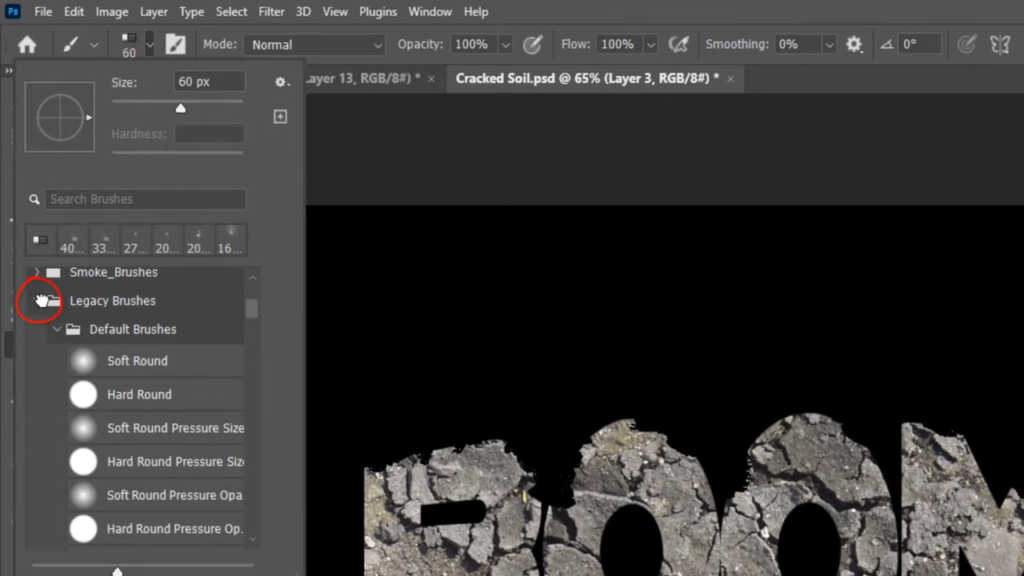
and click the New Layer icon to make a new layer above it. We’ll use this layer to brush hard black strokes along the edge to make our text look more broken. Invert the colors. So black is the foreground color and open your Pencil Tool. I prefer using the pencil tool for hard strokes rather than using the brush tool because pencil tips are already inherently hard. Open the Pencil Picker. I’ll make it size 60 pixels based on the size of my text. If you don’t see the legacy brushes in your list, click the gear icon and click legacy brushes. Open the folder and in the default brushes folder. Click flat, blunt, short, stiff brush along sections of the perimeter of the characters making sure you don’t cover too much of them so they become illegible.
3:54
Make a new layer.
3:57
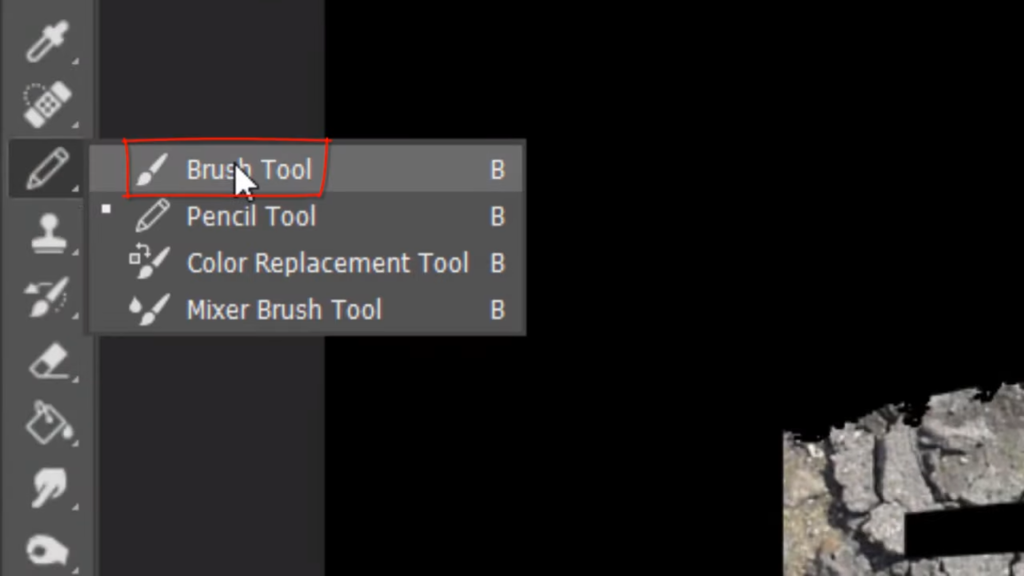
Open your Brush Tool and Brush Picker.
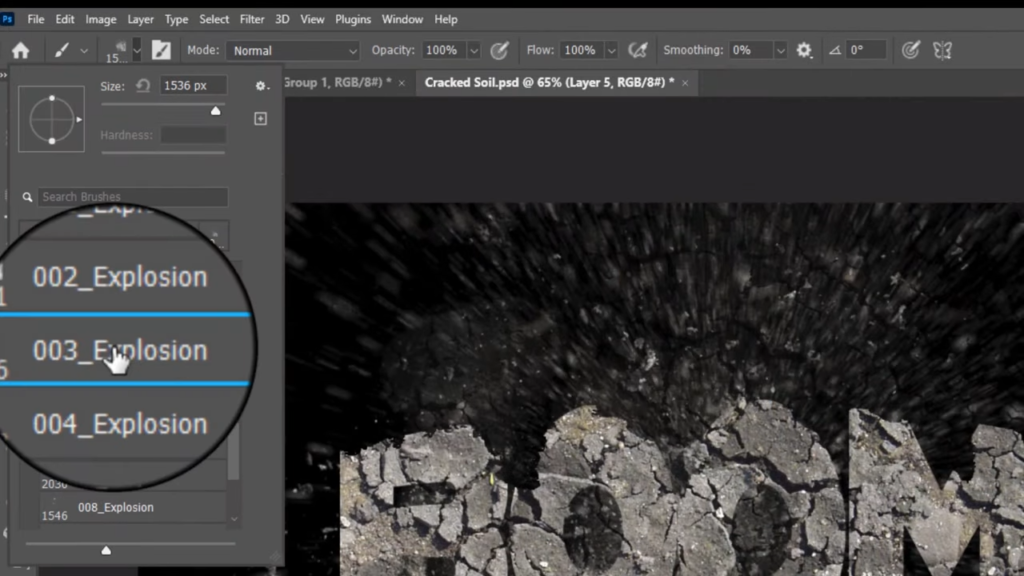
4:03
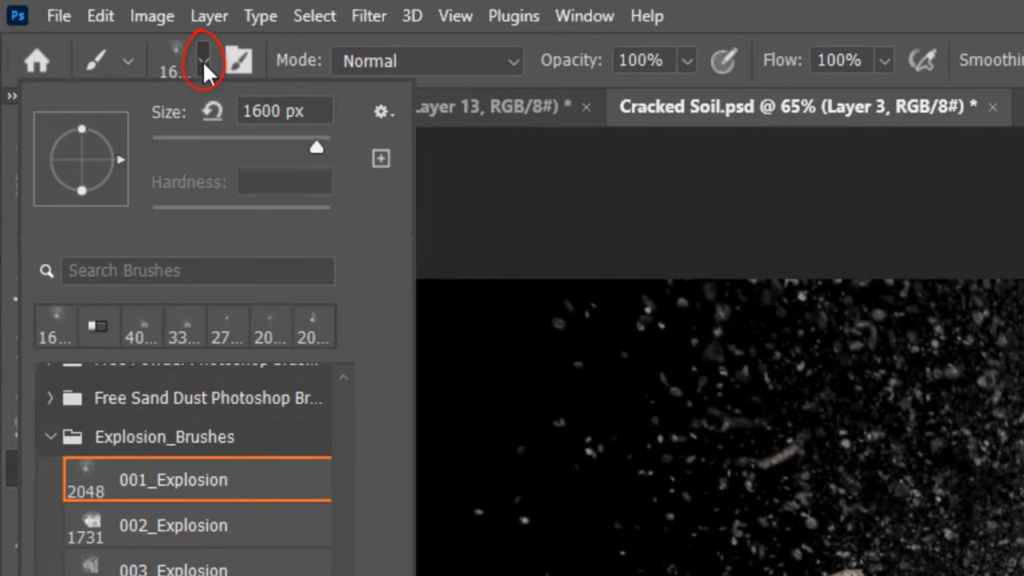
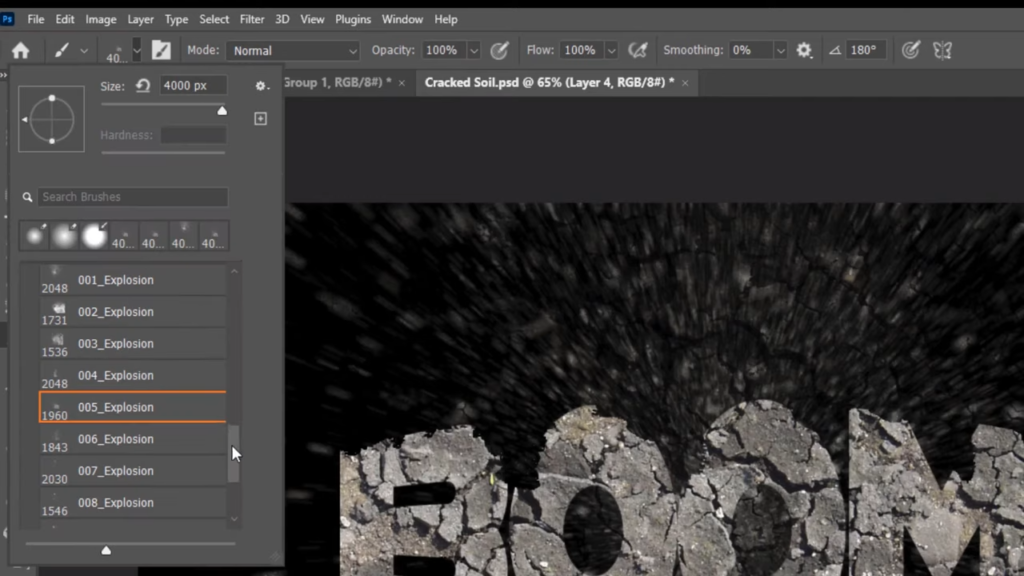
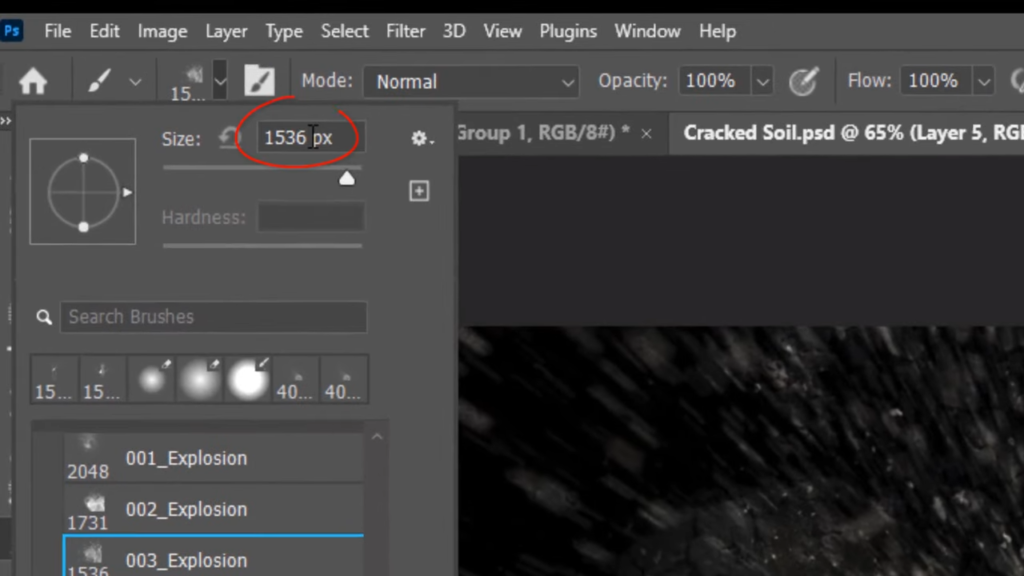
Close the legacy brushes folder. After you install the explosion brushes I provided open its folder before we start adding explosions to our image click on each one to see their characteristics. To delete the brush on your screen, just press ctrl or command Z to undo it. In the meantime, let’s use the brushes I used to create the final image. Click 001 explosion. The size of each brush is noted to what’s left. This brush is 2048 pixels however, we’ll reduce the size to 1600 pixels. Invert your colors so white is your foreground color. Go to the center of your document and click once.
4:47
Open back the Brush Picker. And click 005 explosion. Make it size 4000 pixels. Click near the center. Let’s flip the brush
5:00
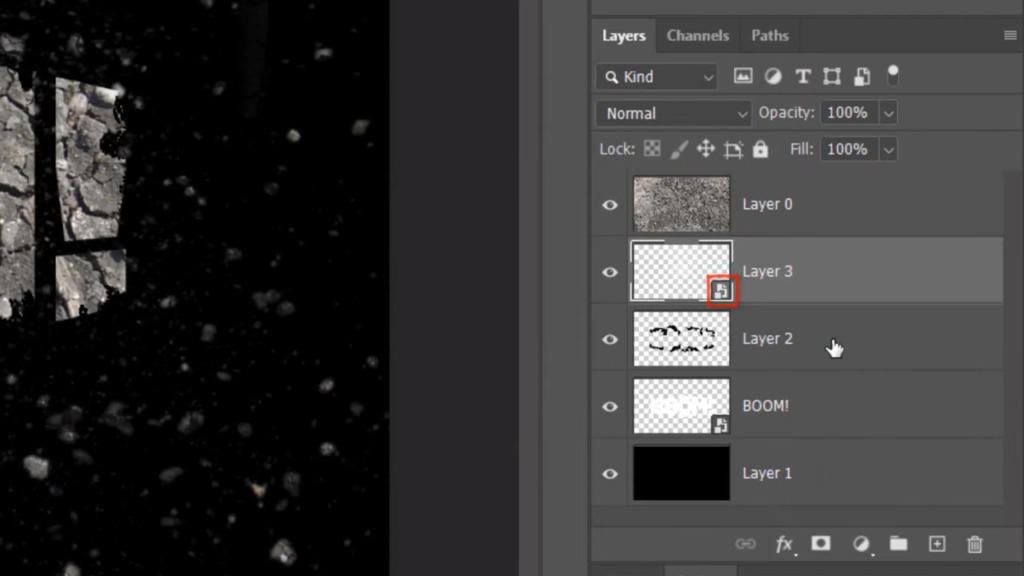
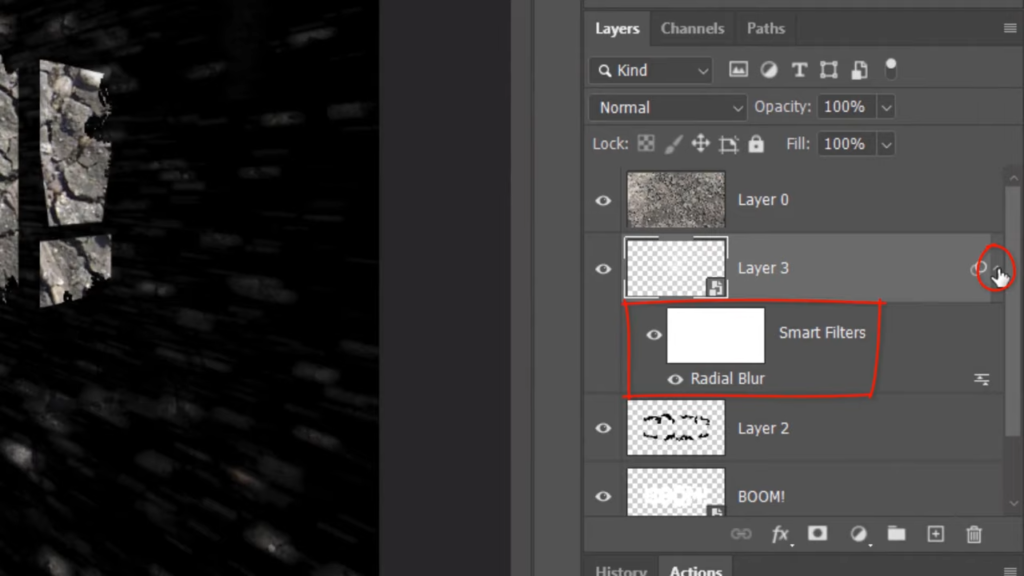
So it’s upside down. To do this, open the Brush Picker and rotate the arrow clockwise or counterclockwise 180 degrees. If you press and hold the Shift key as you do it, it’ll snap to it. Click on your document. Next will make the explosion look as if it’s exploding from the center. First, let’s convert the explosion layer into a Smart Object.
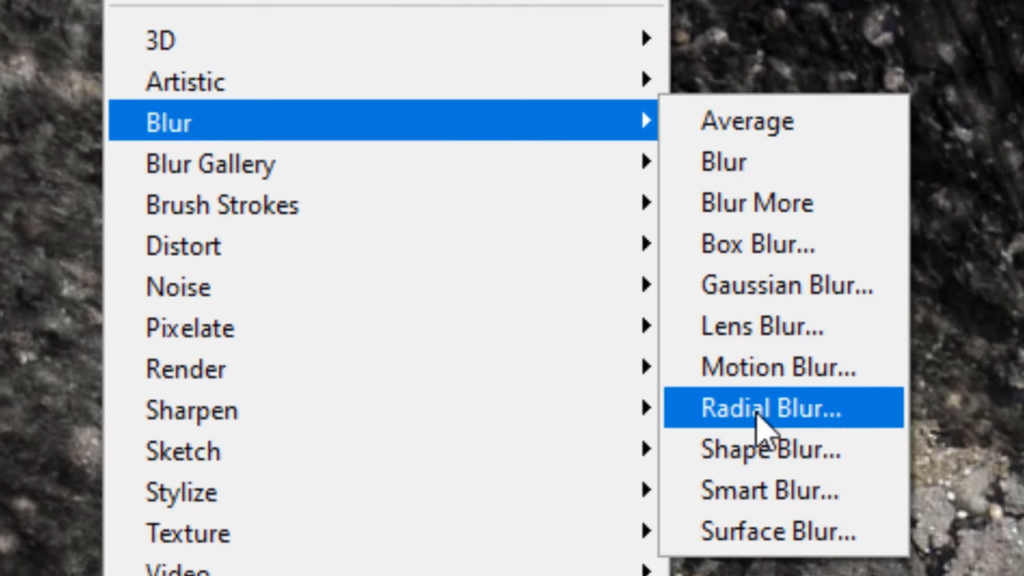
5:24
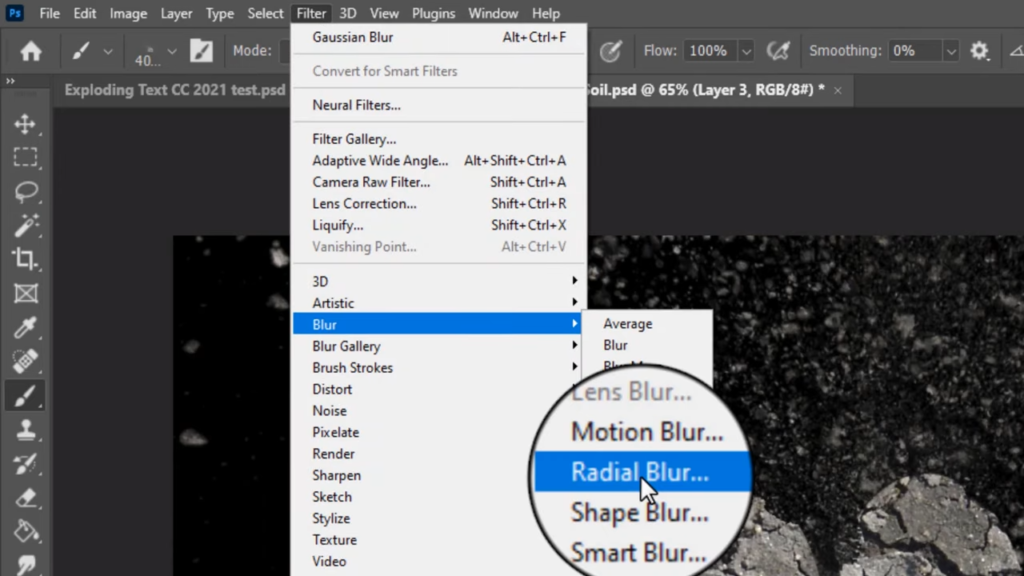
Go to Filter, Blur,
5:28
and Radial Blur.
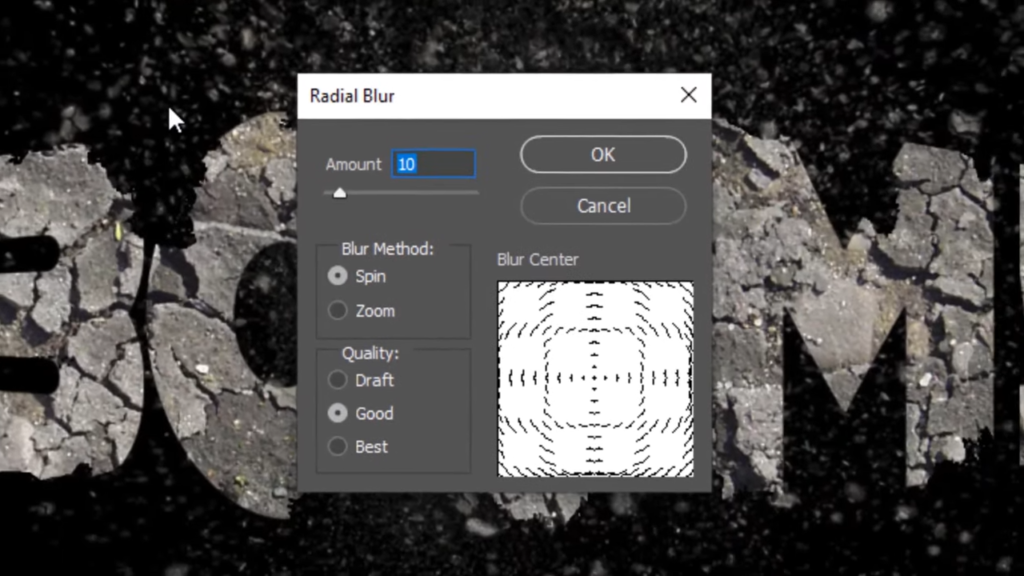
5:32
Make the Amount 10 Zoom and best.
5:40
To save space, let’s collapse the Smart Filter. Make a new layer.
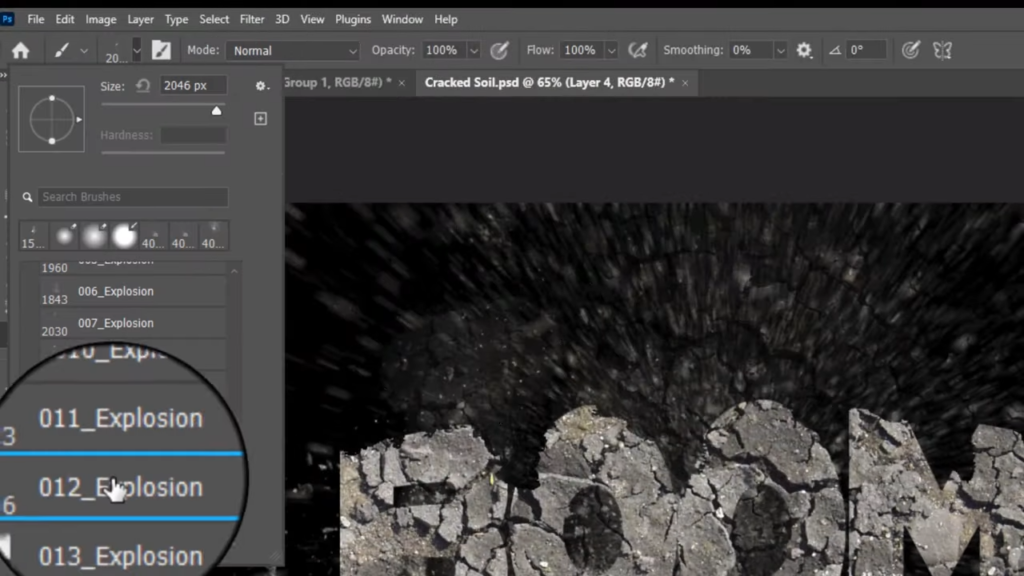
5:47
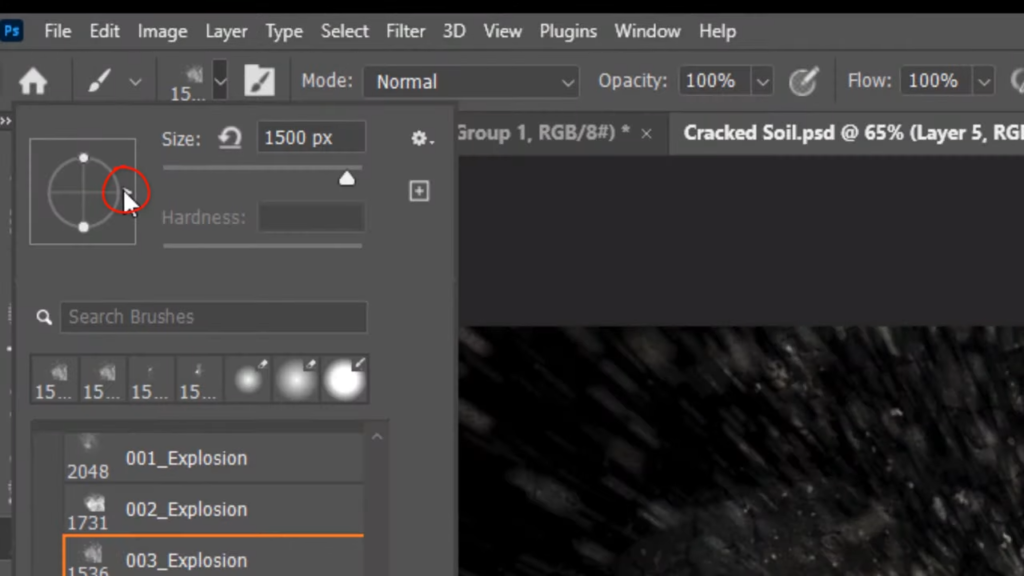
This time click the zero 11 brush and make it size 1500 pixels. Click once just to the left of the center and again closer to the center.
6:01
Click the zero 12 brush. Make it size also 1500 pixels and click near the center again.
6:11
Make a new layer
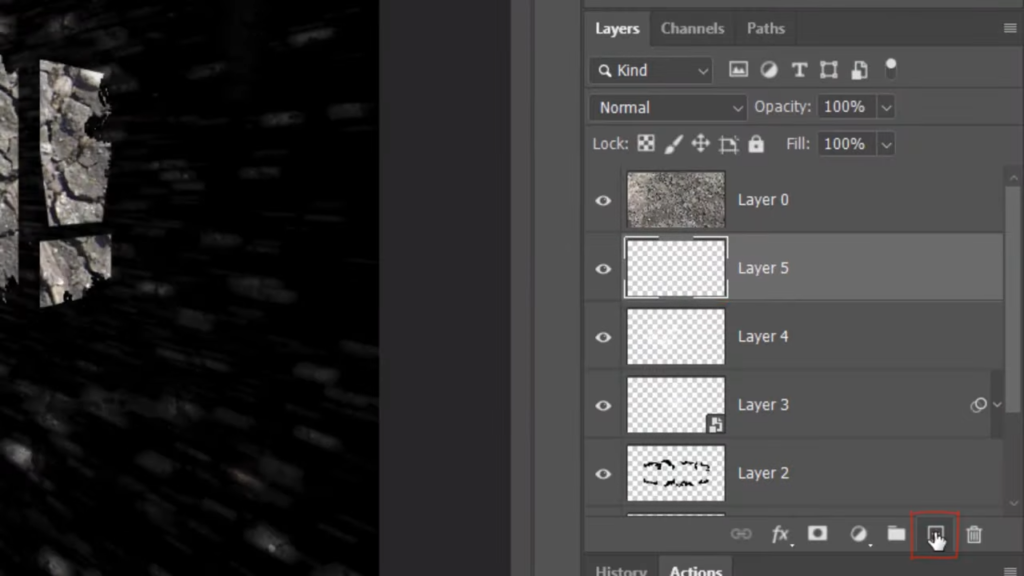
6:15
and click the 03 brush.
6:18
Make it size 1500 pixels and line it up to the lower right corner.
6:25
Rotate the arrow 180 degrees and click on the upper left corner.
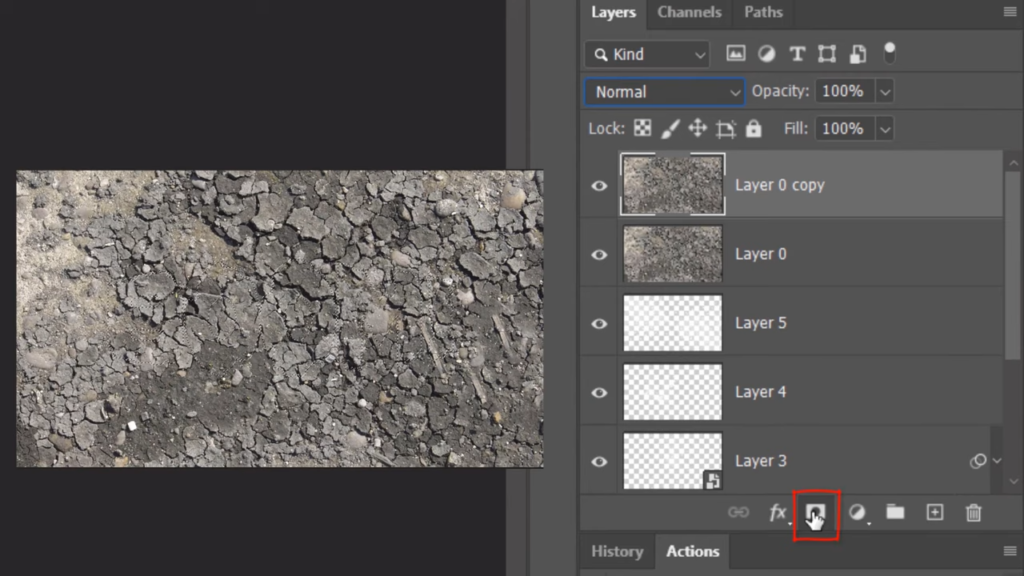
6:32
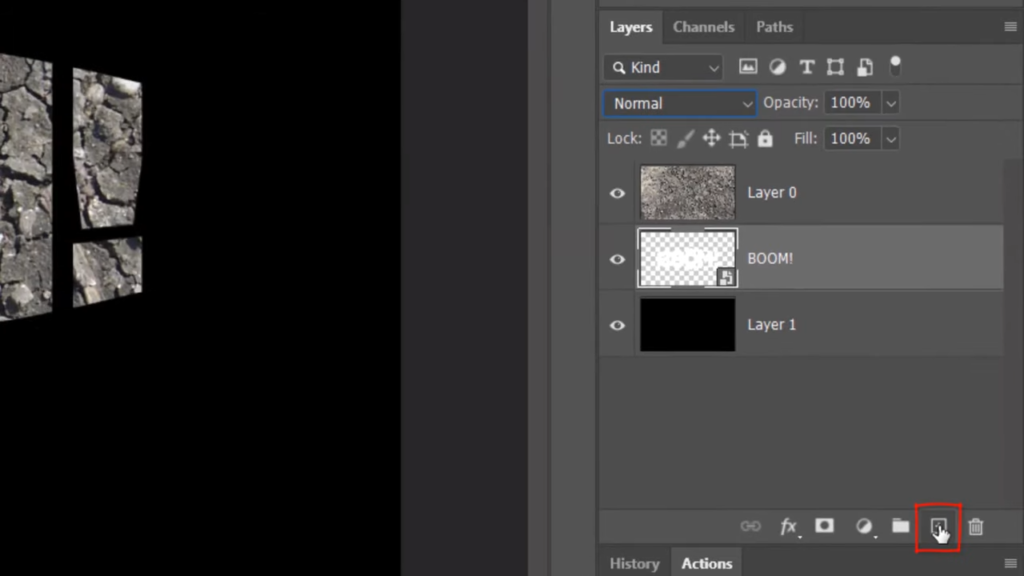
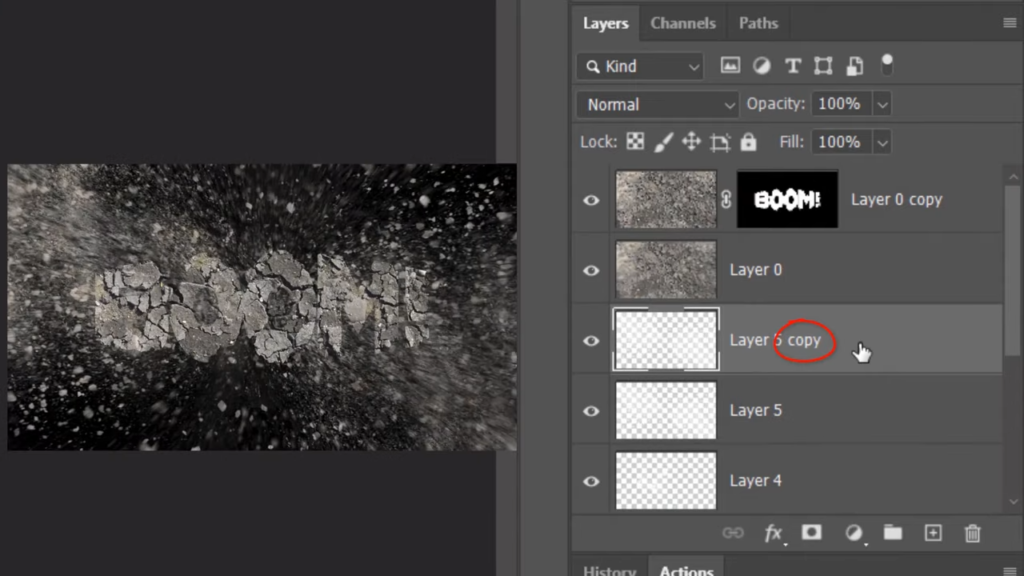
Make the texture active and make a copy of it by pressing Ctrl or Command J. Change the Blend Mode to Normal.
6:43
Control Click or Command Click the thumbnail of your text to select the shape. Go to the black shapes above it and press CTRL ALT as you click it on Windows or press Command Option as you click it on a Mac to delete the black shapes from your text.
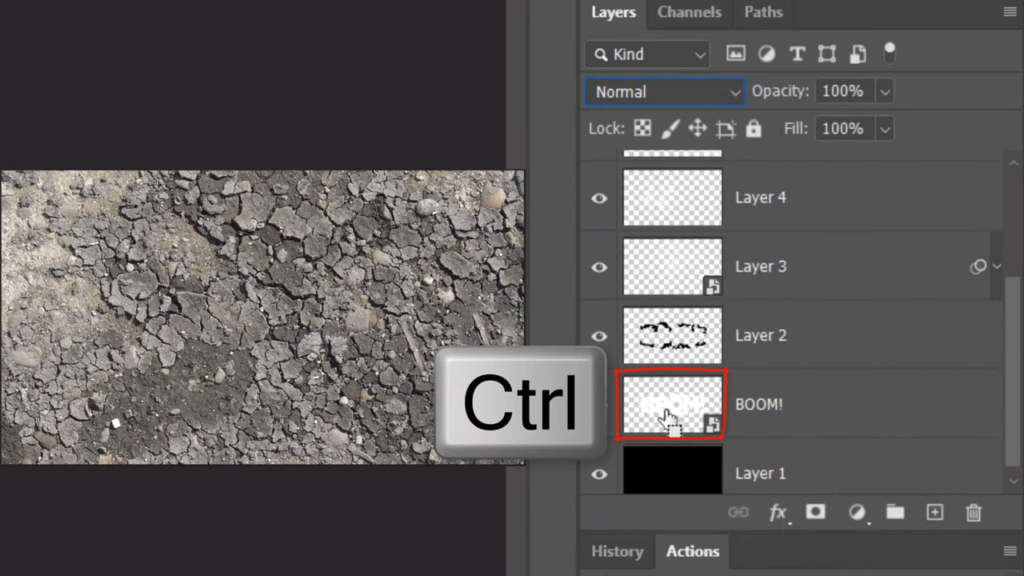
7:00
Click the Layer Mask icon to make a layer mask of the selection next to the active layer. Make the texture under it active and go to Filter,
7:11
Blur and Radial Blur.
7:17
The amount is 10 Zoom and test.

7:24
Make a layer under the texture active and make a copy of it.
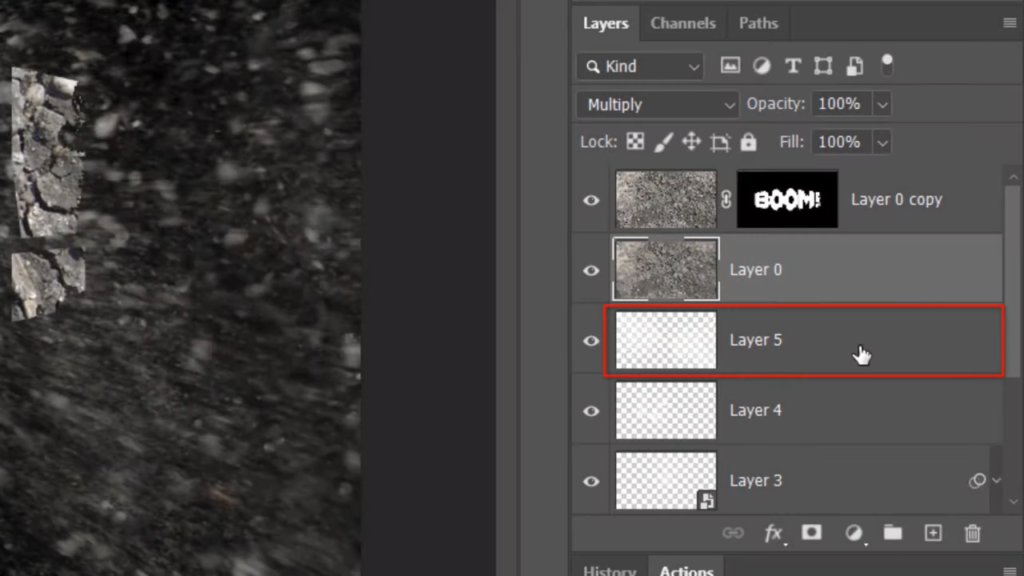
7:29
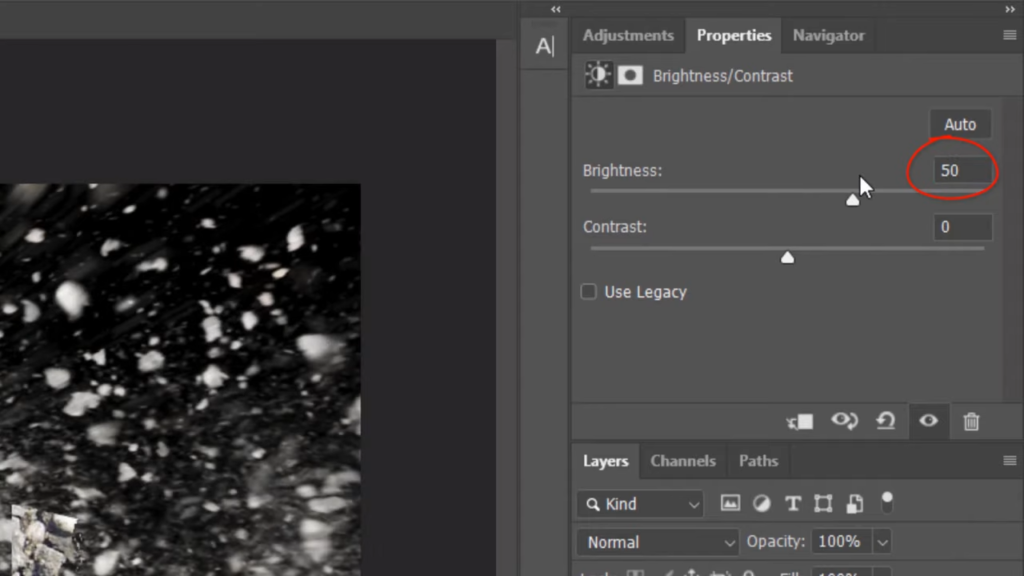
Drag it up between the textures and change its Blend Mode to Soft Light. Lastly, will brighten our entire image. Make the top layer active and click the Adjustment layer icon. Click brightness contrast.
7:47
Make the brightness 50.

0 Comments